Buy The Plans For This Build
For daily photo updates on my current builds, visit my Jakalian Guitars Facebook page.
This is a custom guitar build of an ESP James Hetfield Vulture, which is based on the Flying V.
- body: mahogany
- top: bookmatched walnut with sapwood
- neck: laminated sucupira / mahogany veneer / flamed maple / mahogany veneer / sucupira
- fretboard: bird’s eye maple
- scale length: 24.75″ (628.65mm)
- headstock: 6-inline with walnut veneer
- pickups: EMG James Hetfield set active pickups
- bridge: tune-o-matic
- tuners: Hipshot Grip-Lock
- hardware colour: chrome
- finish: not yet decided
Plenty of photos below the video…
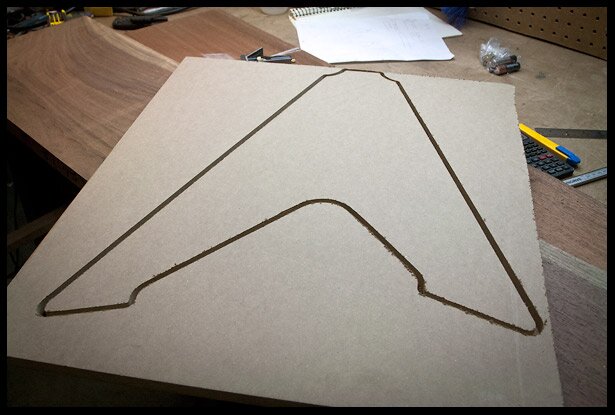
I cut out the MDF template of the ESP Vulture shape on my new CNC machine!
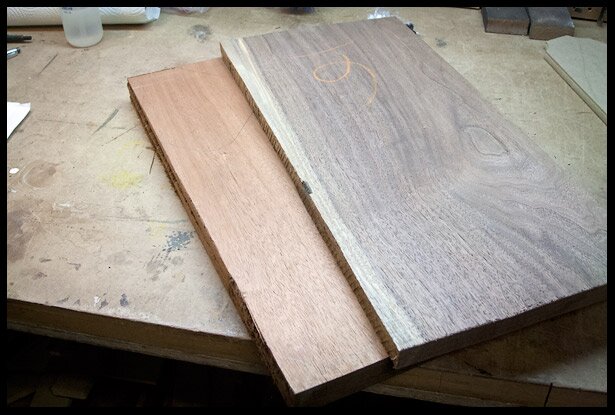
The wood for the body, mahogany back and walnut top
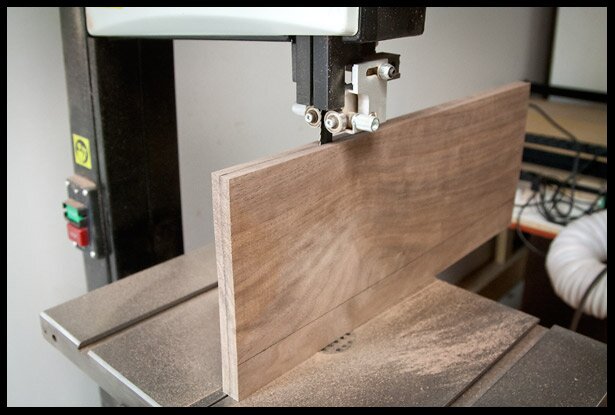
Ripping the walnut on the band saw to create a bookmatched set. The new 3/4″ blade cuts through it like butter!
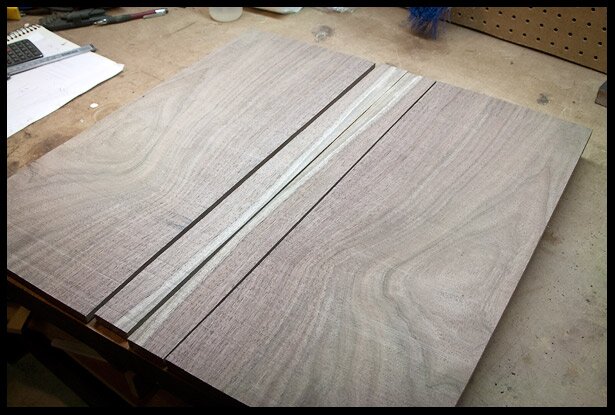
The pieces of the walnut bookmatched set. The piece was too large for my band saw, that’s why I had to cut it into two pieces before ripping.
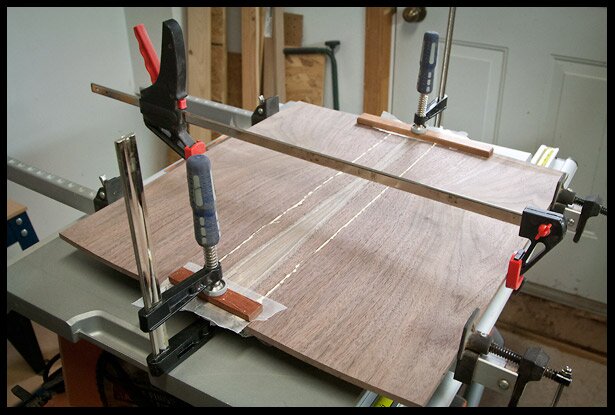
Gluing the bookmacthed walnut top with sapwood in the center
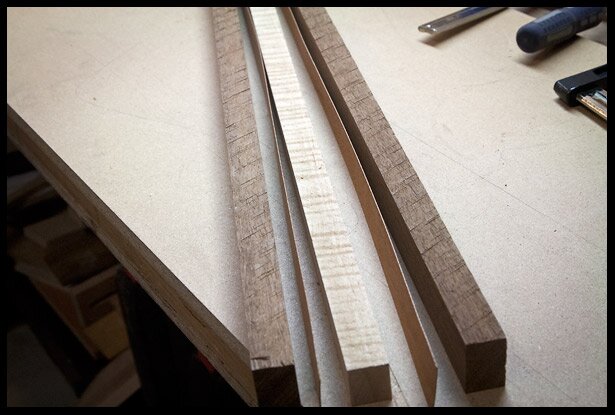
The pieces of the laminated neck: Sucupira / mahogany veneer / figured maple/ mahogany veneer / sucupira. Sucupira is also known as Brazilian Cherry.
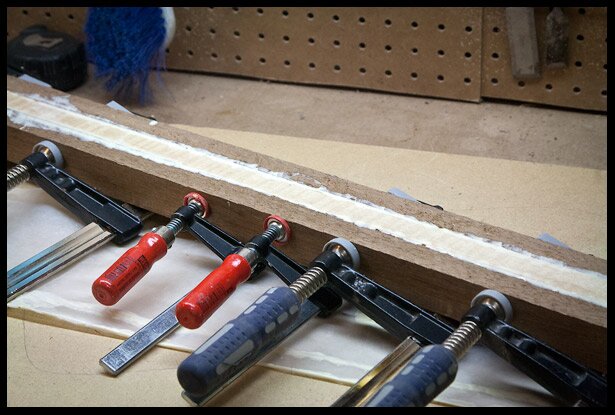
Glue up of the neck blank
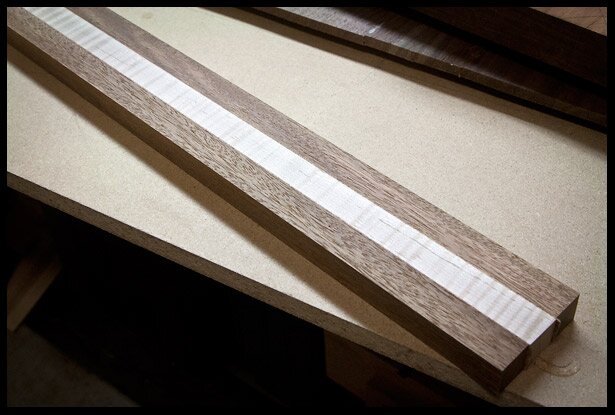
The neck blank after planing. I was hoping the mahogany veneer would show more…. oh well!
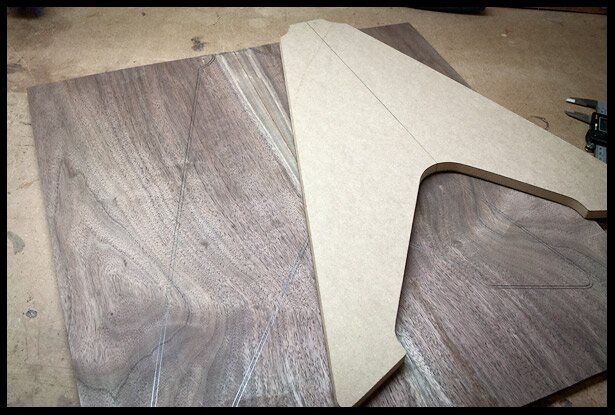
Tracing the body shape onto the walnut top
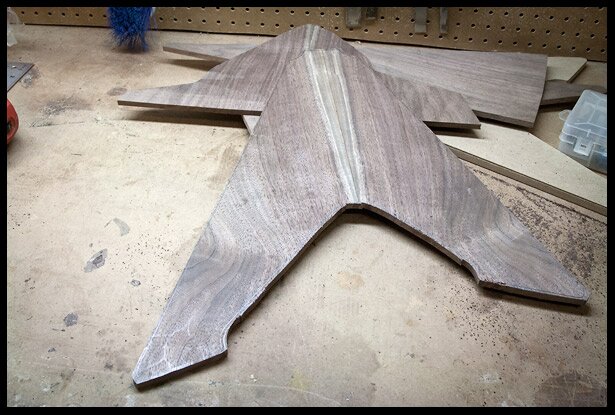
Cut out of the body shape
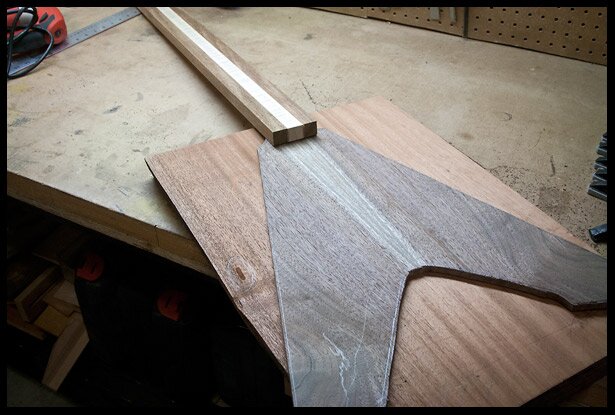
A look at the progress so far…
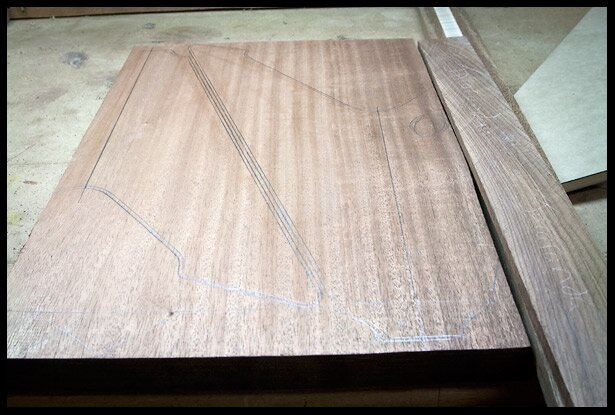
Tracing the body shape on the mahogany board. The board is not large enough so I will cut it into two pieces and laminate it back together.
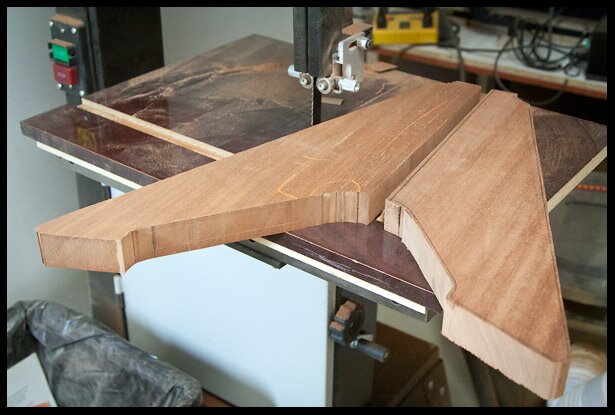
The two piece body cut out on the band saw
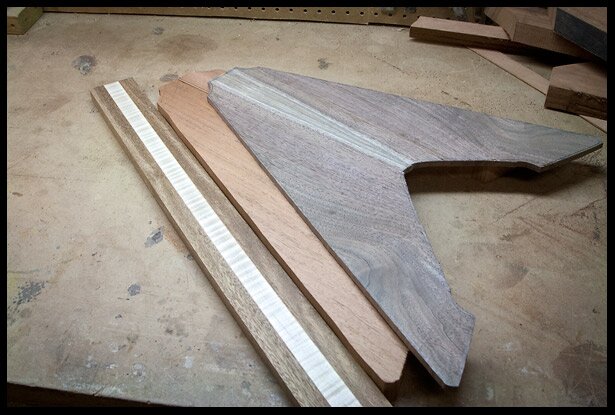
A look at the progress so far…
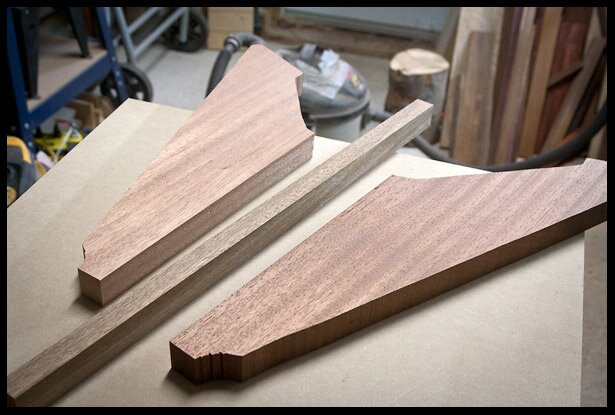
Preparing for center lamination
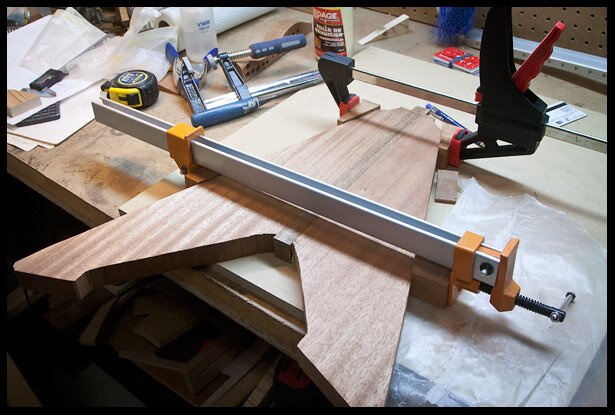
Gluing the body lamination
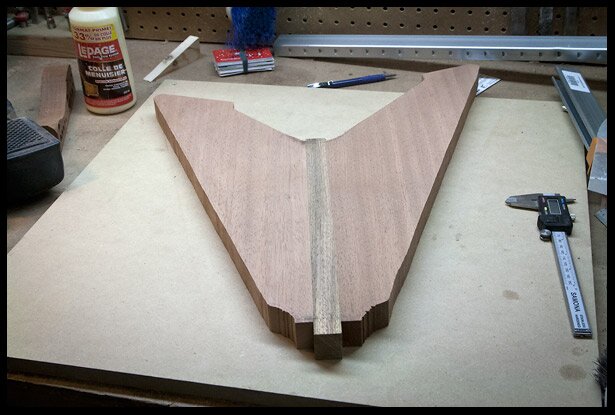
Body lamination is complete. The center piece is sucupira
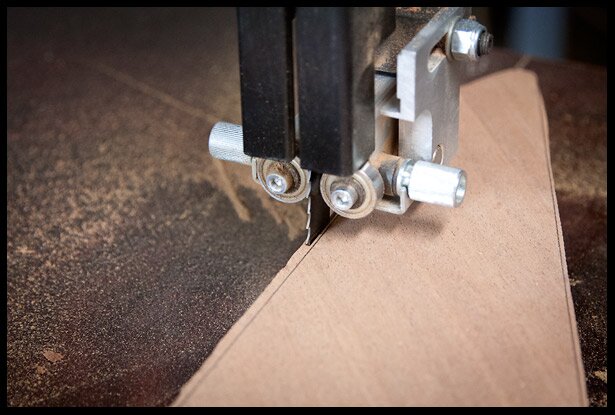
Trimming excess before final route of body shape
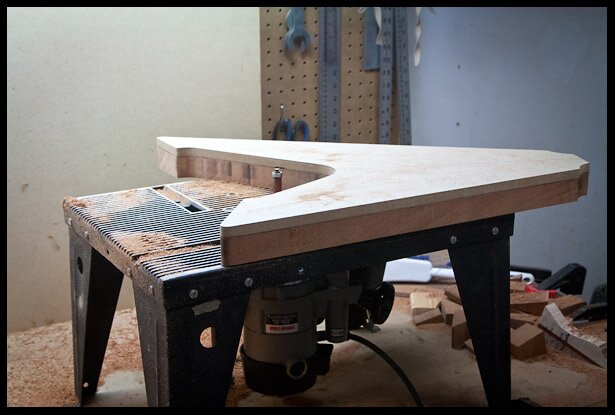
Routing the body shape on the router table with the MDF template as a guide
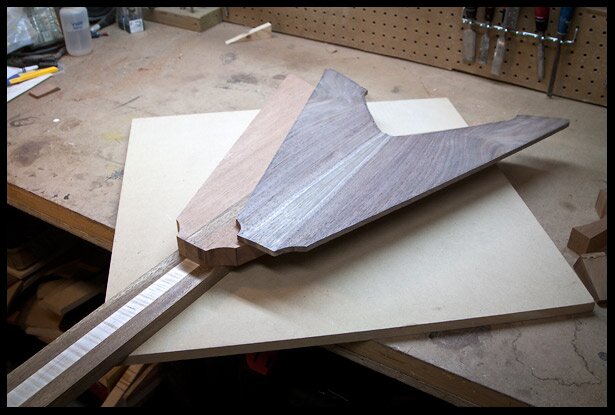
The body, the top and the neck blank
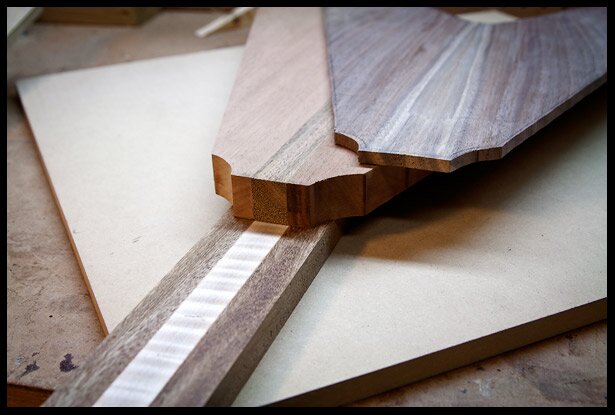
The body, the top and the neck blank
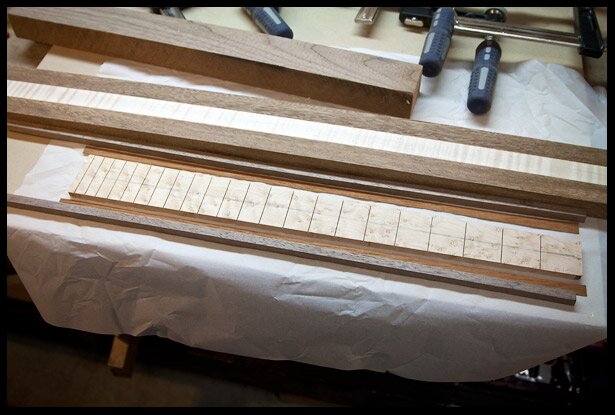
Preparing the fretboard for binding, mahogany and walnut
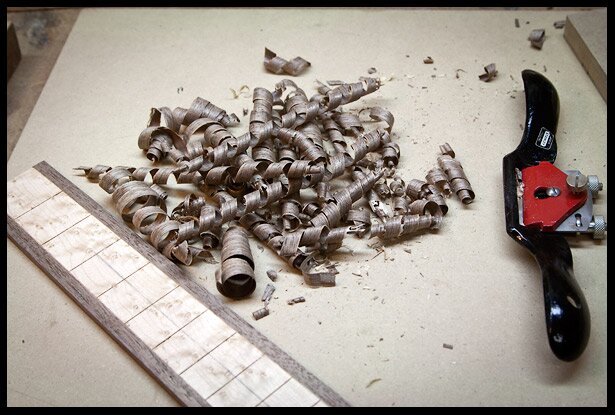
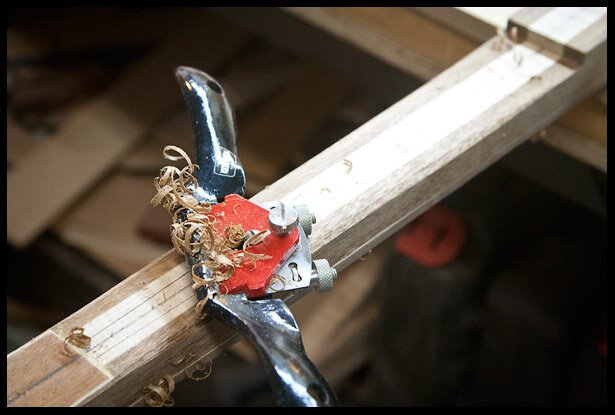
Trimming off the excess walnut with a spokeshave to make it flush with the maple fretboard
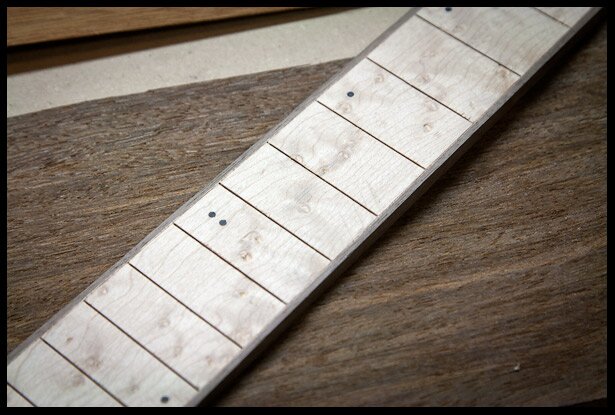
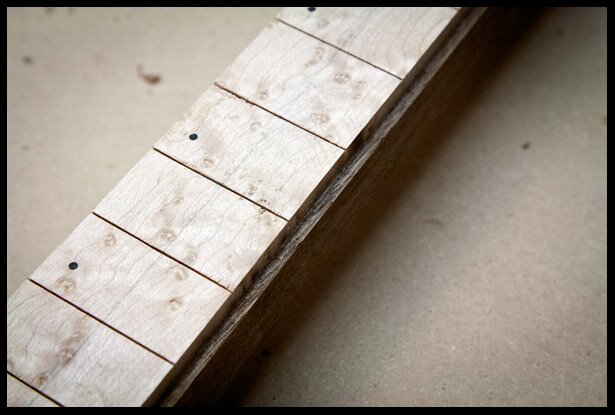
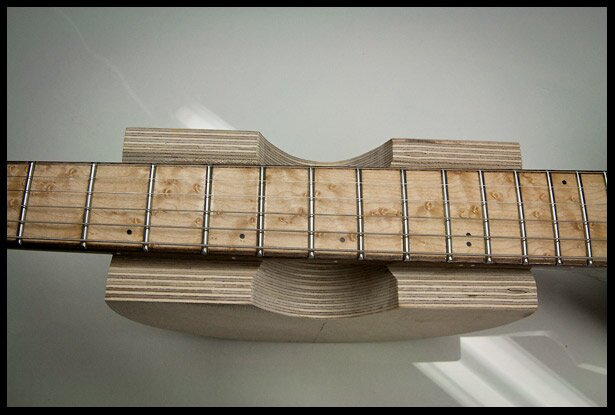
Birdseye fretboard with binding and dot inlays. I decided to try a different dot inlay pattern this time
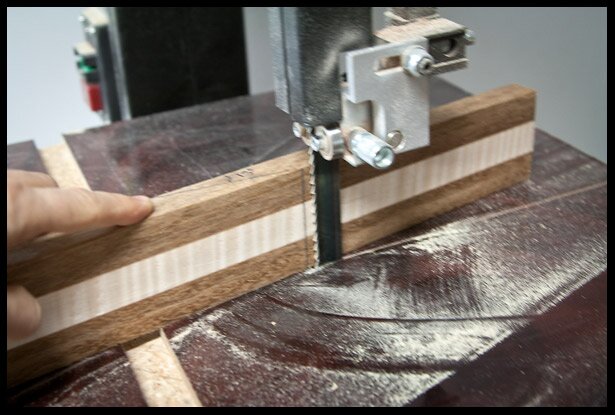
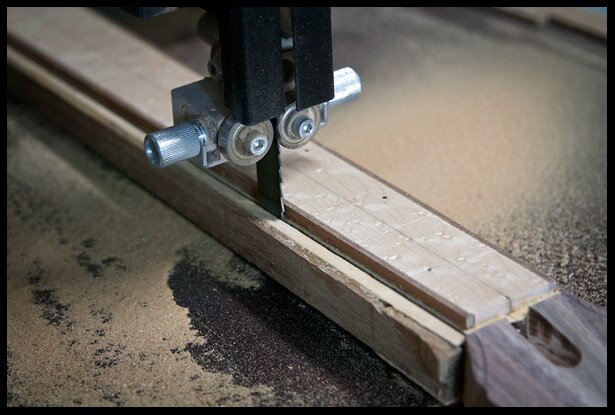
Cutting the 13 degree scarf joint on the bandsaw
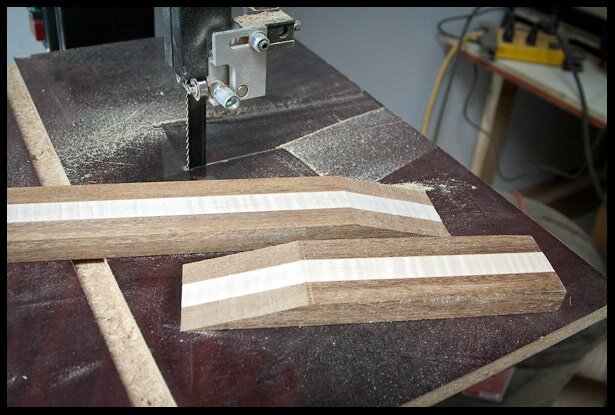
The scarf joint pieces
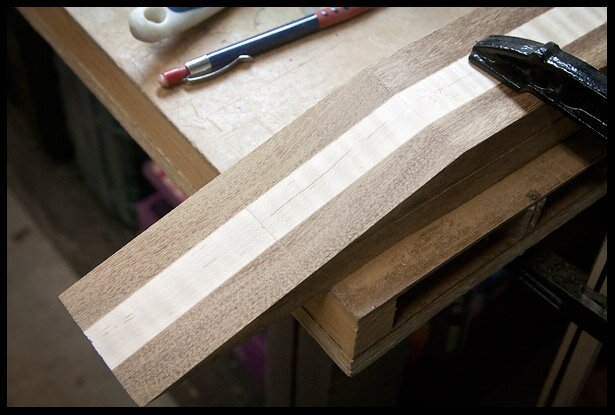
Sanding away the band saw marks on the two pieces
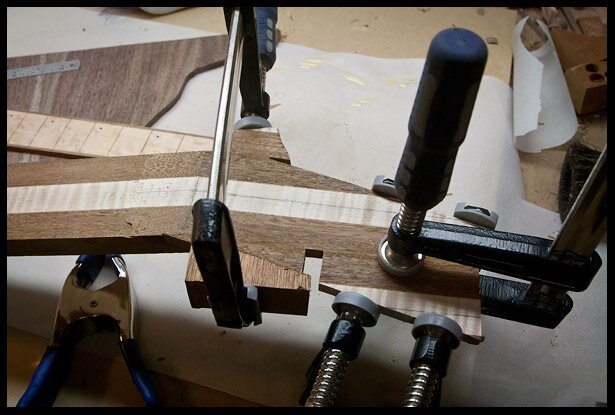
After the scarf joint is glued, I add extra pieces to the headstock
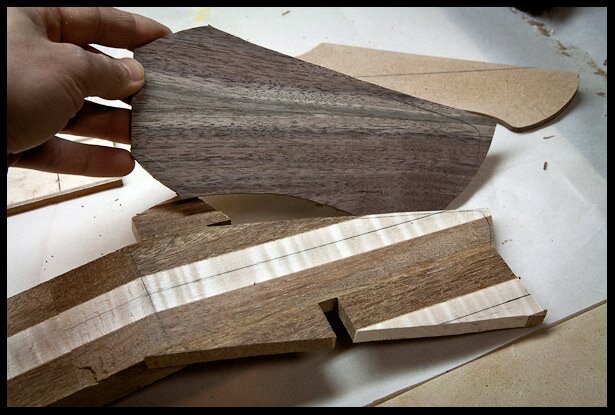
The bookmatched headstock veneer
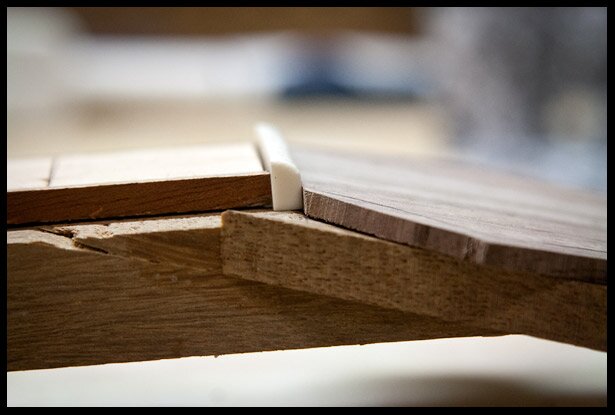
Putting an angle on the edge of the headstock veneer so it sits flush with the nut
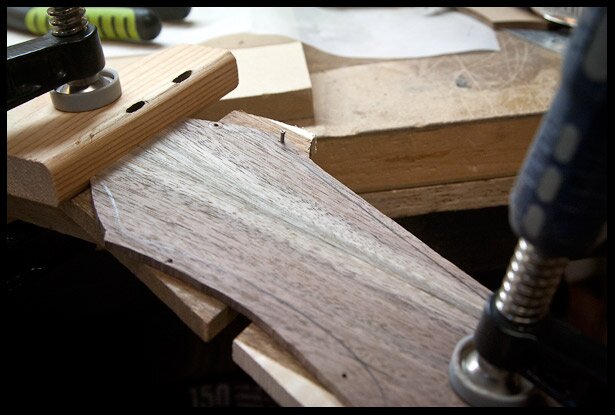
Gluing headstock veneers can be tricky because it tends to slide as you apply pressure. So I place the headstock veneer in position with a few finishing nails
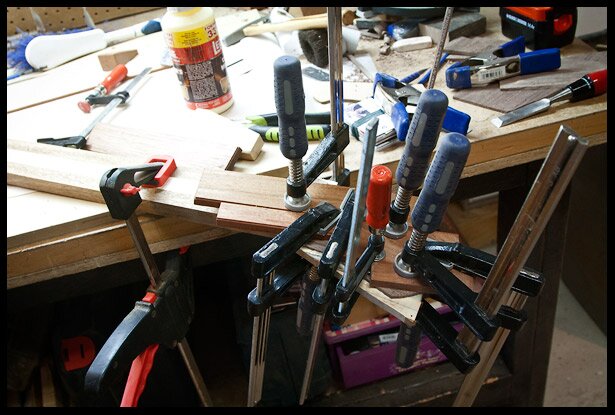
Clamping the headstock veneers: walnut on top and maple and mahogany on the back
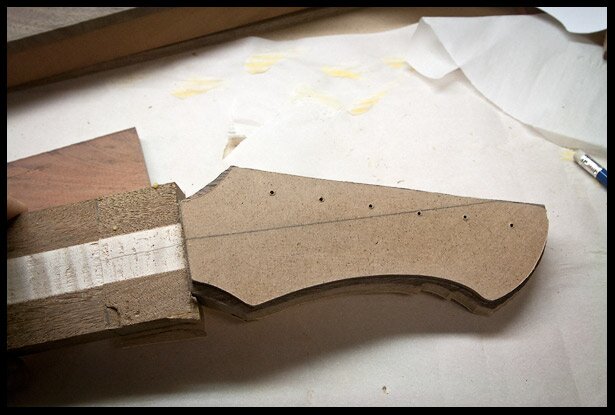
Trimming the headstock according to the template on the band saw
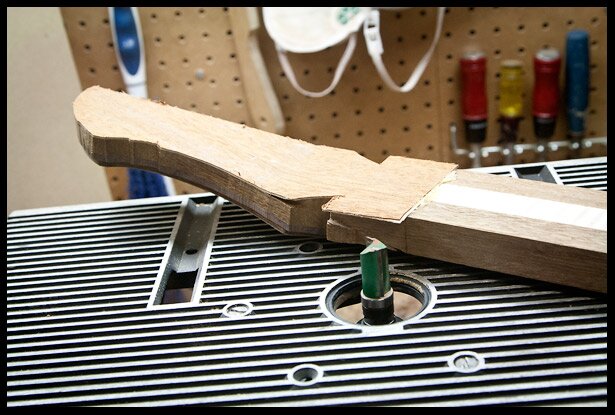
Routing the headstock according to the template on the router table
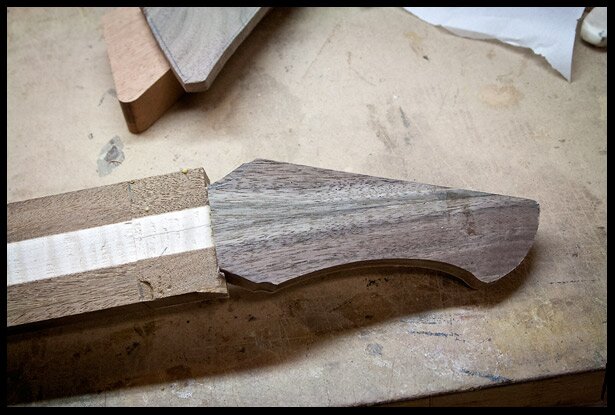
A look at the headstock so far
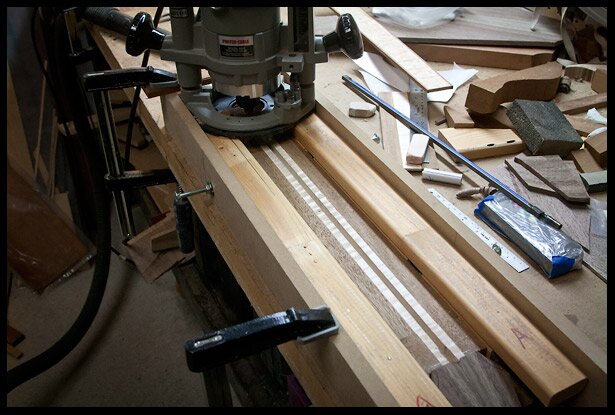
Routing the truss rod channel
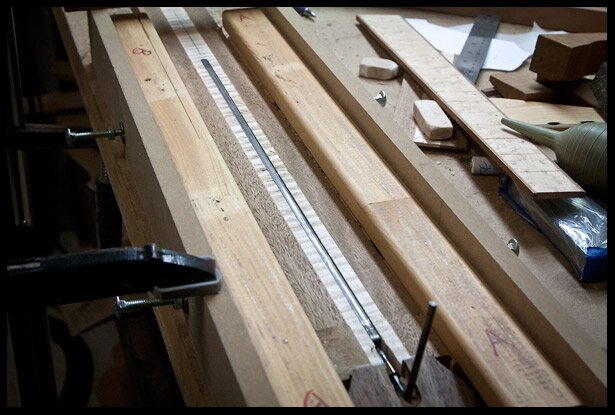
Check the access to the truss rod
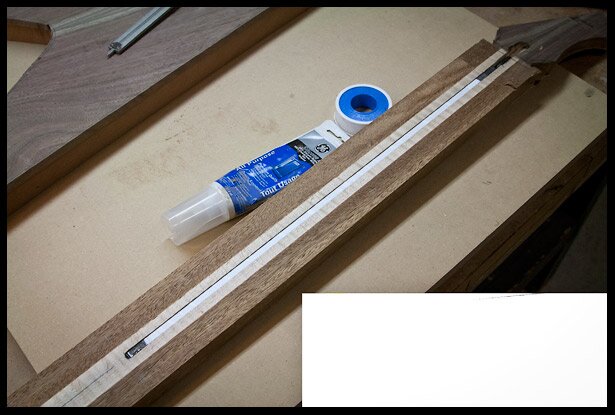
In order to minimize rattle, I wrapped the truss rod with teflon tape and applied a bit of silicon at the edges (sorry for the white box, it’s camera issue)
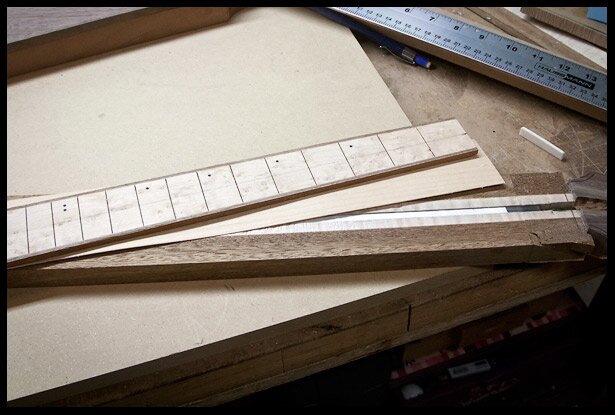
At the last minute, I decided to add a maple veneer between the neck and the fretboard
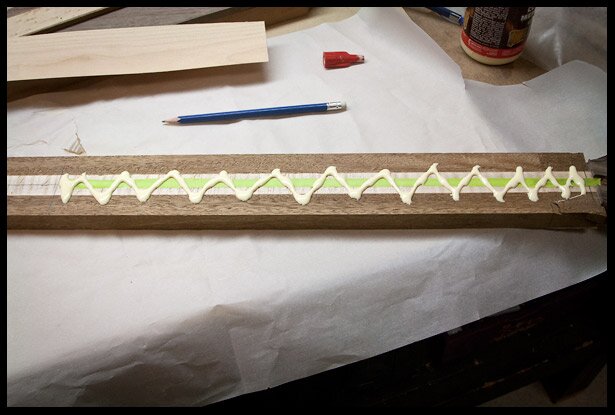
Applying glue on the neck
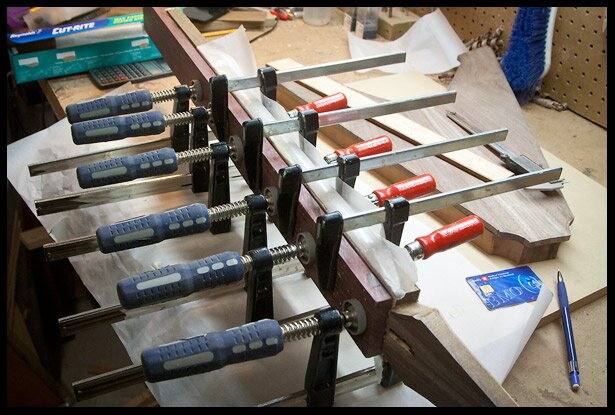
Clamping the neck
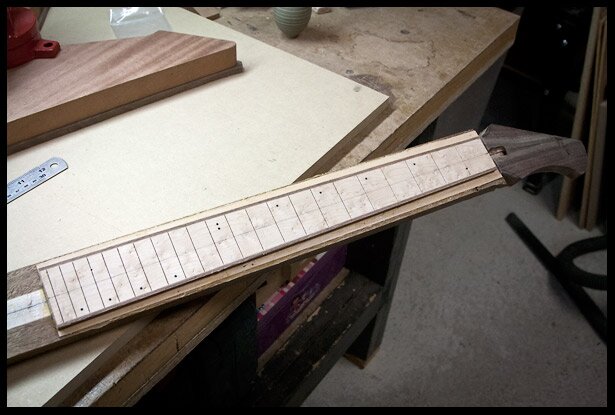
Fretboard glues onto neck
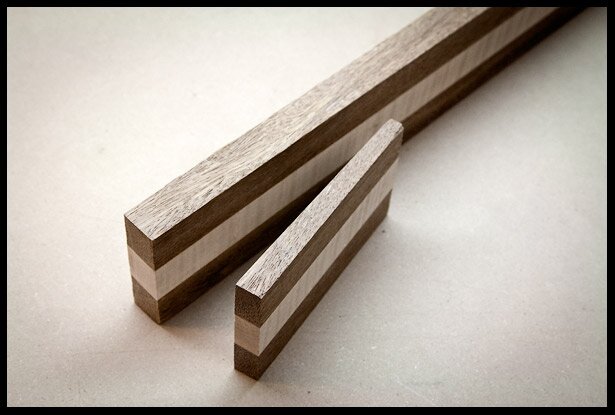
The heel is cut, trimmed and shapes with a 2 degree angle (see how I did it in this Youtube video, will open in a new window)
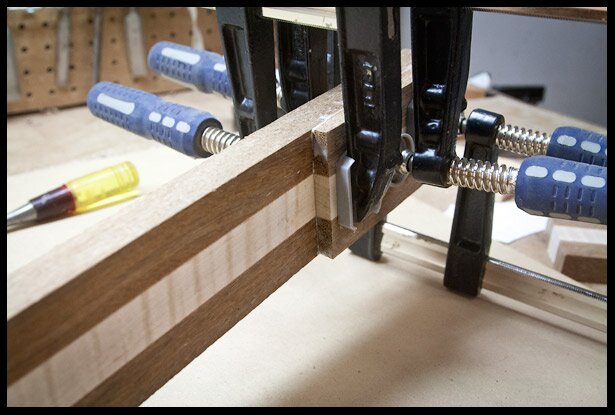
The heel is being glued (see how I did it in this Youtube video, will open in a new window)
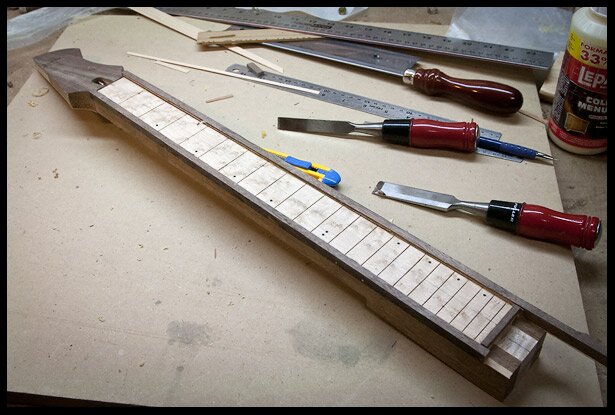
The neck is trimmed to near-final dimension
I had an issue with a broken router bit bearing and therefore I needed to carve a new binding channel and re-do the binding!
New binding added… not yet trimmed, obviously 🙂
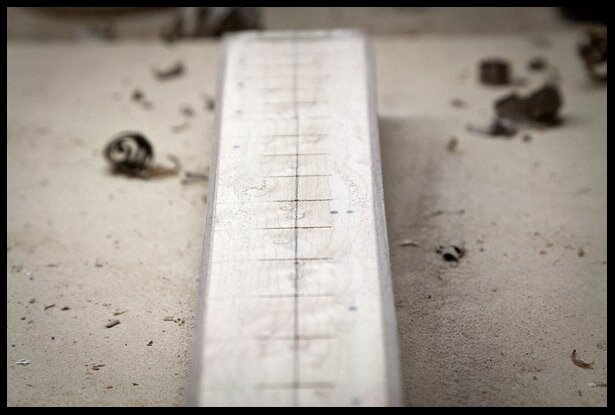
Fretboard with binding and in the process of adding a 12 degree radius
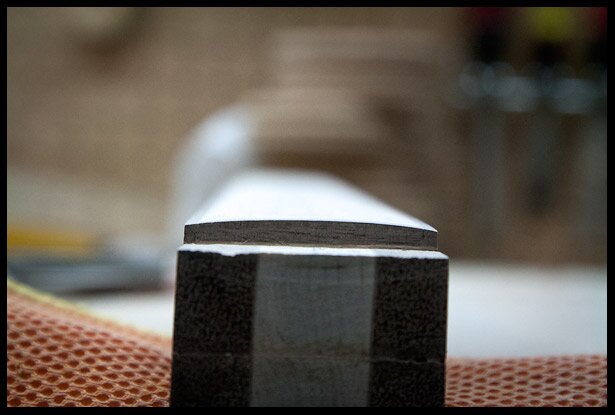
Fretboard radius
Starting to carve the back of the neck
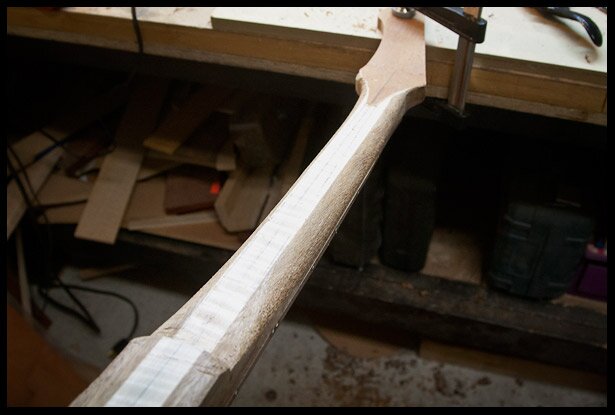
Making progress…
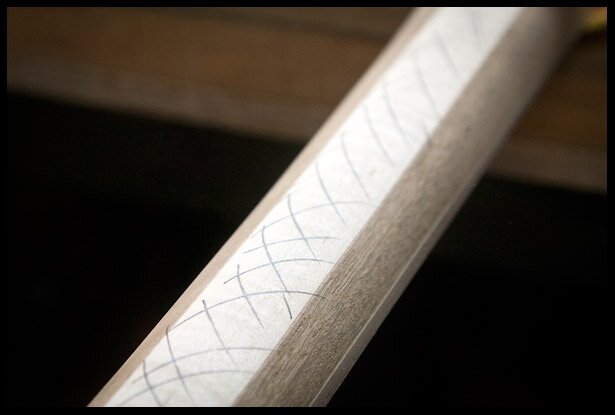
Making more progress…
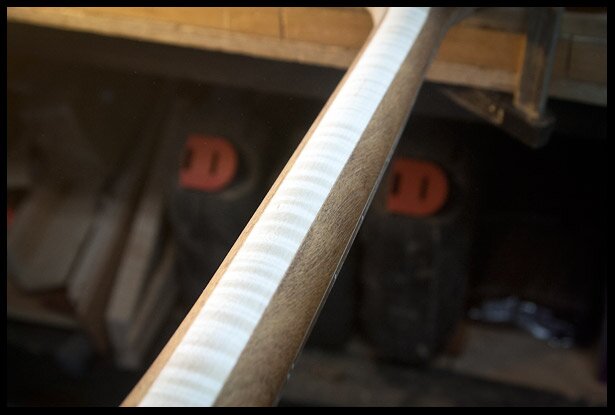
Neck carving completed
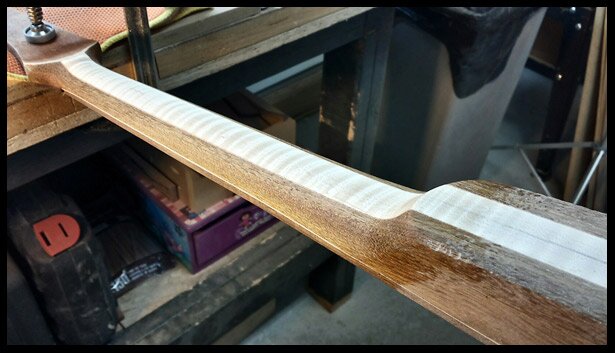
Neck carving completed… with some water wiped on…
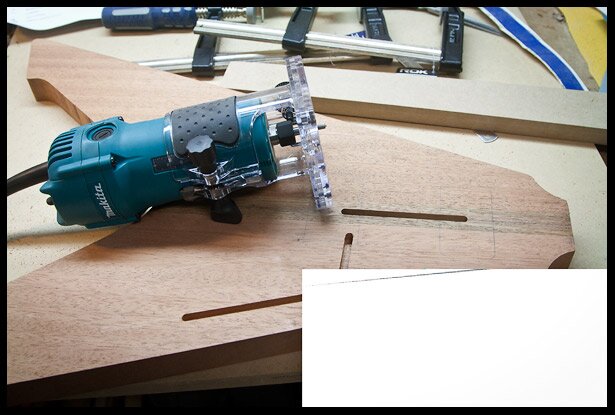
Routing channels for the wires (sorry about the white box, the file was corrupt)
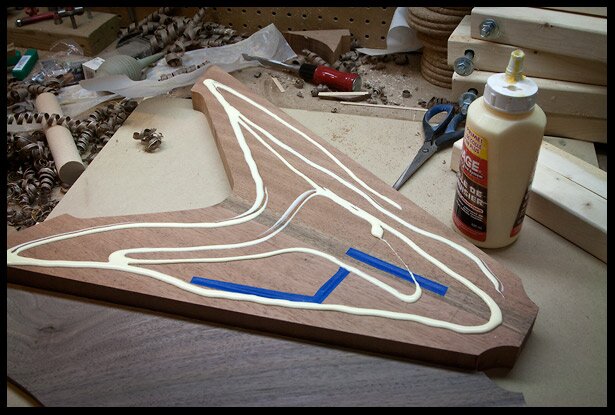
Applying glue…
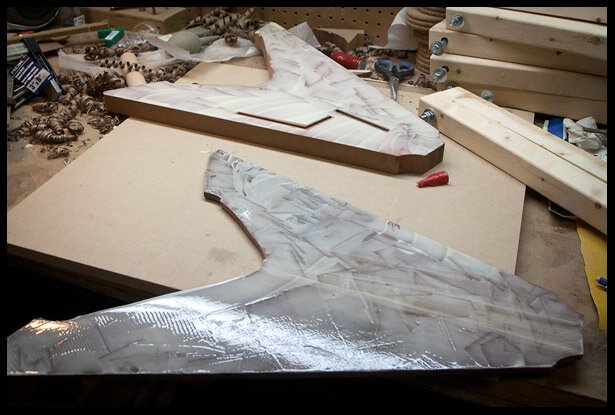
Spreading the glue on both surfaces
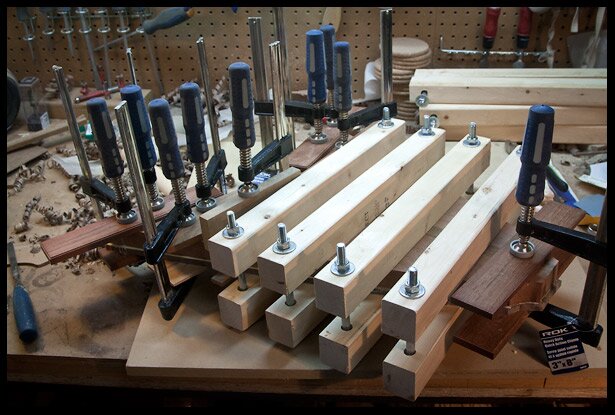
Clamping the the top and body using my home-made clamps (see how I made these clamps)
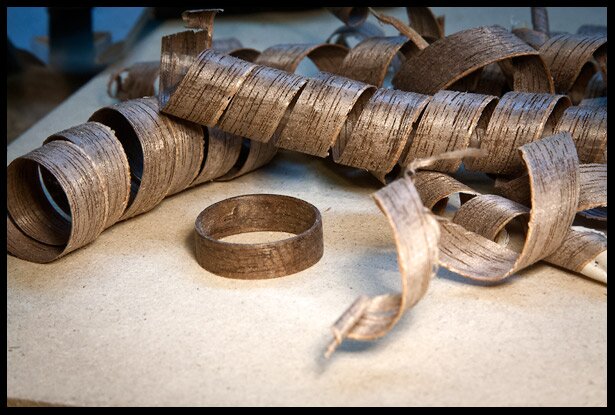
While the glue was drying, I made a wooden ring from the walnut neck shavings
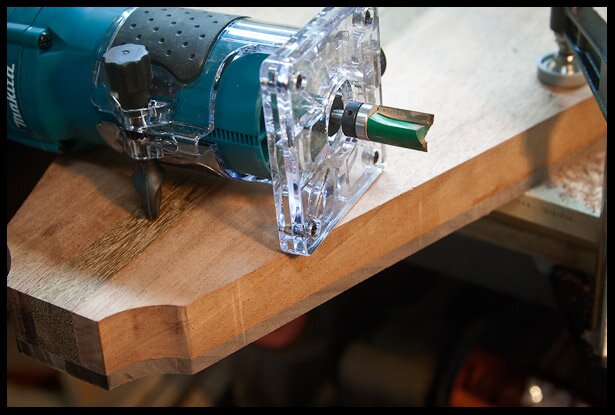
The walnut, which was slightly oversized is trimmed using a trim router and a bit with a ball bearing. The mahogany body was used as a template.
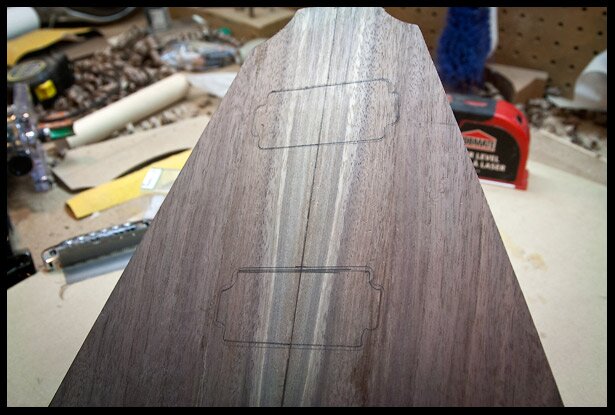
Drawing the location of the pickups
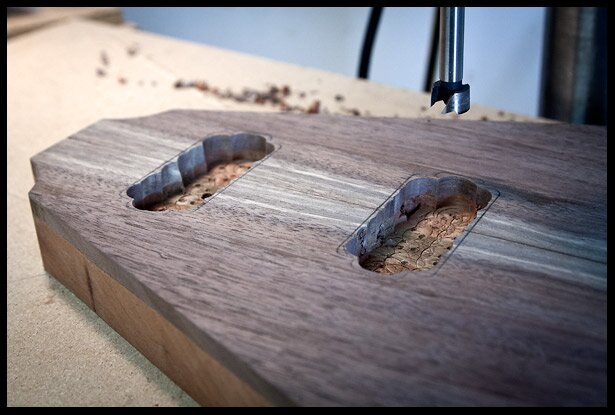
Drilling out the majority of the wood with a Forstener bit on the drill press
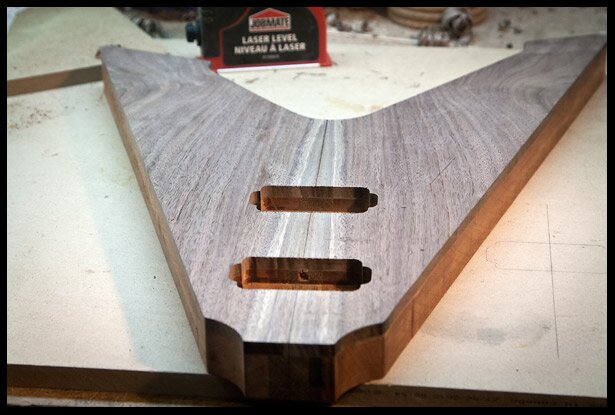
After routing the pickup cavities
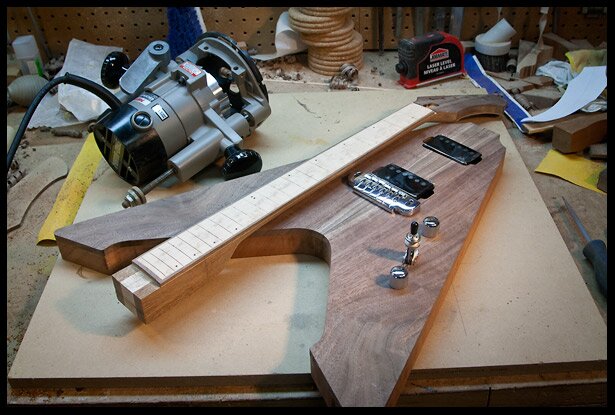
The neck and body with hardware mock-up
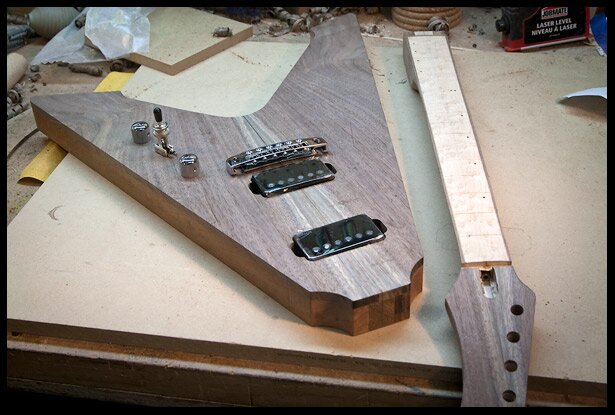
Another look at the neck and body
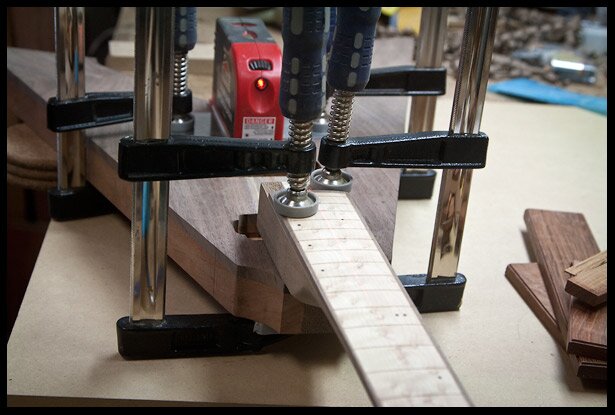
Aligning the neck to the body using a laser
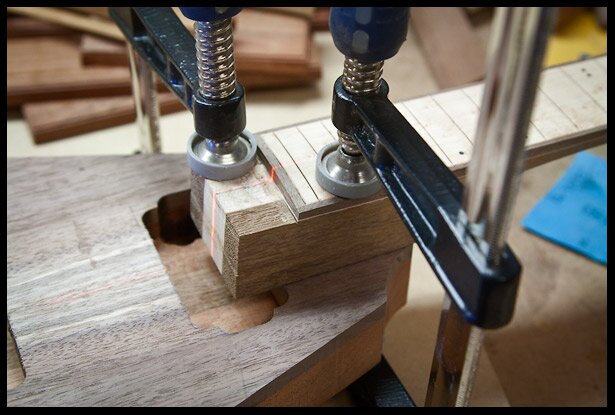
A closer look at the neck alignment
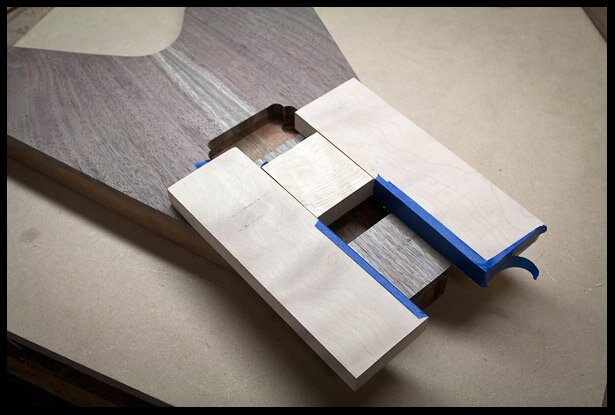
The neck pocket template is made with straight pieces of wood and some tape is added to create a tiny shim to make the pocket slightly smaller in order to get a tight fit.
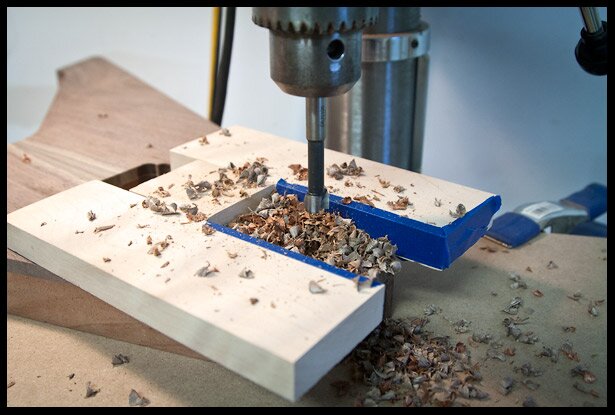
Removing the bulk of the wood in the neck pocket with a Forstener bit on the drill press
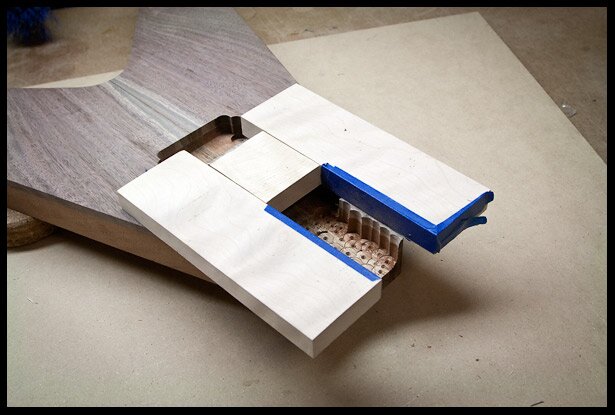
Most of the wood is removed from the neck pocket
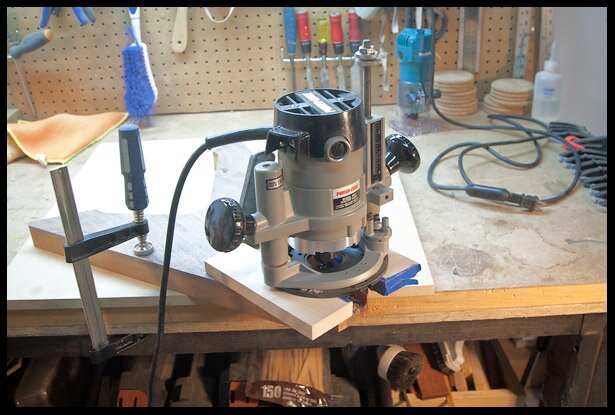
Removing the remaining wood with a router and a template following bit
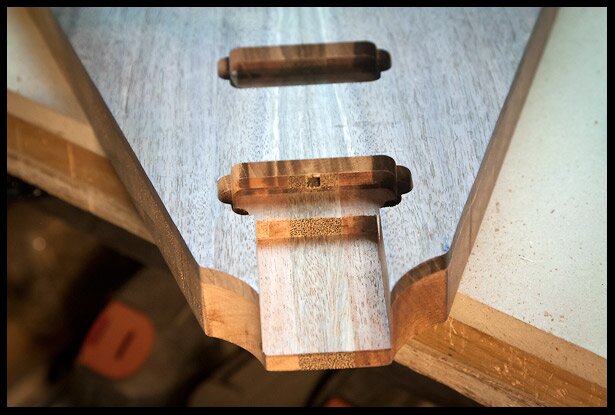
The neck pocket is carved out, it goes half way through the pickup cavity
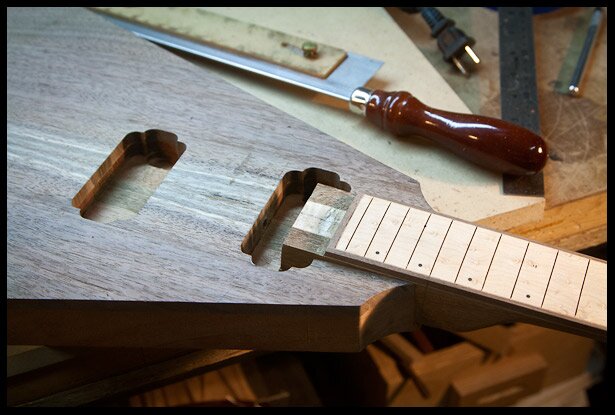
Fitting the neck in the pocket, it’s a perfect tight fit
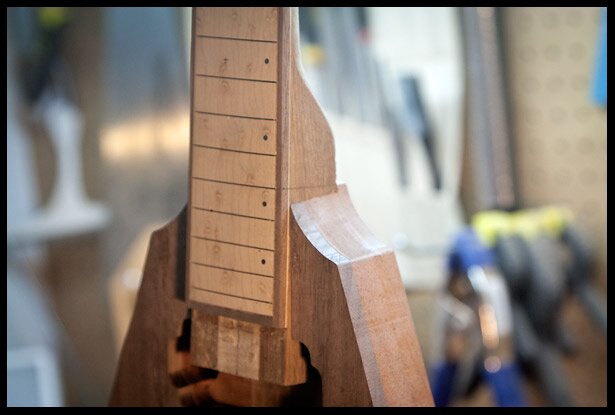
A look at the neck in the pocket
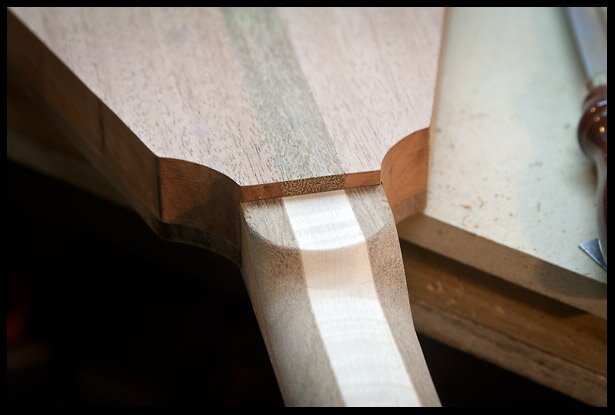
A look the back of the neck pocket
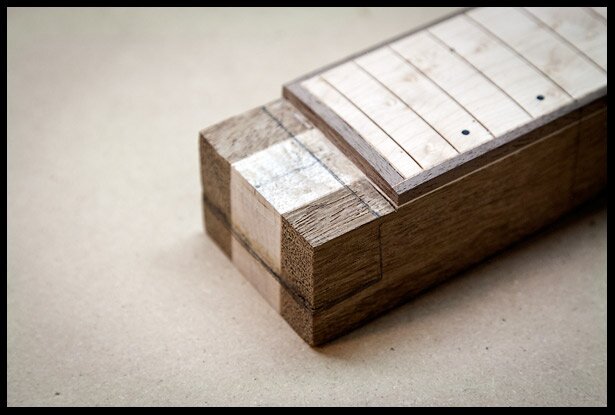
Preparing to cut the heel
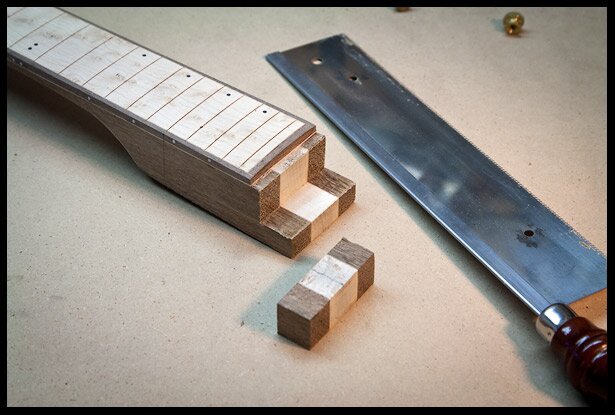
Cutting the heel to fit properly in the neck pickup cavity
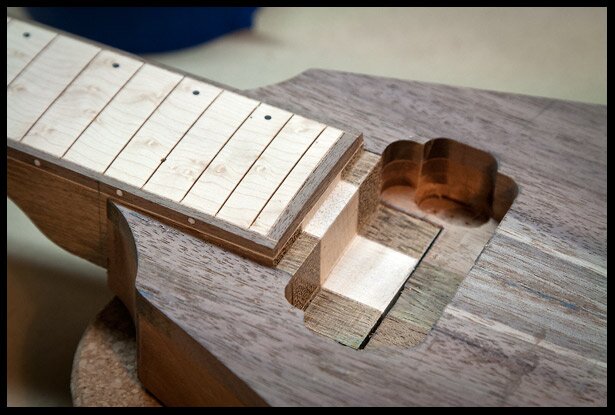
The neck heel fitting in the neck pickup cavity
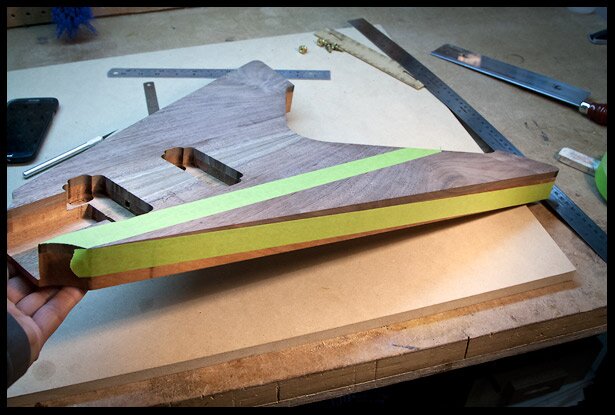
Masking to mark the carve area
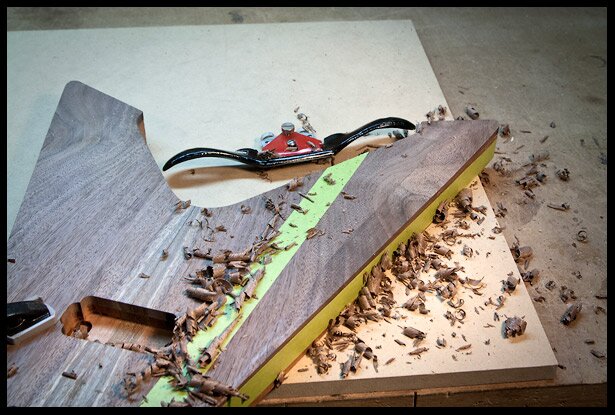
Starting to carve the top of the body
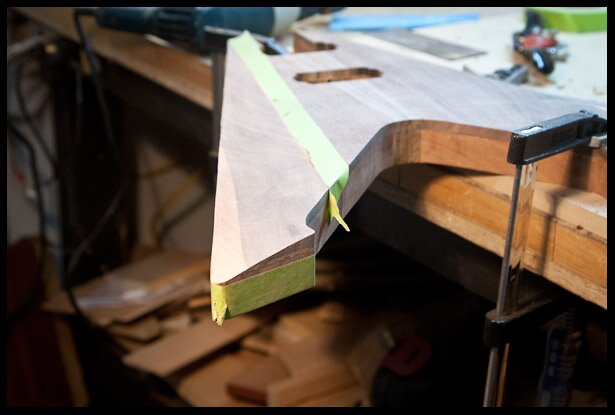
Carving nearly done…
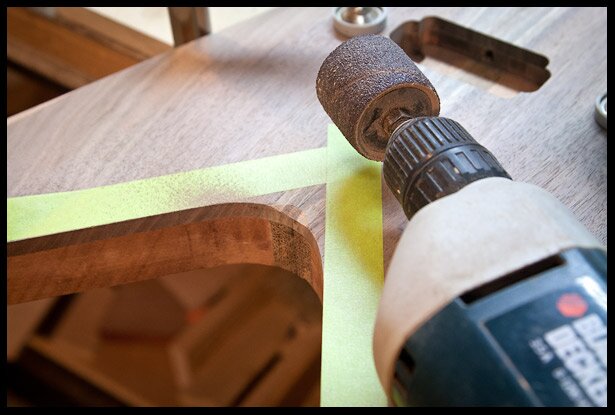
Preparing to carve between the V
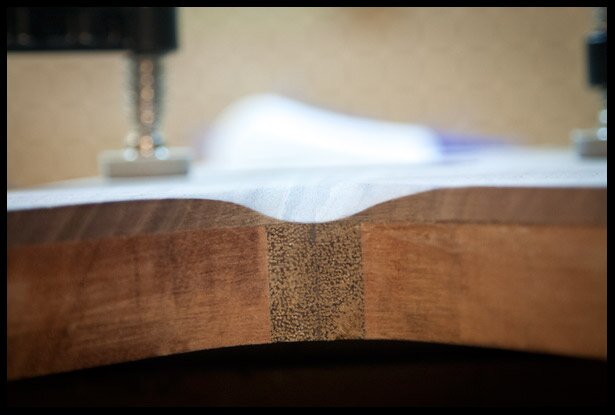
Carving nearly done…
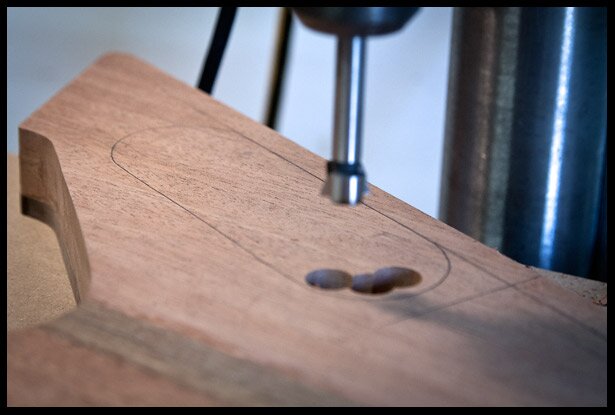
Drilling away most of the wood for the electronics compartment
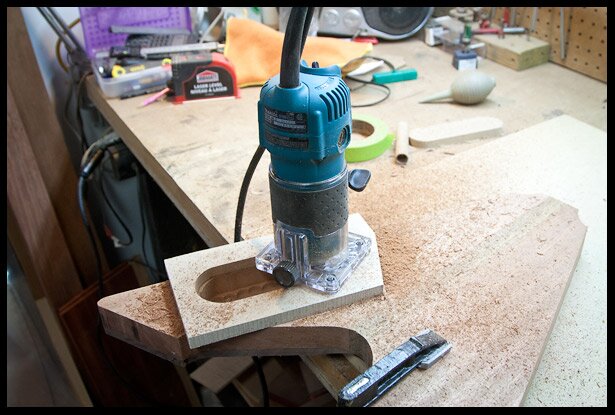
Routing the electronics compartment cavity
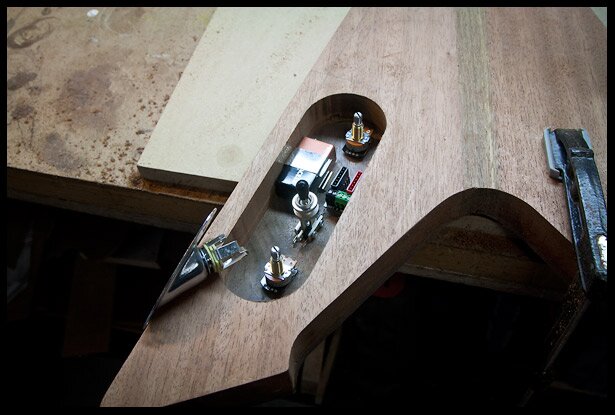
Checking the electronics in the cavity
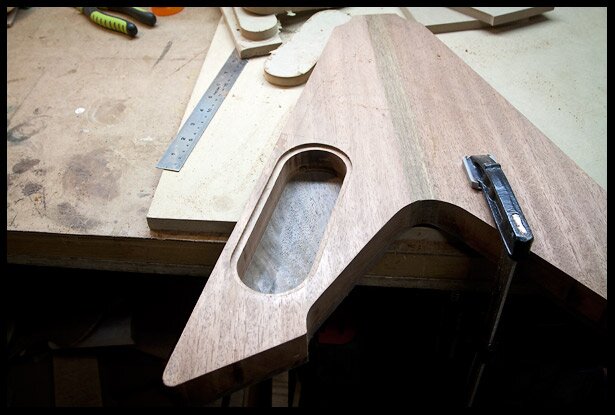
The electronics compartment cavity is complete
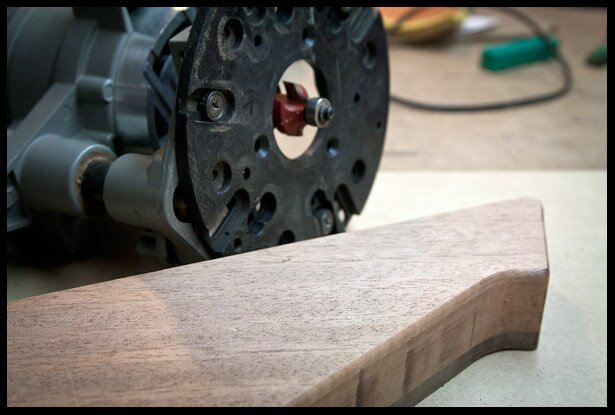
Rounding over the edges on the back. I will round over the front edges by hand later.
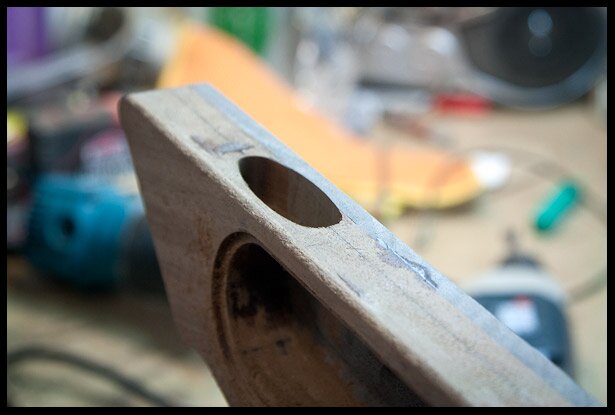
Recessed output jack cavity carved
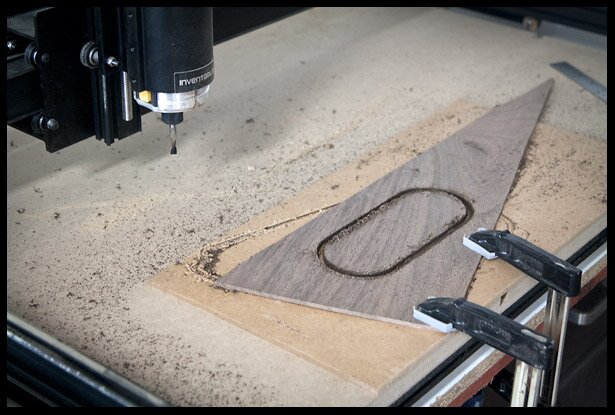
Carving the electronics cavity cover on the cnc
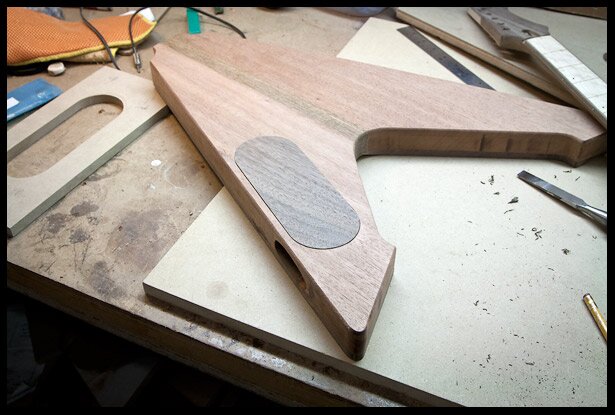
Fitting the cover
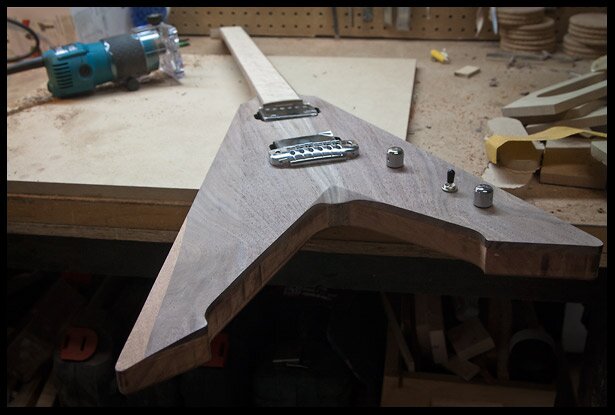
Status update back view
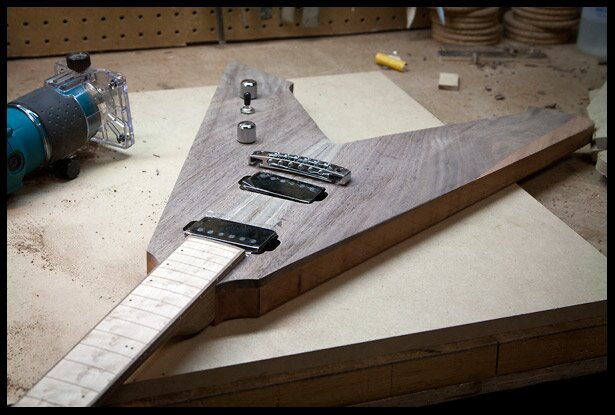
Status update front view
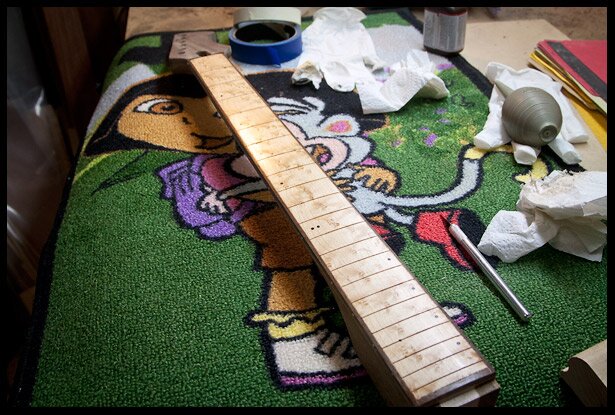
Oiling the fretboard, Dora likes it!
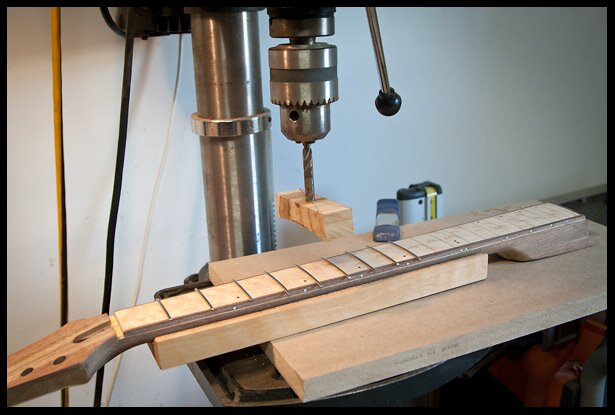
Pressing the frets
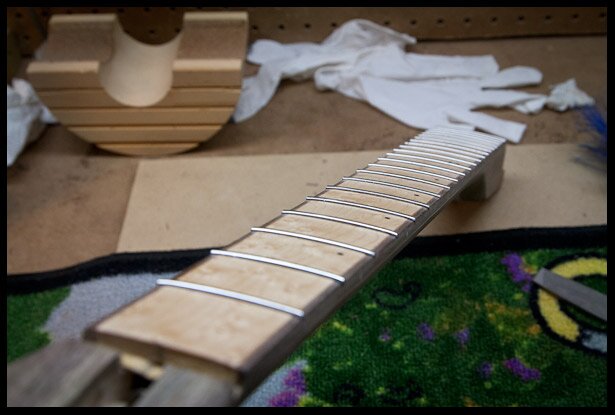
Frets are in
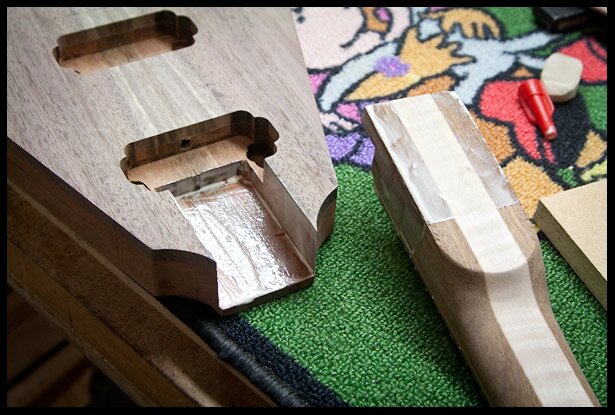
Spreading a thin layer of glue on both faces of the neck joint
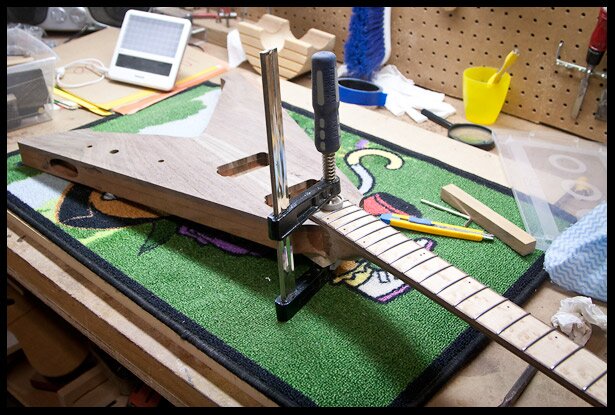
Clamping the neck while the glue dries
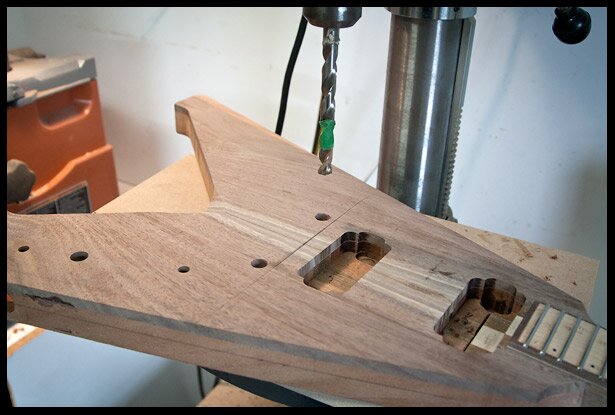
Once the neck is glued in, I calculate and drill the holes for bridge posts
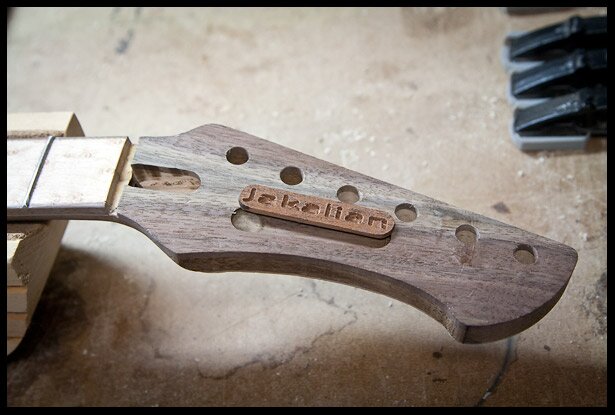
Preparing the headstock inlay
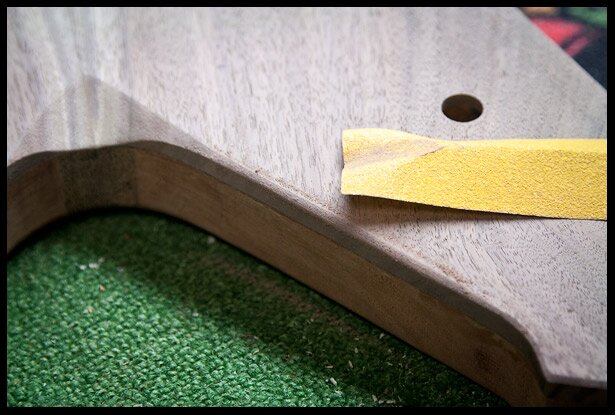
Adding a round over on the front of the body
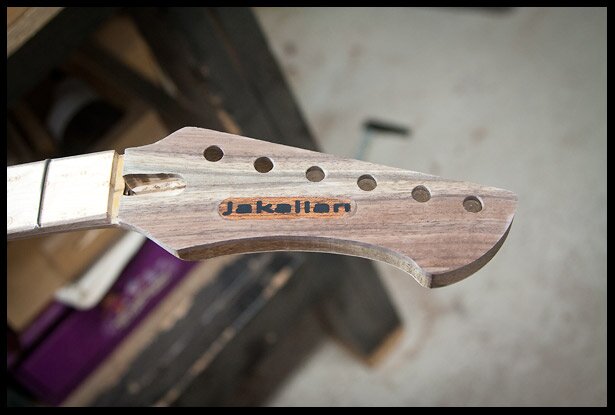
The headstock inlay in done
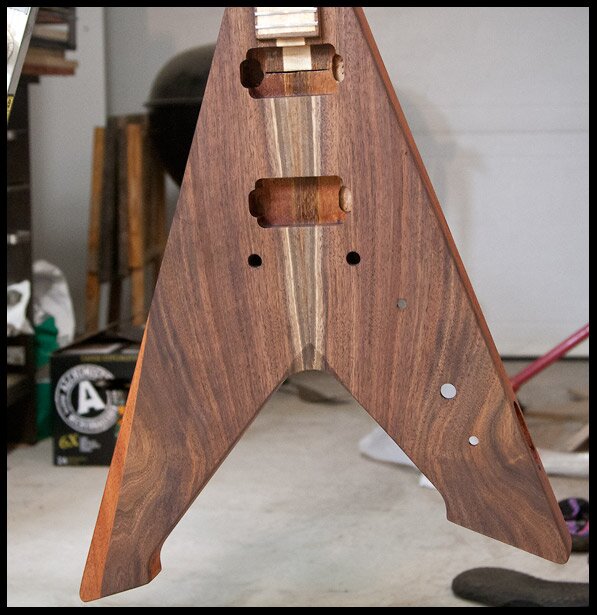
After much sanding, the finishing process has begun. I’m applying an oil finish. This is after one coat.
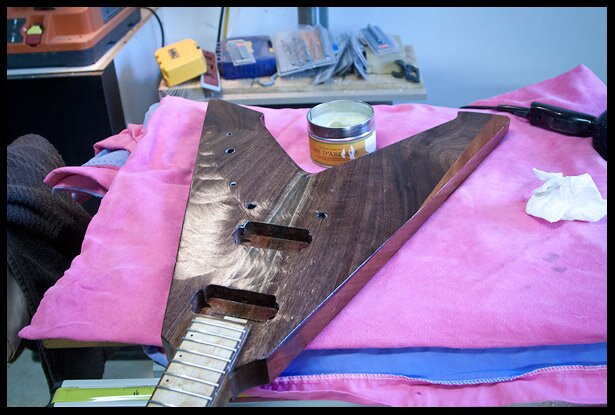
Once the oil is cured, I apply a coat of wax and buff it
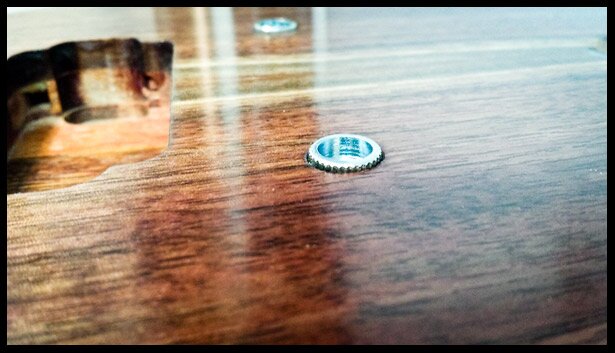
Start installing some of the hardware
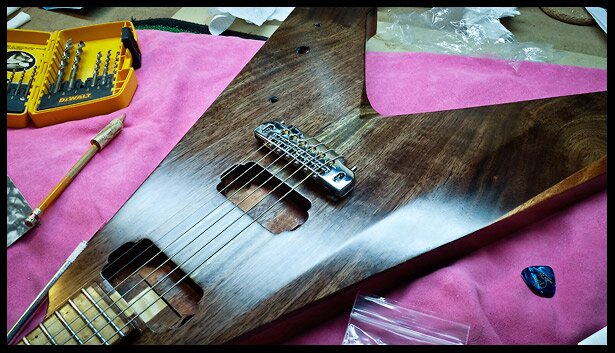
Testing the string spacing
Vanity Photos


Buy The Plans For This Build

Love it man. I was wondering if you have any references for where I can obtain the Vulture body and headstock template files. I’ve been searching for this for a while with no luck.
This is far beyond craftsmanship – this is art! What a wonderful build diary. Can’t wait for updates!
Thank you Marc, I appreciate it.
Templates for the body, neck and headstock? thanks