Custom Gibson Les Paul Guitar Build Diary
Here are the specs:
- one-piece African mahogany back
- book-matched flamed maple top carved
- 24-3/4″ scale length
- wenge fretboard with flamed maple binding on the inside
- 7-piece lamined neck: mahogany / wenge / mahogany veneer / flamed maple / mahogany veneer / wenge/ mahogany
- see below for more…
Short Demo
Build Photos (many!)
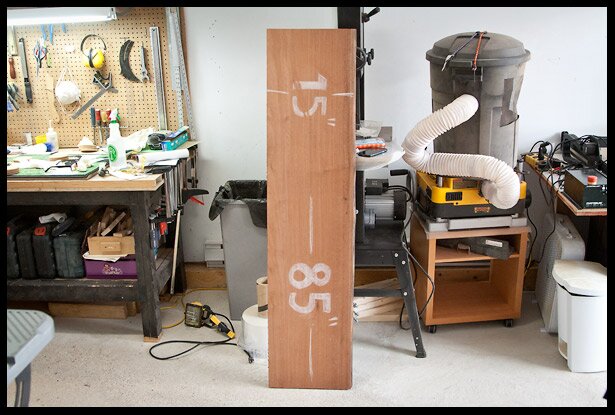
Starting with a nice piece of African mahogany
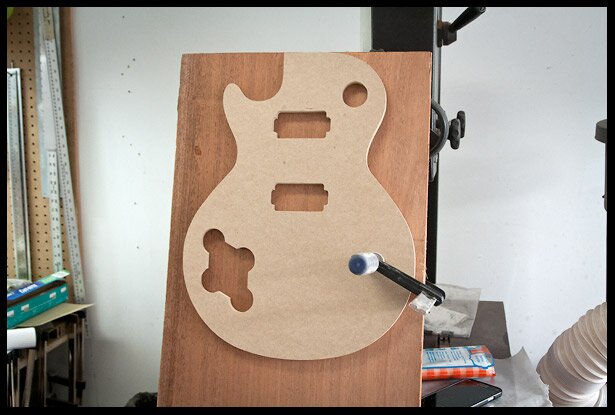
Sizing the mahogany with the template
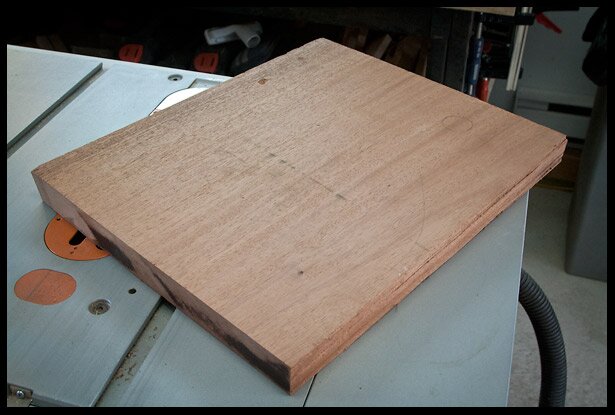
1-piece mahogany cut
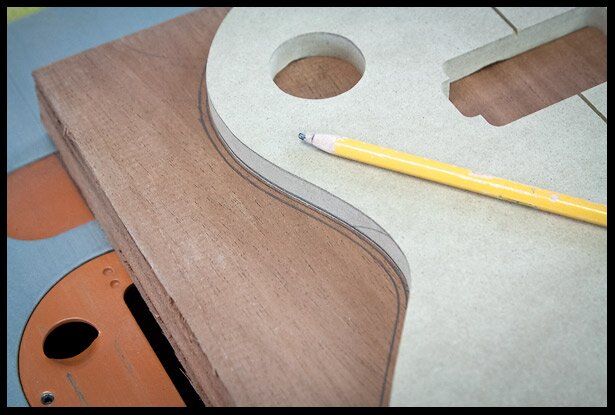
Tracing the shape of the LP
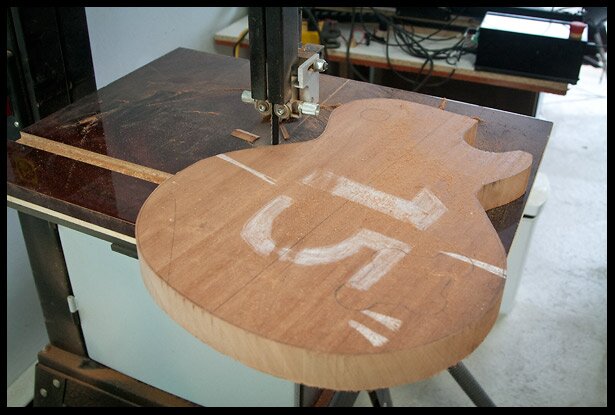
The LP shape is rough cut on the bandsaw
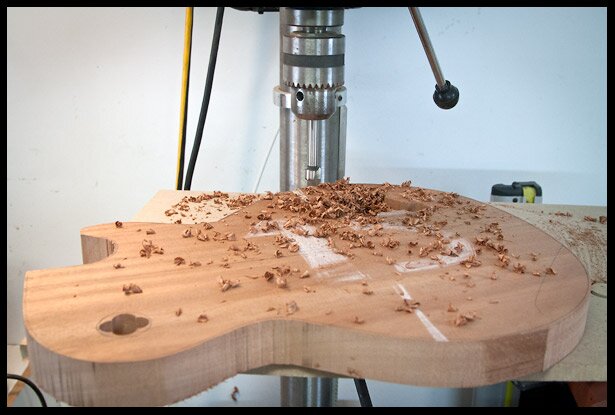
Drilling the majority of the wood from the electronics cavity before using a router
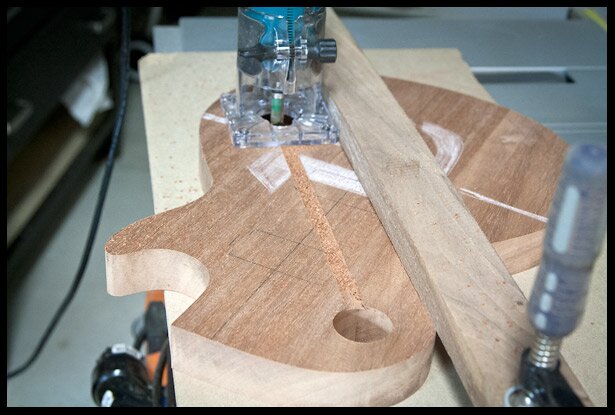
Routing the switch channel
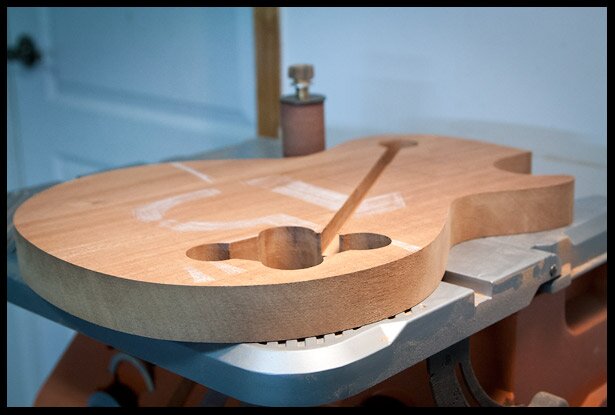
Cleaning up the edges on the oscillating spindle sander
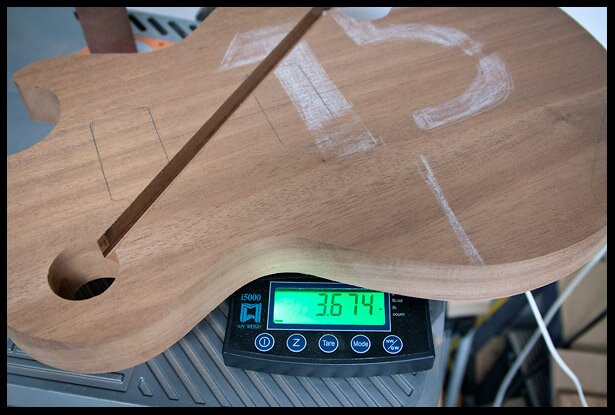
The mahogany body weights 3.7lbs. That’s just about where I want it, so I won’t carve any weight relief. I expect the final guitar to weight between 7.5 and 8 lbs.
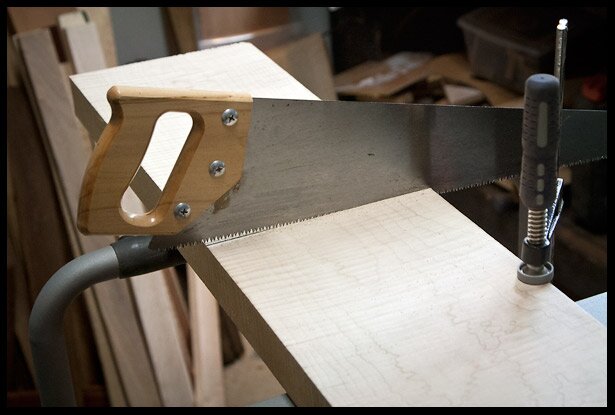
Hand sawing a piece of flamed maple
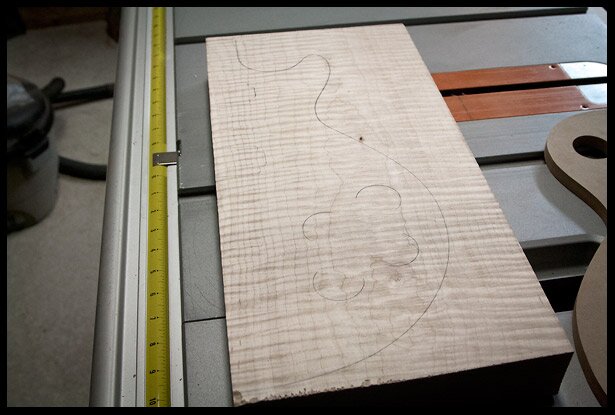
This will be a bookmatched piece
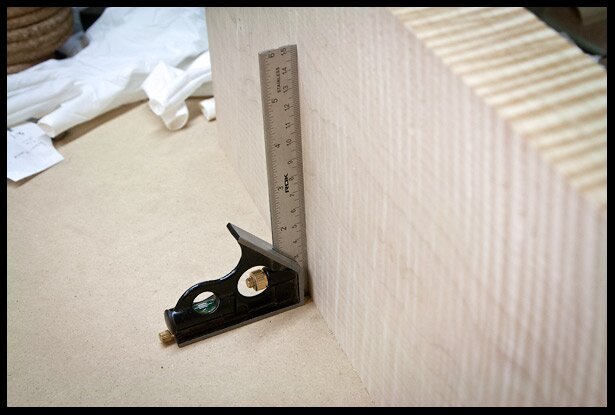
Making sure one edge is perfectly square so I can take it to the band saw
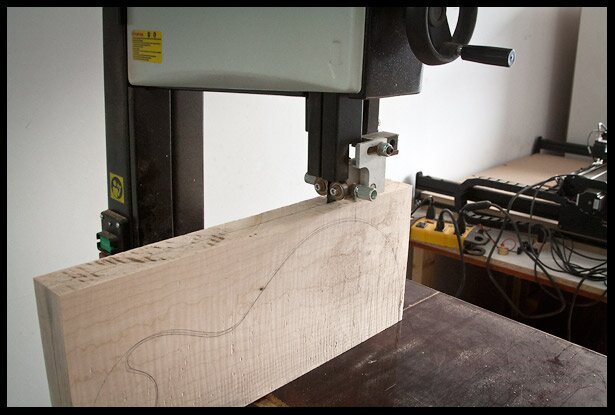
Ripping the maple into a book-matched set using a 3/4″ blade
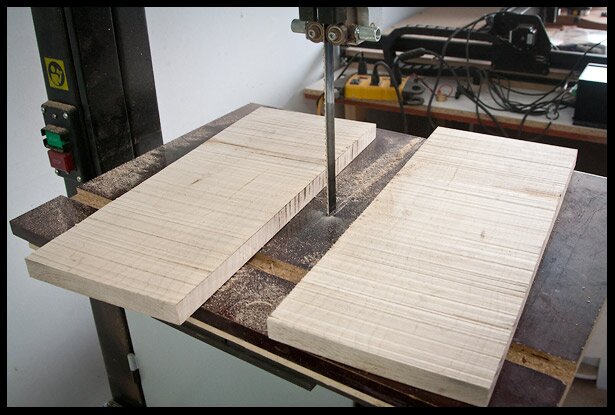
Not my best cut but I have plenty of thickness to plane it.
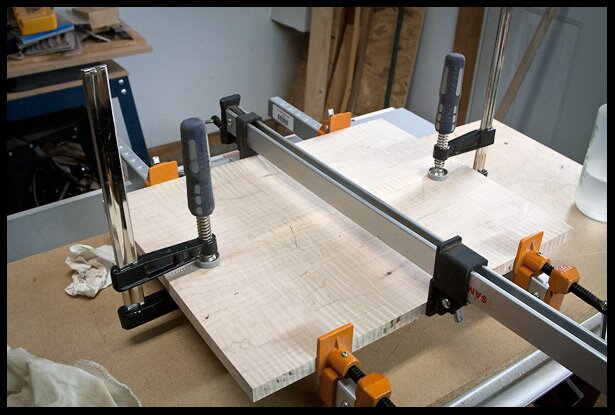
Gluing and clamping the book-matched set
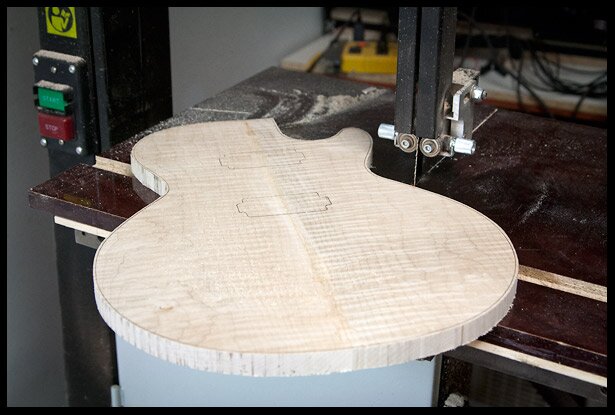
Rough cut the body shape on the band saw
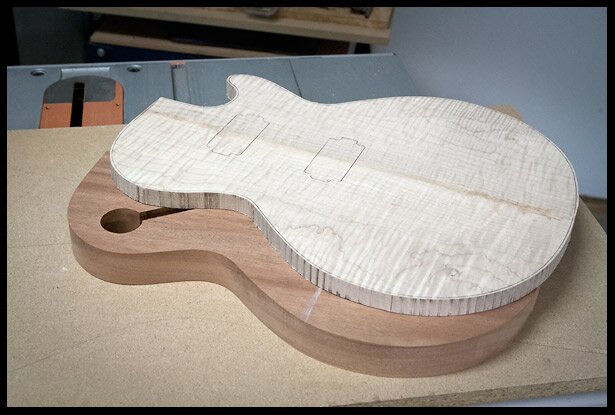
The two pieces
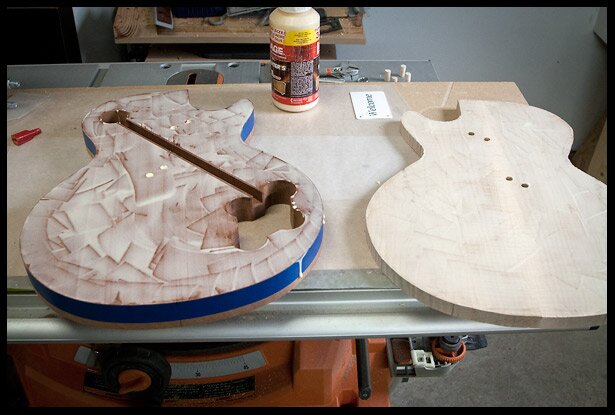
Applying glue to the two faces
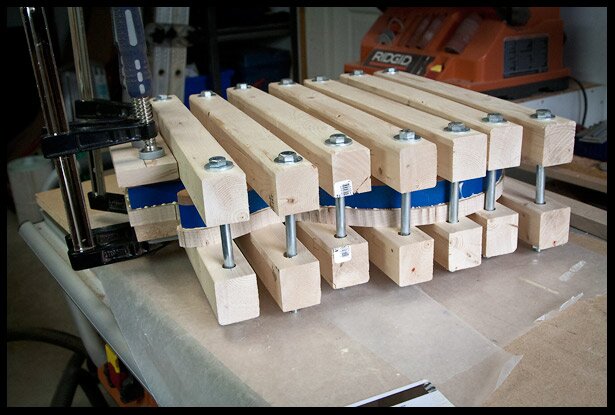
Gluing and clamping the top and bottom
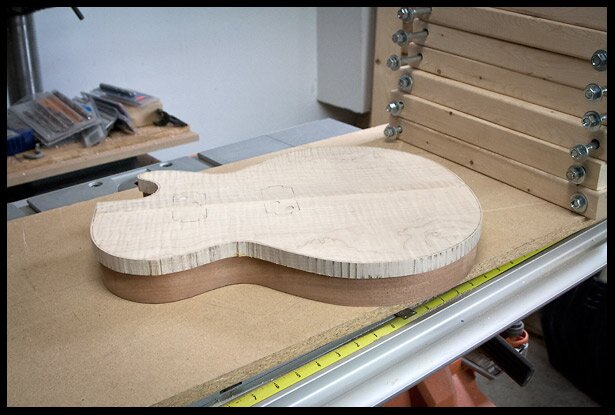
Out of the clamps after the glue has dried overnight
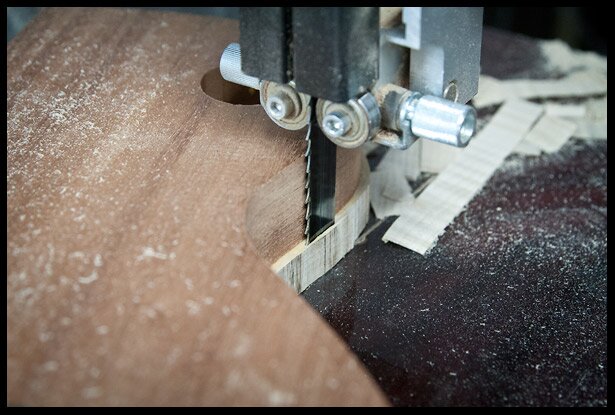
Removing excess maple on the bandsaw to make it easier for the router bit
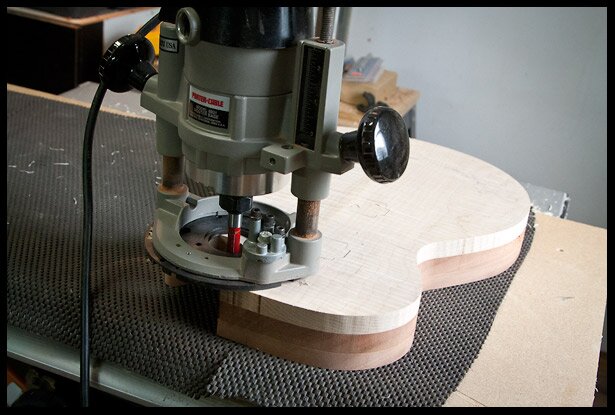
Making the maple flush with the mahogany. Using a flush trim template following router bit, the mahogany is the template in this case.
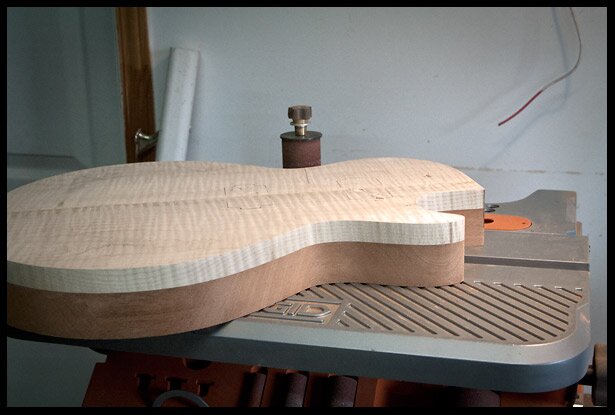
Cleaning the router bit scratched on the spindle sander
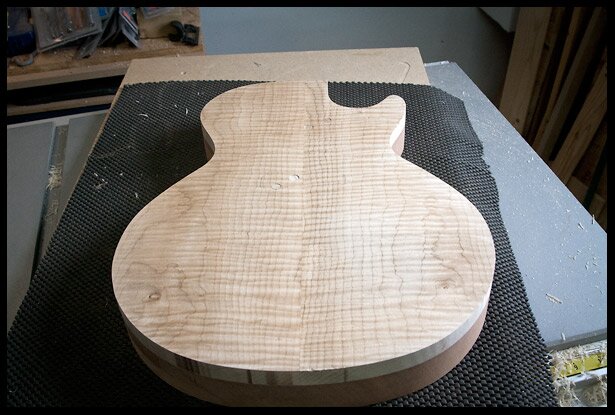
What’s been done so far…
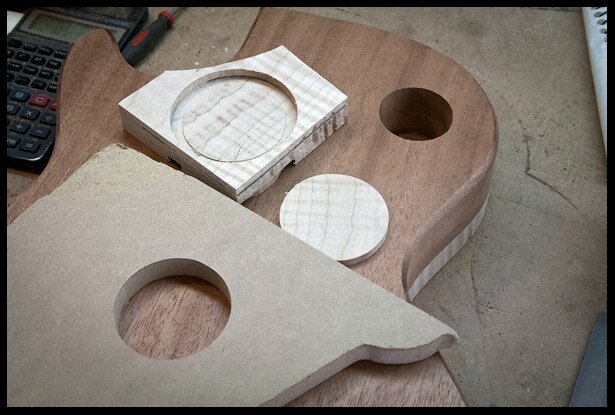
Carving for the switch cavity cover
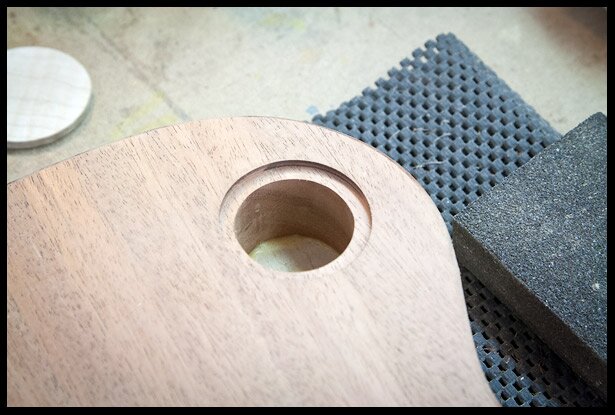
Switch cavity
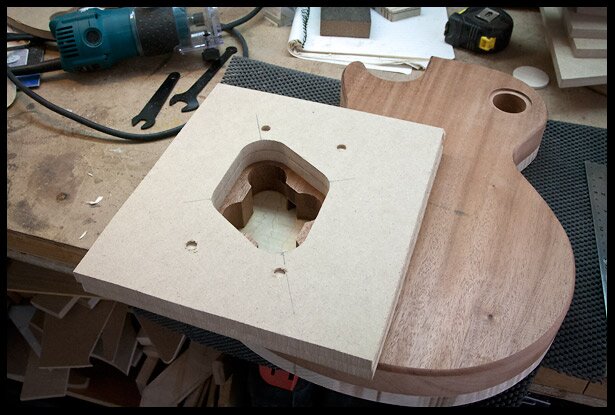
Carving for the electronics cavity cover
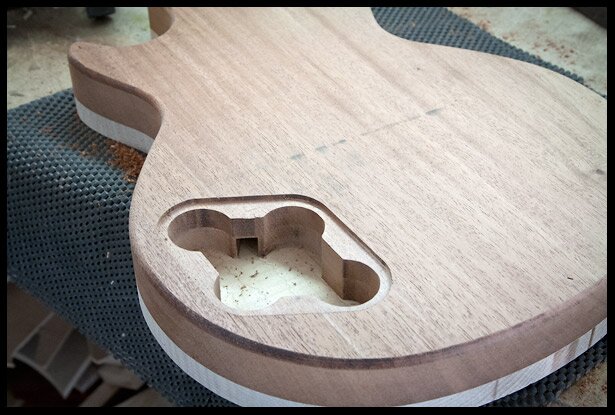
The electronics cavity
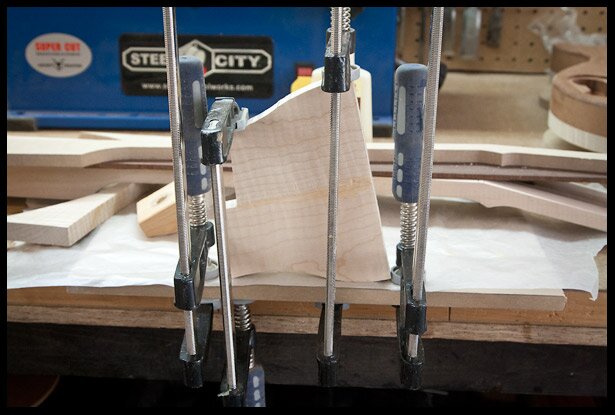
Gluing two pieces of flamed maple to make a cavity cover
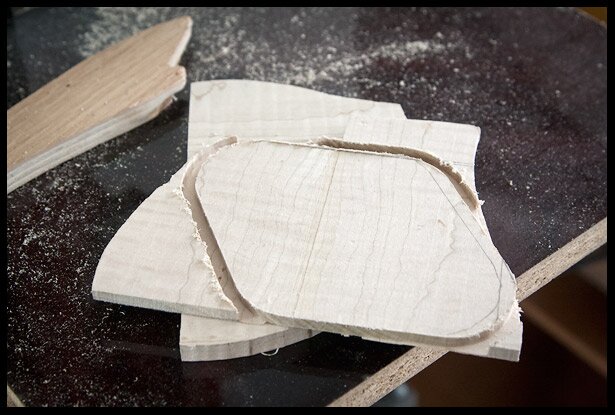
Carving out the cavity cover on the cnc
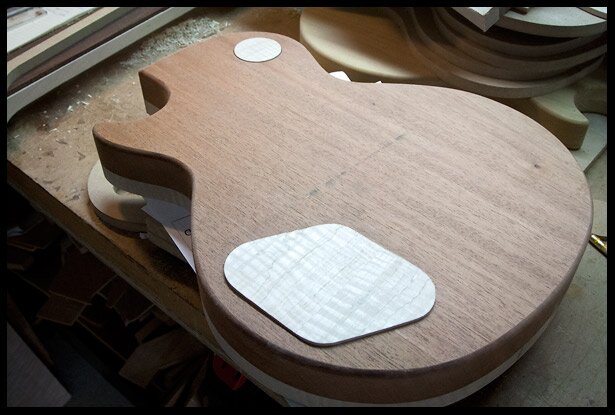
Test-fitting the covers, they are still high and will eventually be sanded flush with the body
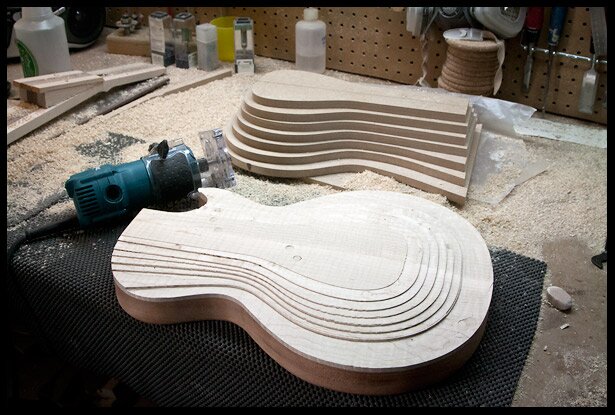
Carving the steps on the maple top
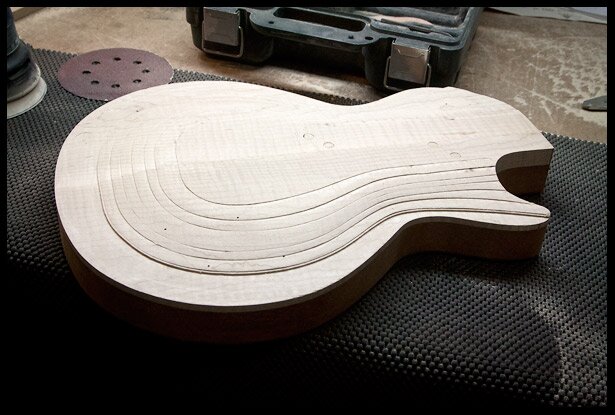
Starting to removing the step with the random orbit sander
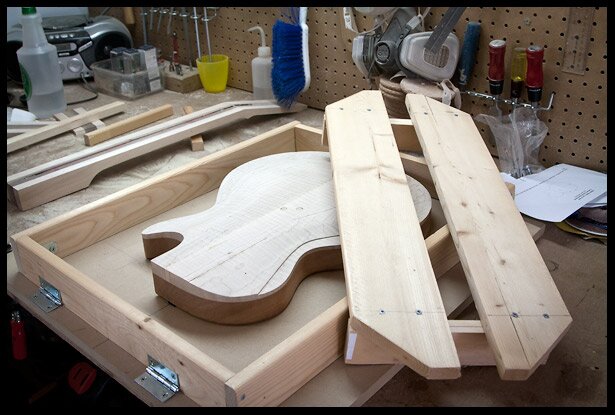
Preparing to route the neck-plane angle
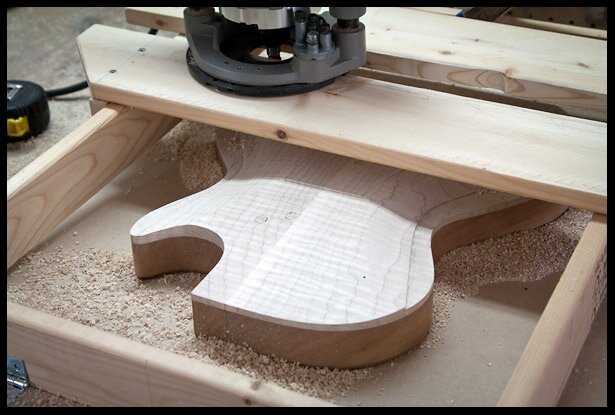
Neck-plane angle is cut
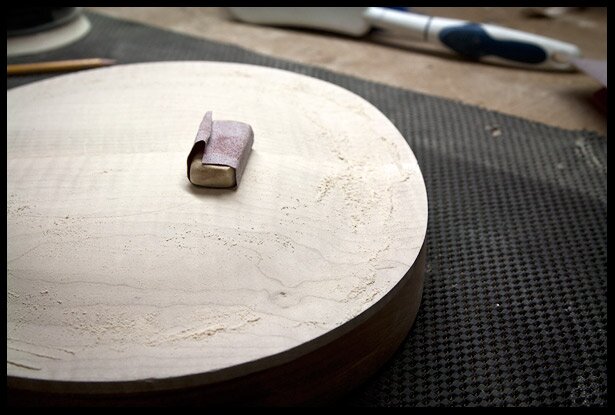
More sanding the top
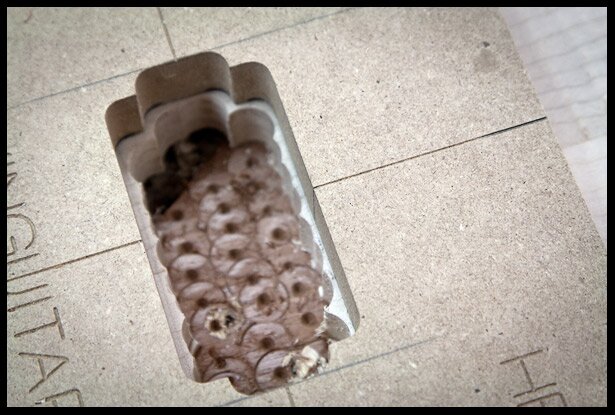
Drilling out the bridge pickup cavity on the drill press
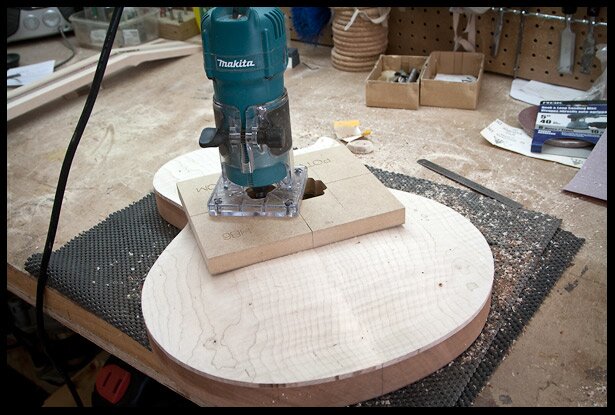
Routing the neck pickup cavity
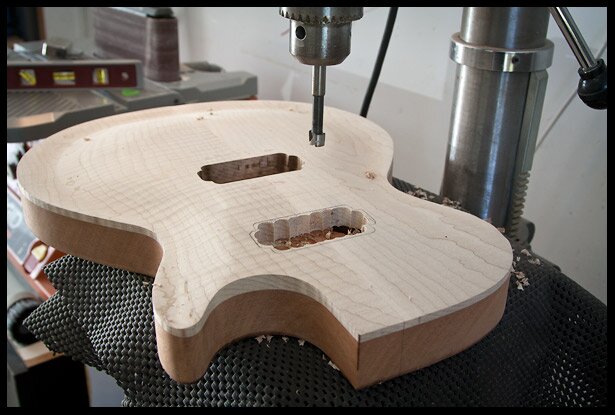
Drilling out the neck pickup cavity
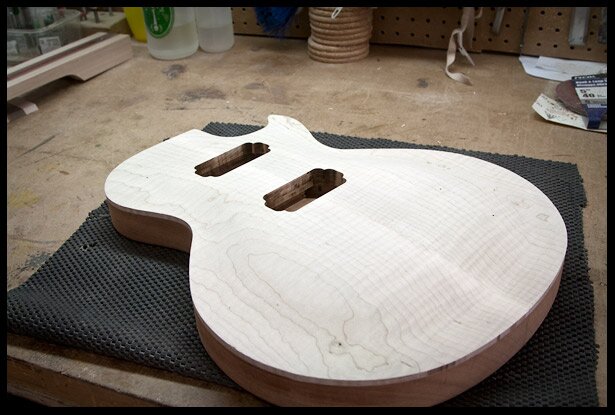
Both pickup cavities are routed
Starting to build the neck…
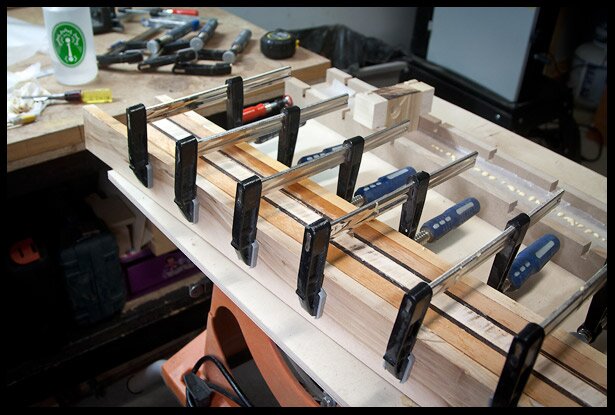
Laminating the neck blank. You can watch a video of how I built this neck blank
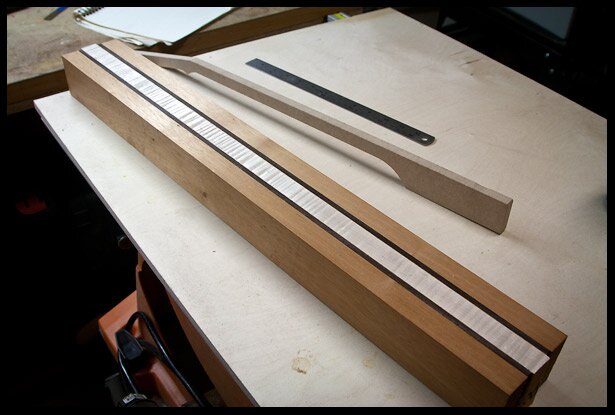
The neck blank after passing through the planer
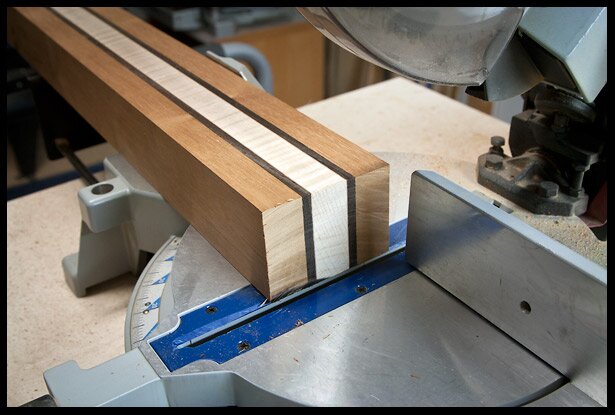
Trimming the end to proper length
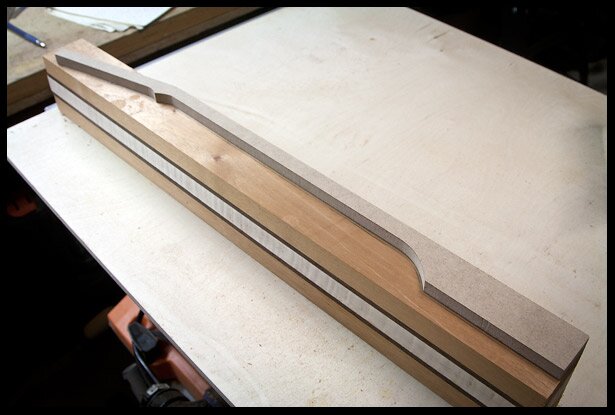
Tracing the neck profile onto the blank
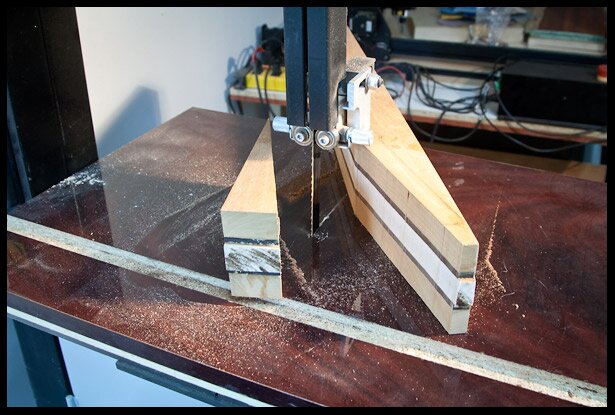
Cutting the angle for the headstock on the bandsaw
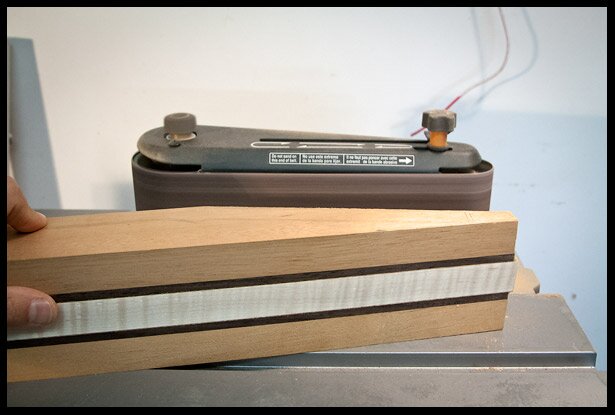
Cleaning the cut marks
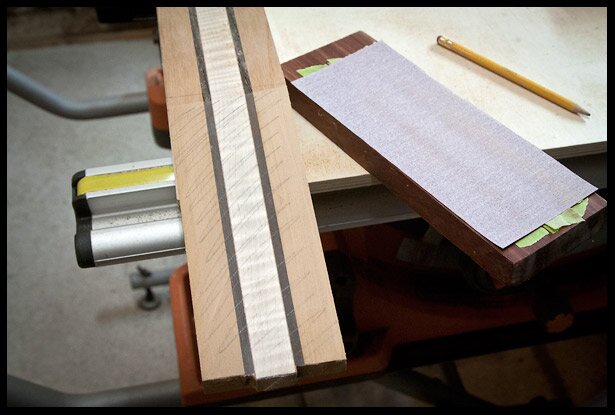
Fine sanding the headstock top with a sanding block
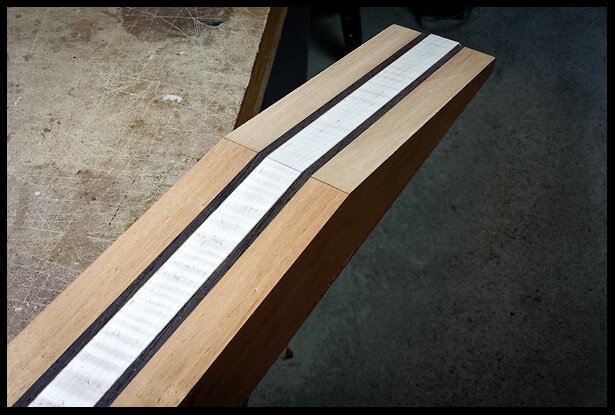
The neck so far…
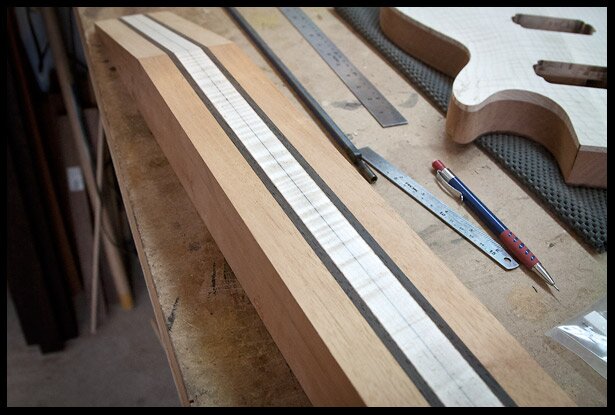
Drawing the centerline
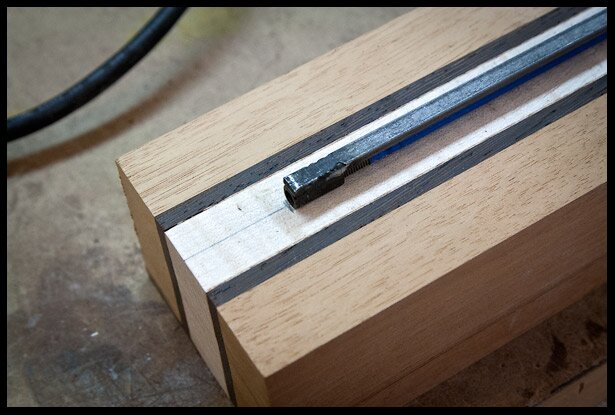
Marking the end of the truss rod
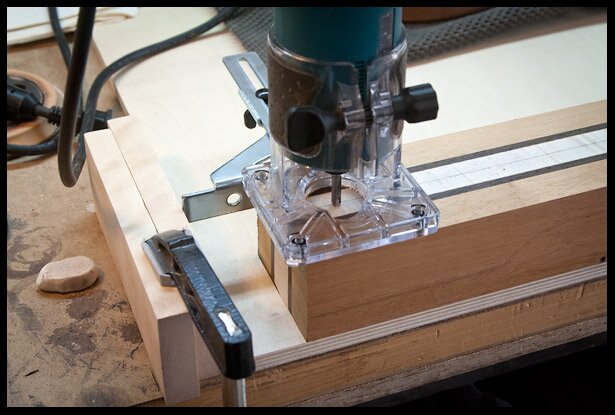
Positioning a stopper at the end… there’s also one at the headstock
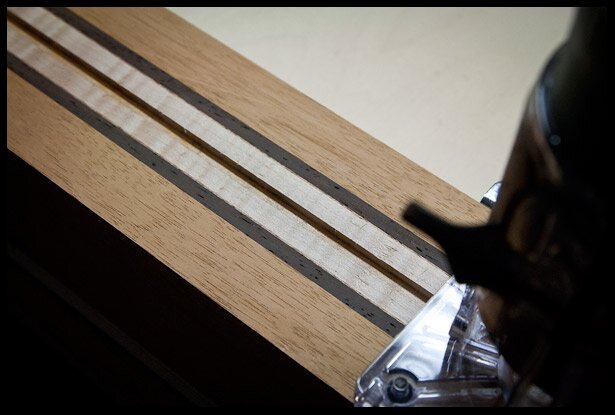
Carving the truss rod channel
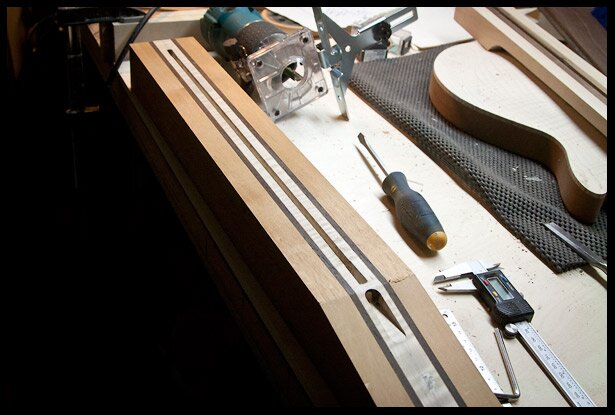
Truss rod channel and access cavity are carved
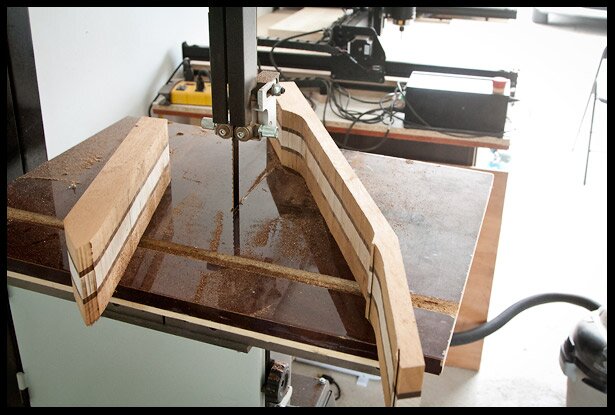
Rough shaping the back of the neck
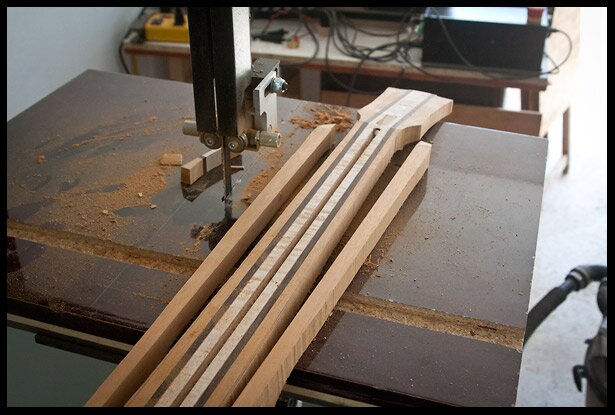
Rough shaping the top profile
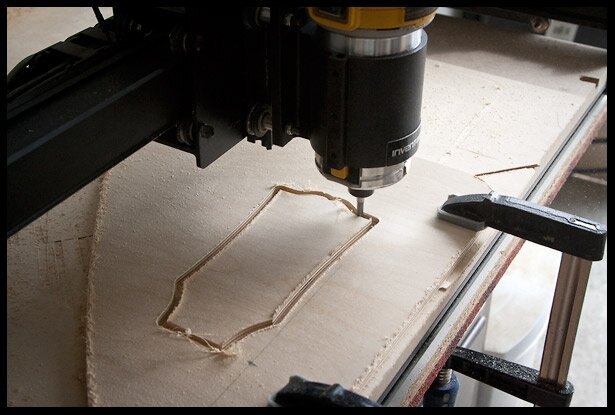
Making the headstock shape template on the CNC
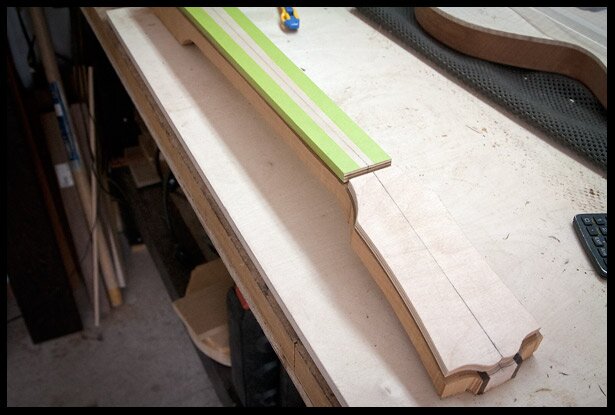
The neck and headstock templates are held in place with masking tape and super glue
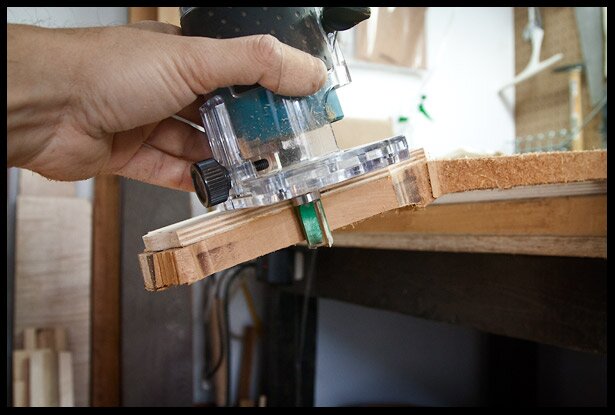
Trim routing with the template
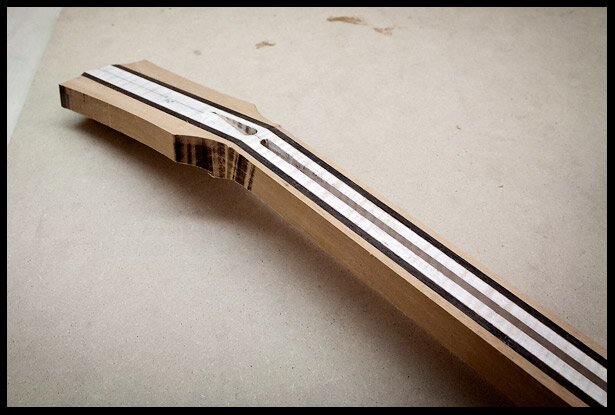
The neck is shaped, need to clean those burn marks
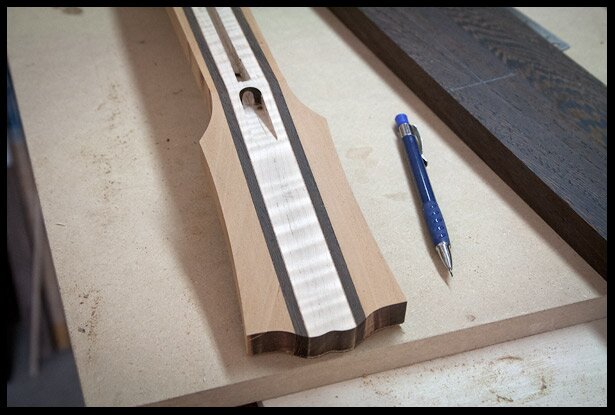
The headstock is shaped
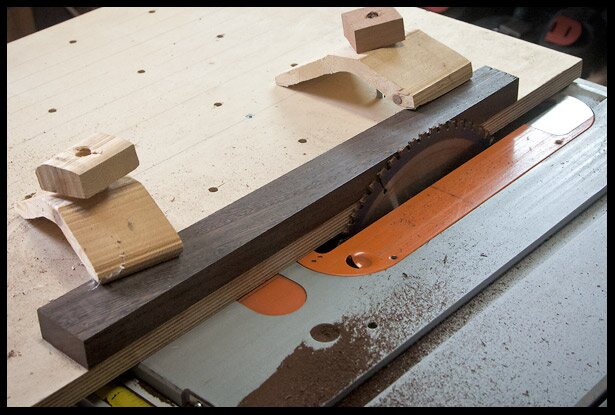
Cutting the wenge to fretboard dimensions
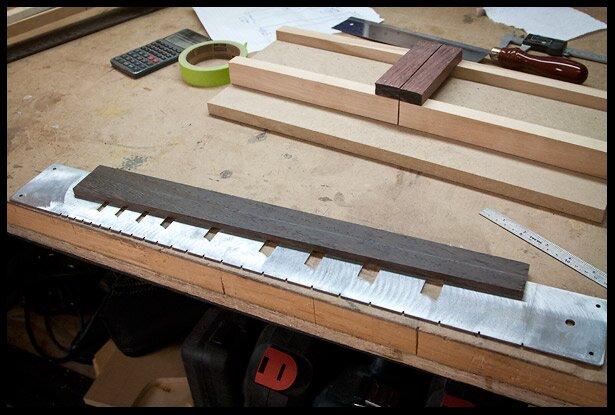
Preparing to cut fret slots
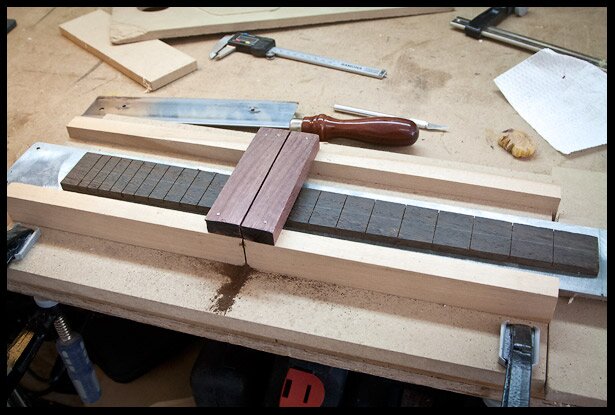
Fret slots are cut
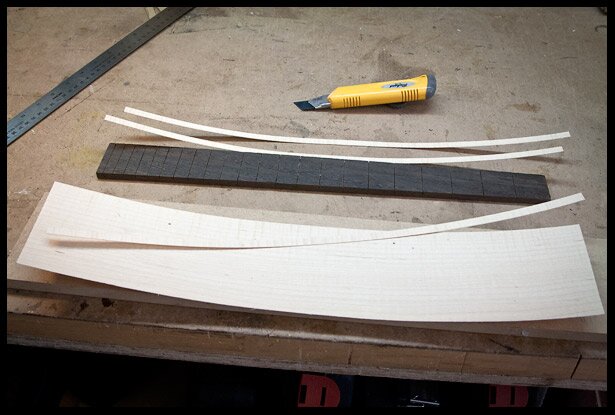
Cutting stripes of maple veneer for binding
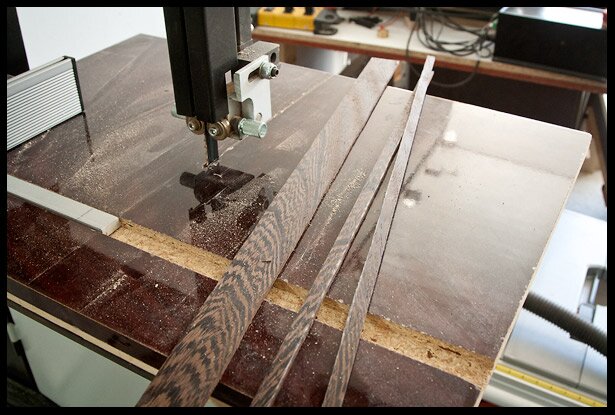
Cutting stripes of wenge for binding
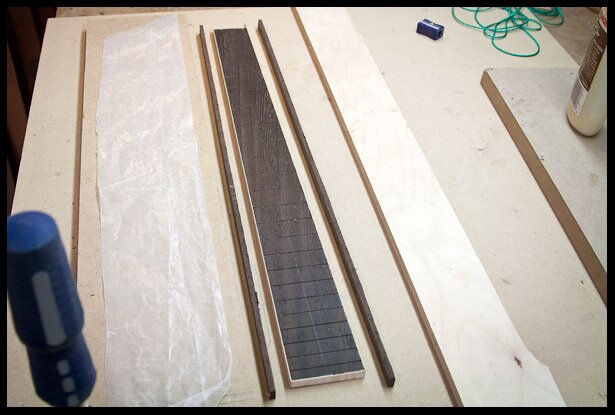
The maple is veneer is glued on are the wenge is next
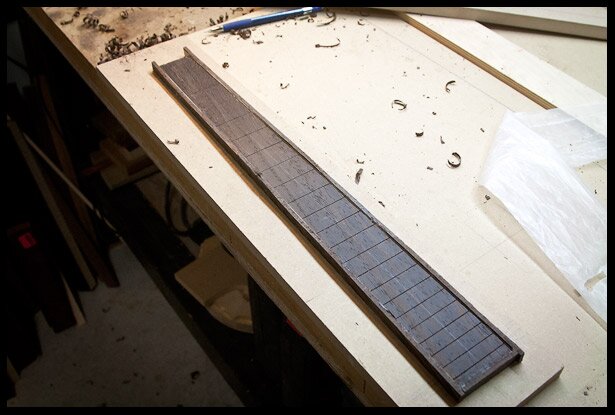
The fretboard is bound, needs some cleaning up
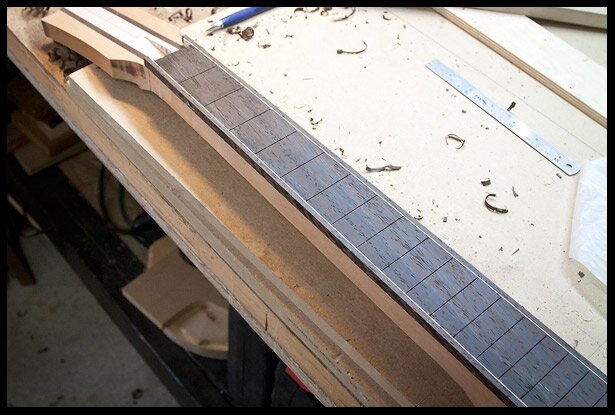
After planing it flat
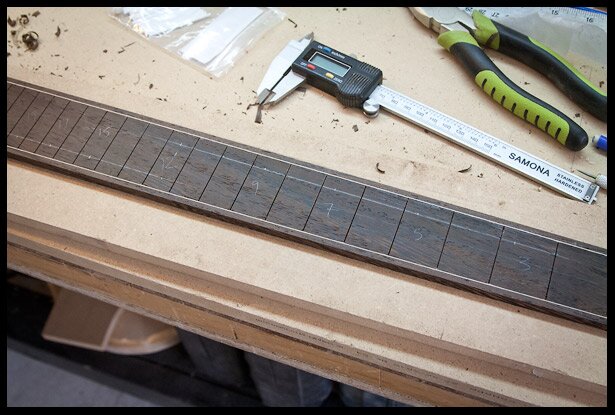
Making the positions of the markers
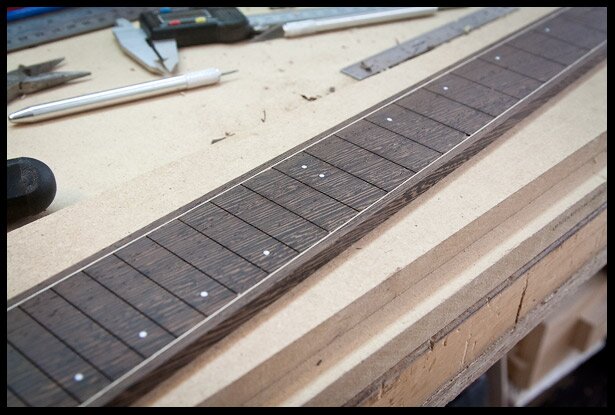
Fret markers are added
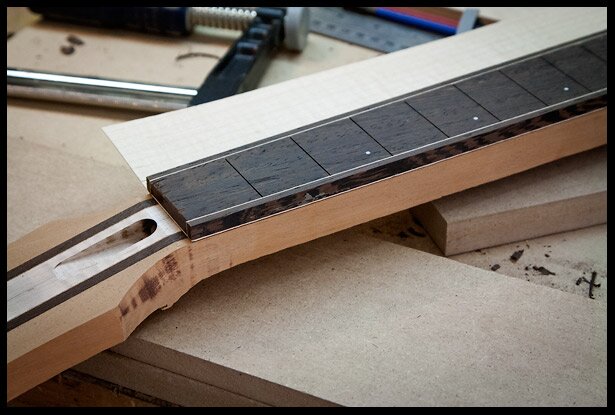
A look at the fretboard on the neck with a maple veneer between them
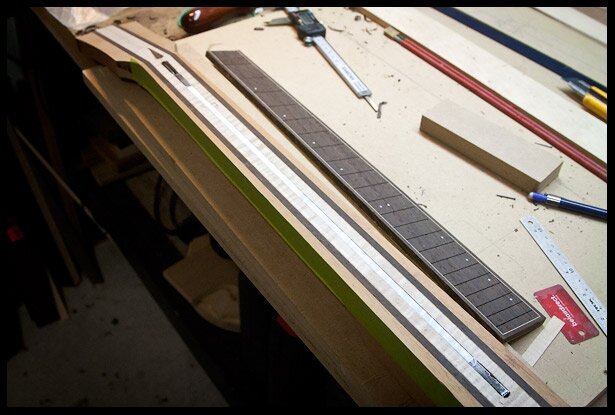
Truss rod in installed in the channel and the fretboard is ready to be glued on (see my article on how to install a truss rod and fretboard)
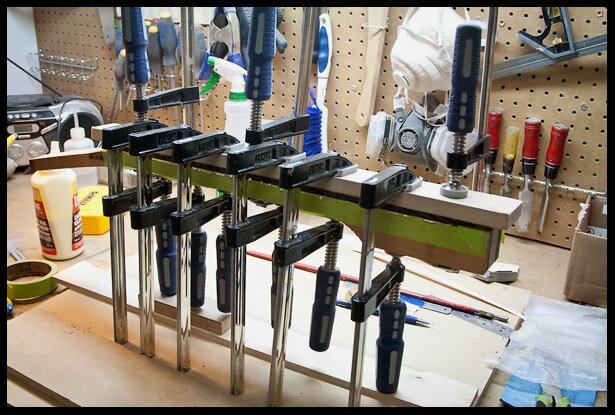
Fretboard is glued and clamped. The green tape is there to prevent glue from spreading on the neck.
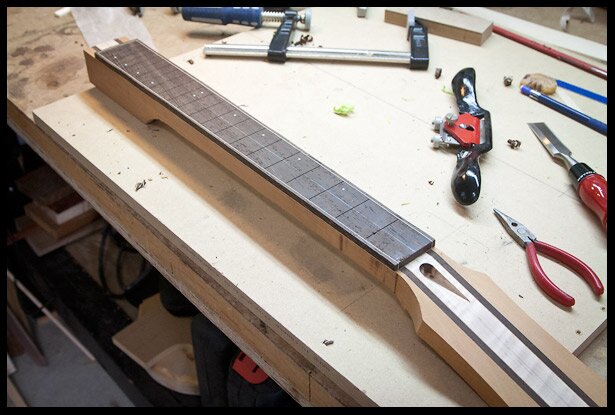
After the glue has dried and the clamps removed
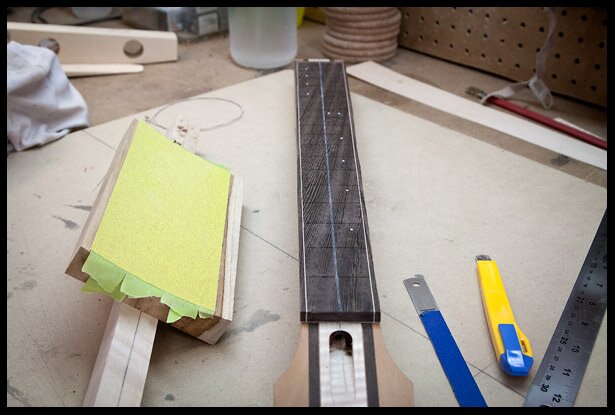
Starting to create the radius on the fretboard
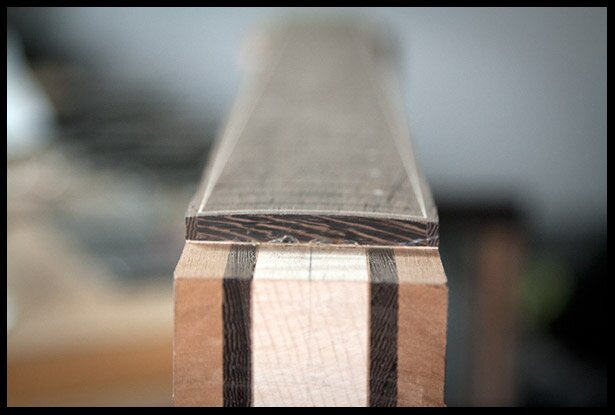
A 12″ radius created on the surface of the fretboard
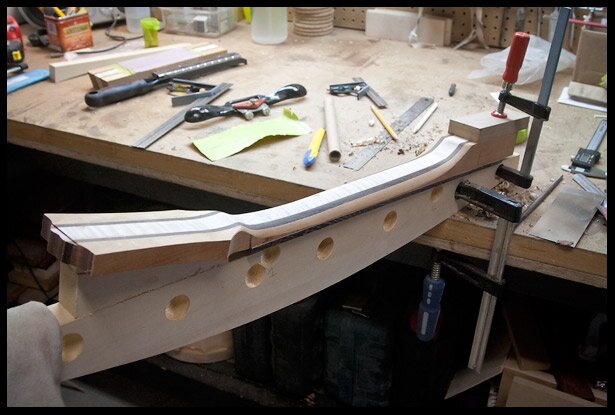
Starting to shape the back of the neck
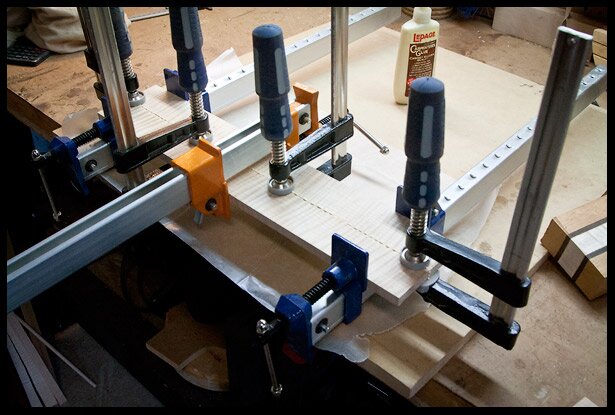
Gluing and clamping maple to make the bookmatched headstock veneer
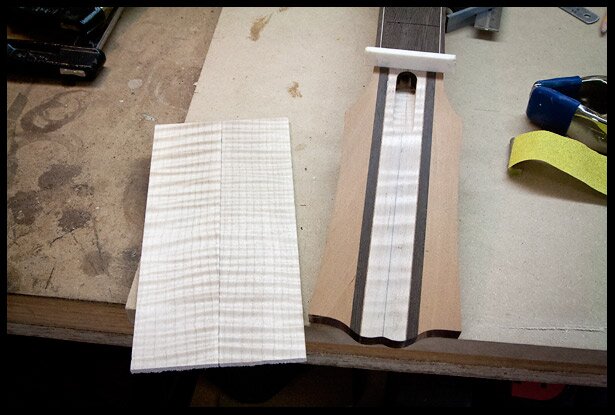
The headstock veneer ready to be glued
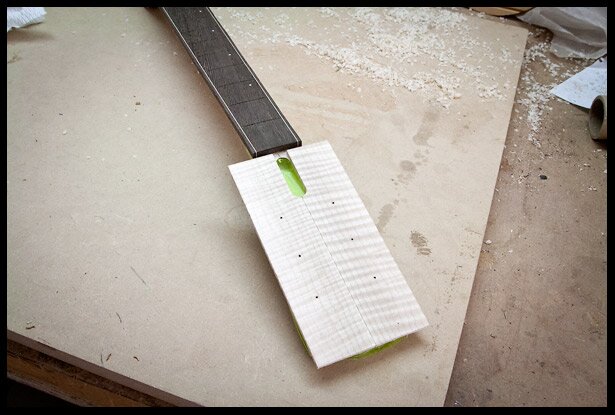
The maple veneer is glued on
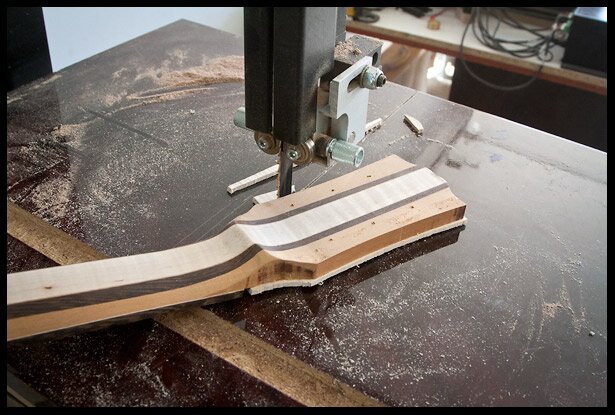
Excess is trimmed on the band saw
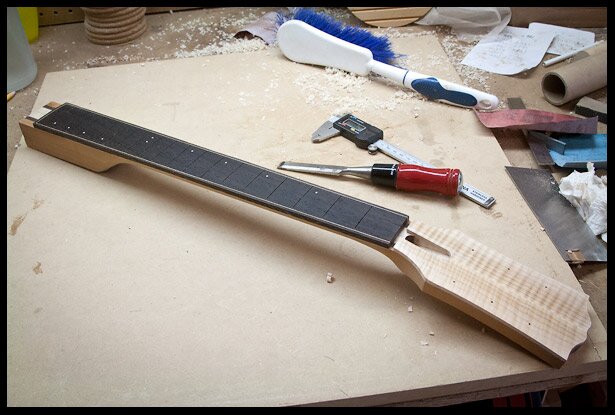
After cleaning the edges and a wipe of mineral spirits
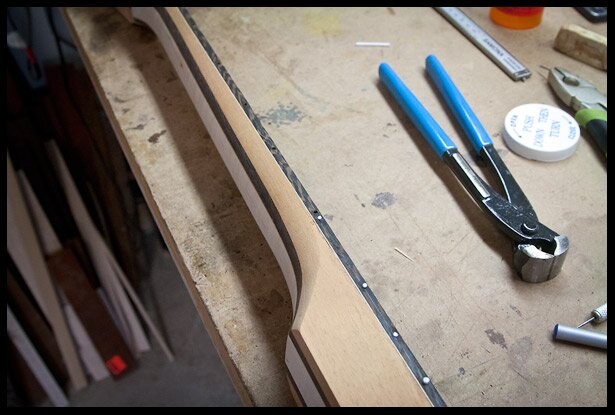
Installing the side dots
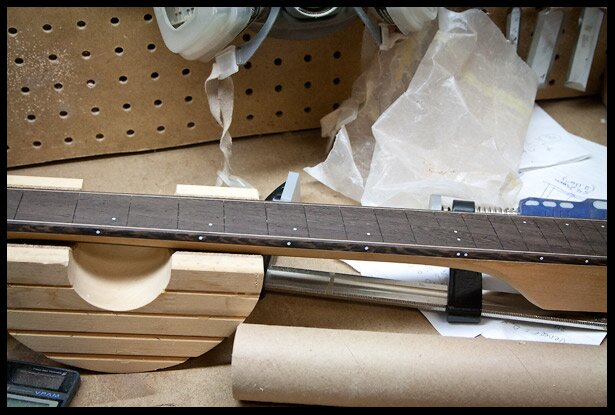
Side dots done
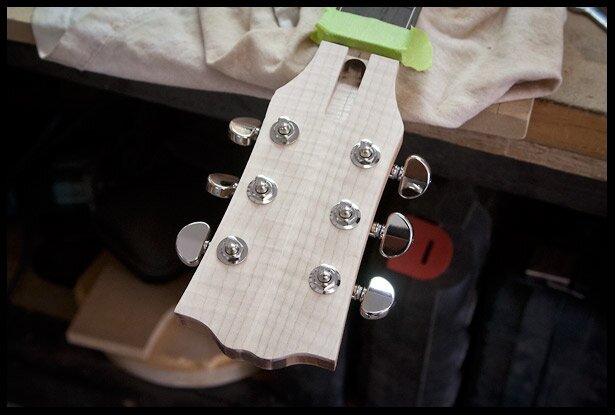
Temporarily installing and checking the tuners
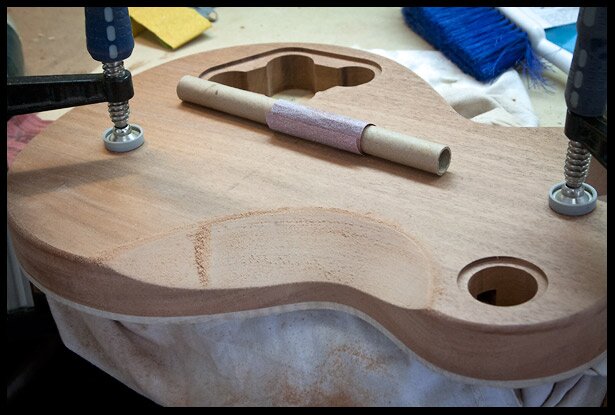
Refining the belly carve
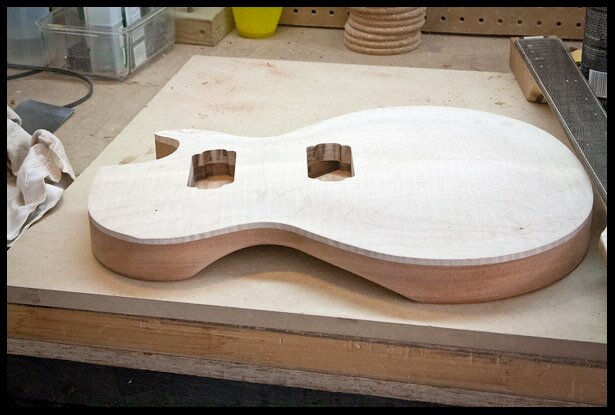
Belly carve side view
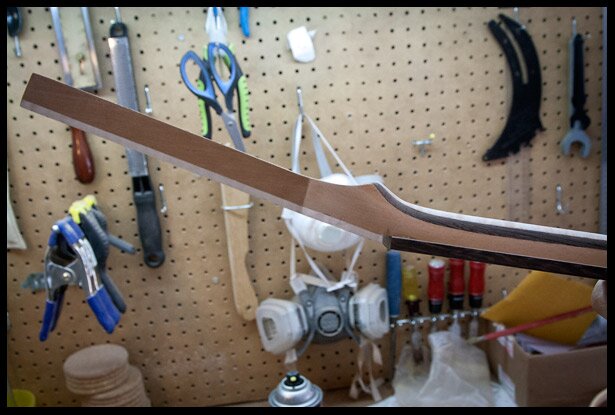
Volute side view
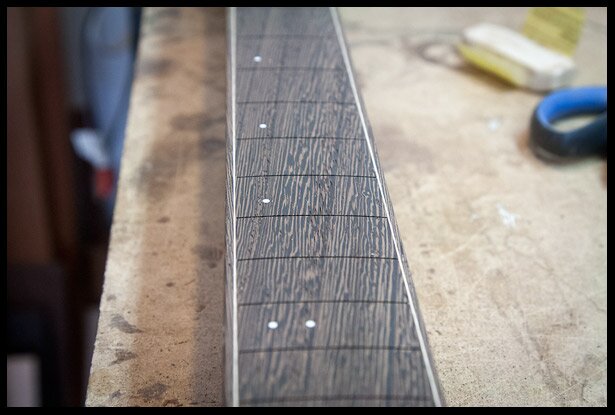
Wenge fretboard sanded without oil
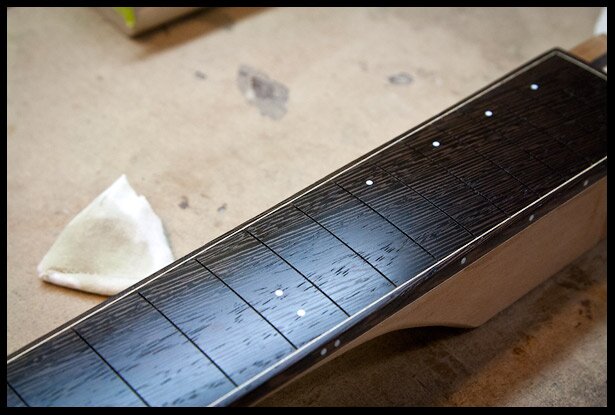
Wenge fretboard sanded with oil
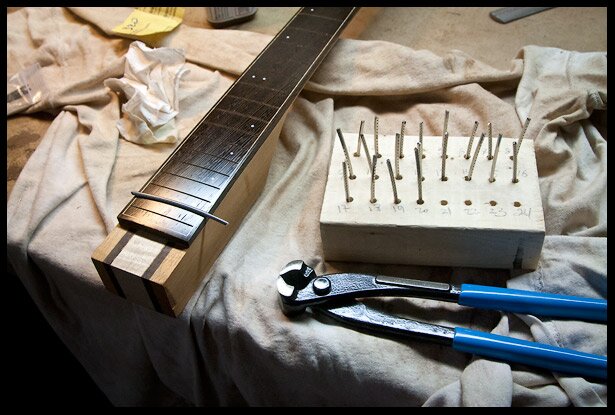
Starting the fretting process
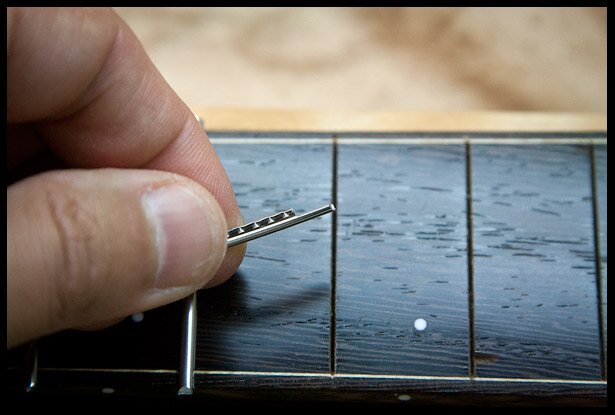
Trimming the fret tangs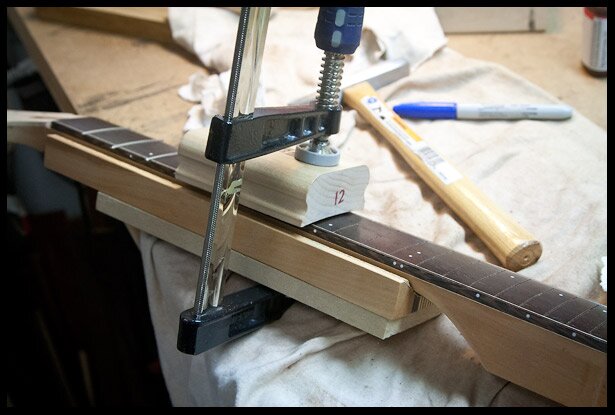
Clamping the frets
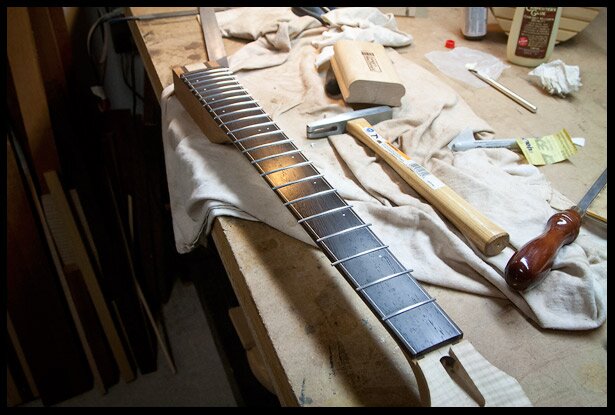
Frets are installed
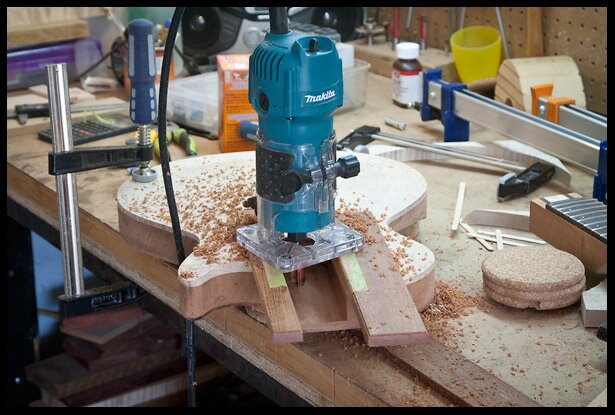
Carving the neck pocket
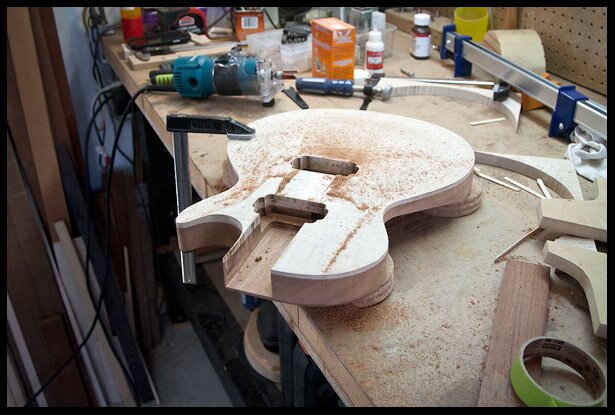
Neck pocket is carved
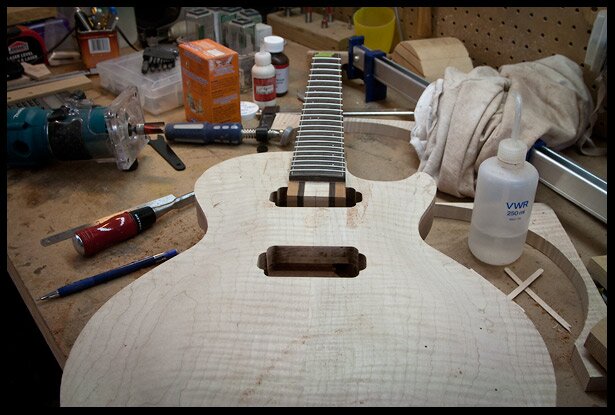
Test-fitting the neck
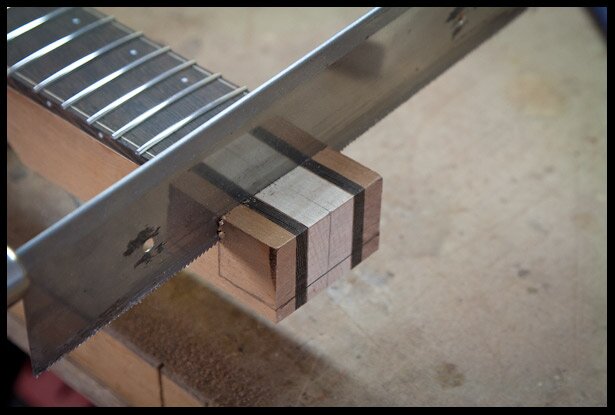
Removing the upper neck heel portion
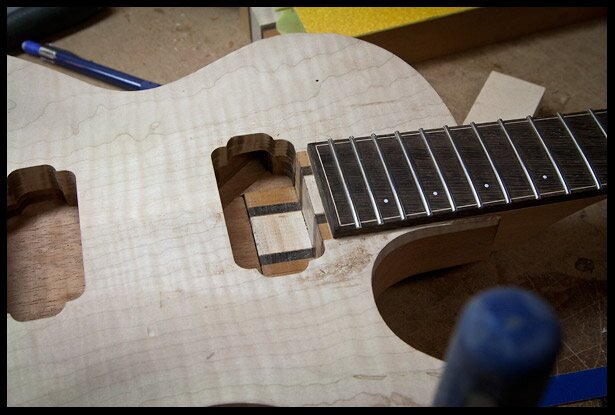
Neck heel is now properly shaped
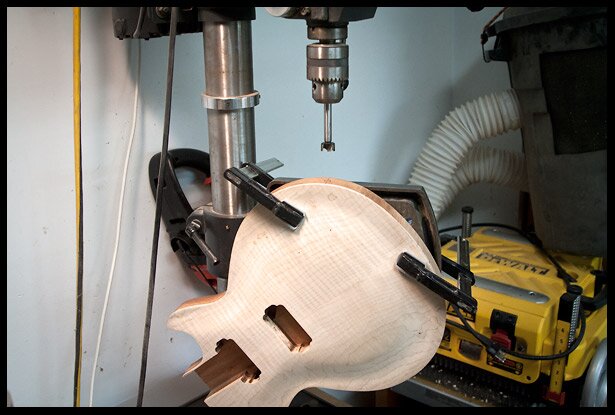
Getting ready to drill the output jack hole
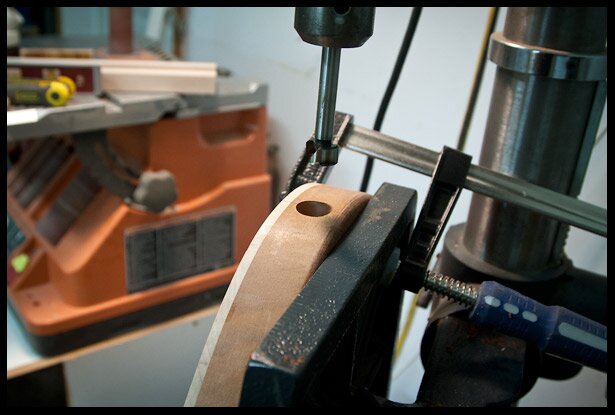
Output jack hole drilled
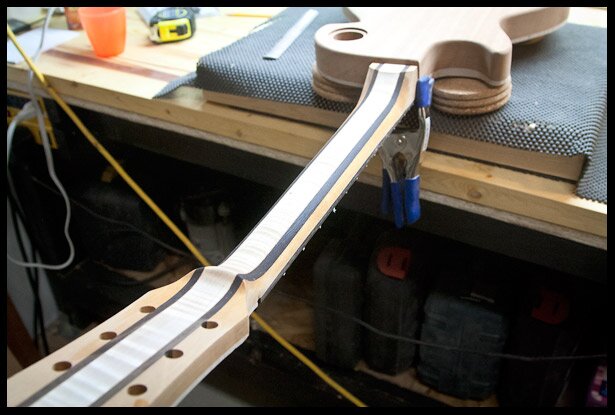
Fine tuning the back of the neck
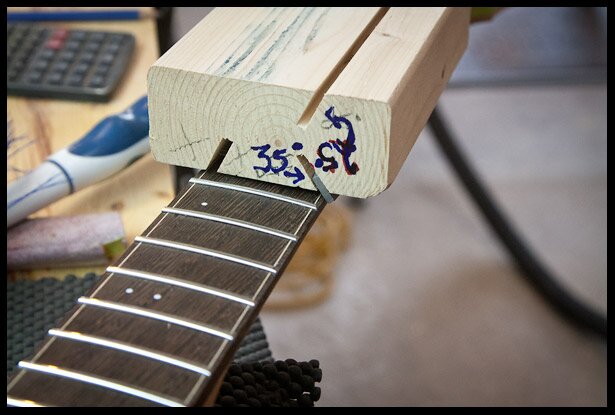
Beveling the fret ends
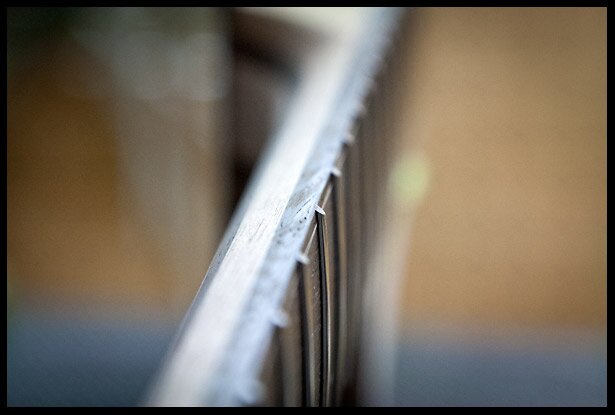
A closer look at the fret ends right after beveling
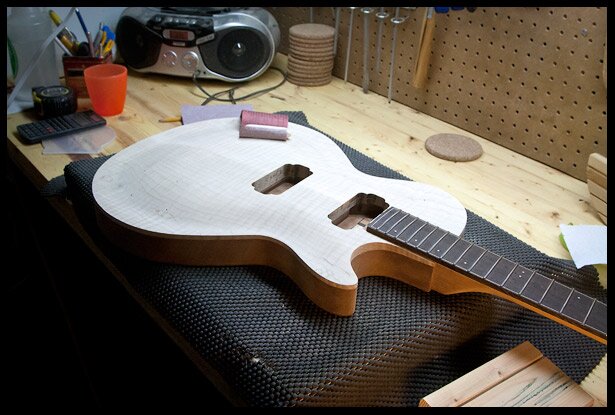
more sanding of the top
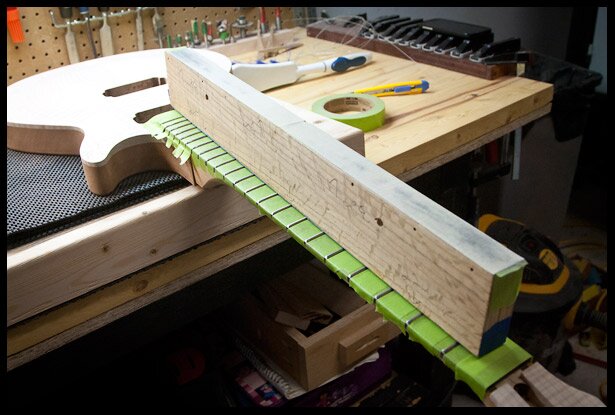
leveling the frets
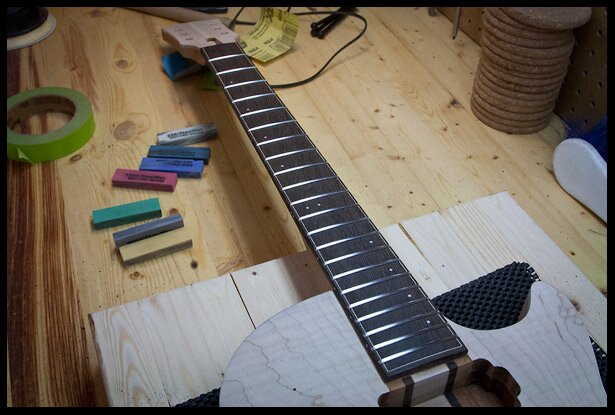
cleaning the frets
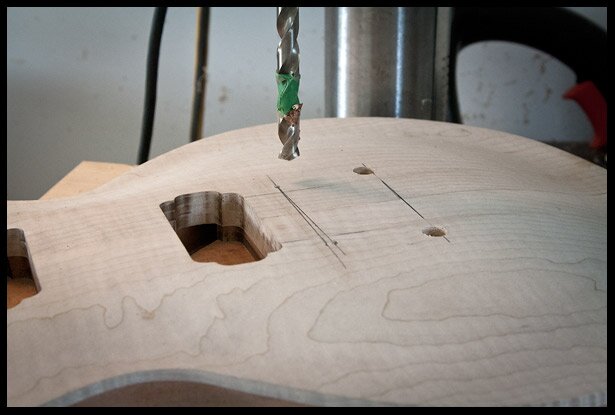
drilling for the tail piece
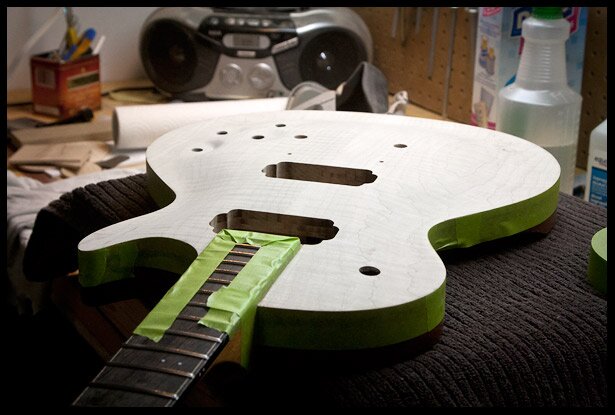
All the holes are drilled and getting ready for staining the top
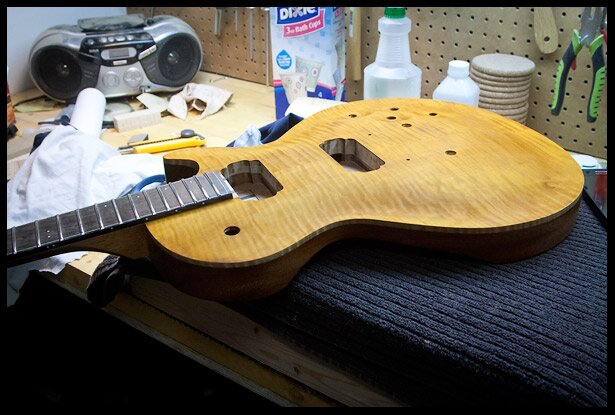
The top is stained amber
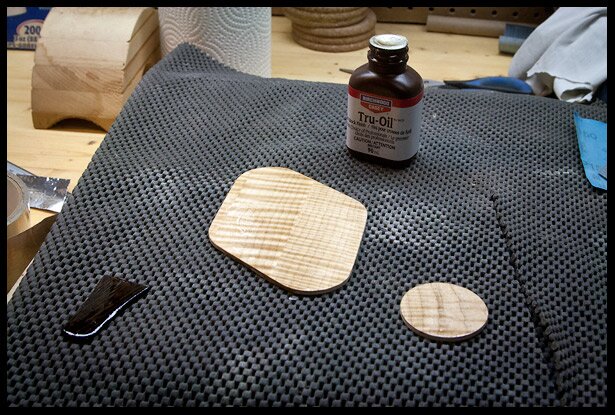
finishing the cavity covers
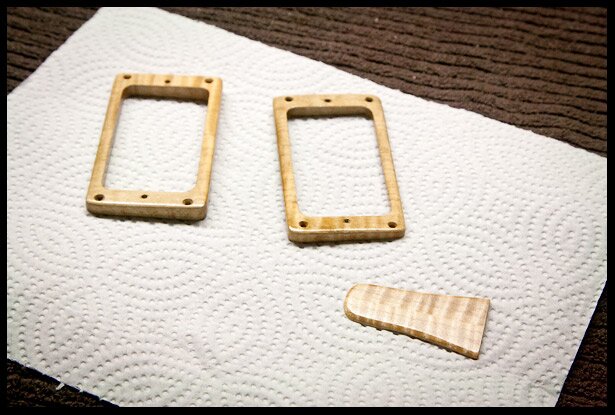
making and oiling the pickup rings
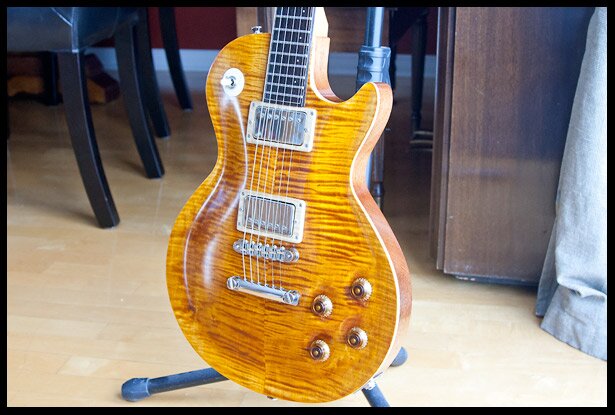
Vanity Photos



Nice! I’m about to start a similar project. What thickness is your maple cap?
Cheers!
Fred
Thanks. The maple cap is around 0.7″ (about 17-18mm).
Looks amazing so far. Can’t wait for updates!
Thanks Marc. More update coming soon.
Araz
Great start. Lookin good. Good luck.
Do you have a blue print with dimensions you can post?
Thanks Pete! There are plenty of plans on the web, just do a search for “les paul plans” and you should find them easily.
Araz
Thanks for posting this. Your work is really inspiring. I’m hoping to start a similar, first time, project, building a Les Paul Jr. Do you have suggestions for where to buy the wood? I’m having a hard time finding it, without buying pre-cut blanks. Thanks.
Hi,
I’m looking for a stratocaster or telecaster exact plan with dimension (body and neck).Whould you please send me one?
thank you:))
Here’s what I recommend you do. Go to Google and type “stratocaster or telecaster exact plan with dimension” and see what you get!
Araz 🙂
Thanks for sharing such wonderful expertise to the guitar building community.
I noticed in your tutorial you did not plane the body. Is that because the mahogany board was already planed or because a LP body appears to be slightly wider than the average home 12.5″ or 13″ wide planer?
For solid bodies wider than 12.5″ or 13″ standard planer sizes, is there a recommended approach for planing a single solid board? Perhaps this is obvious to those who have been woodworkers for quite some time.
Thanks for your insight and expertise!
Thanks Mark. Yes the LP body is just slightly too wide for my 13″ planer. Fortunately in my case, the body was very flat and I didn’t need planing.
The standard way is to simply use a hand plane.
Araz
Nice work. Looking forward to seeing more. Are you going to do binding on the body and if so what will you use?
Thanks Bob. The body will have natural binding.
Araz
Pretty cool!
Do you do custom jobs? If yes, how much would you take to make me a LP? :=)
Thanks!
Thanks Ryan. I do accept custom jobs from time to time. The best way to follow my work and stay connected with me is through my Jakalian Guitars Facebook page (https://www.facebook.com/JakalianGuitars/). That’s where I’ll post if I have something for sale and if/when I’m taking custom orders…
Take care, Araz
Hi araz,,
Is this a set (glued in neck) and and did you add heel angle as well as the neck plane angle. I am thinking of building a semihollow flat top, (little sister style) for next build. Any tricks on a set neck I should watch out for compared to a Bolt on.
Hi Jurgen,
Yes it’s a set neck. I incorporated the angle into the heel of the neck while keeping the bottom of the neck pocket flat. Personally I find it easier to do that versus putting the angle in the pocket. I have a full video on carving the neck pocket (https://youtu.be/dUIOnXW-DCo) and also on adding an angle on the heel (https://youtu.be/OIUEvElnFGQ), I hope they are helpful for you.
Take care, Araz
Beautiful work. Can u expand on maple top step shaping. Do U do that w a sander. Thank you.
Thanks John. The simple answer is yes, I use a random orbit sander to remove the steps and then I finish with sandpaper wrapped around an eraser. Here’s a useful video that explains the whole sanding of the les paul top.
https://youtu.be/xkcOH0ZSlgM
Take care, Araz