There are many, (many!) photos on this page of the process of building a custom Gibson Explorer guitar. Enjoy!
For daily photo updates on my current builds, visit my Jakalian Guitars Facebook page
Start date: Nov 30, 2015
This will be a custom Gibson Explorer build with the following specs:
- full-size Gibson ’58 Explorer-style
- body back: 1″African Mahogany, grain filled
- body top: 1/2″ two-piece walnut
- neck: two piece laminated walnut with scarf joint for headstock
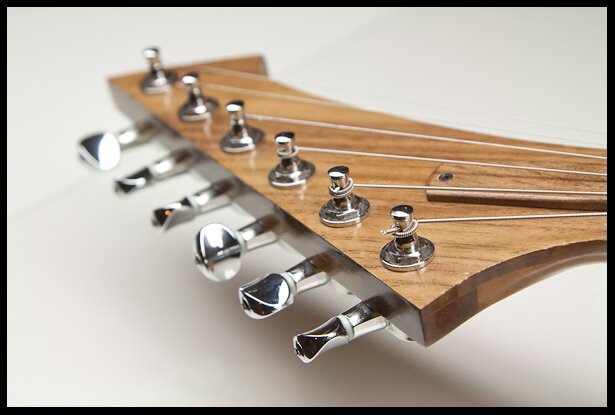
- headstock: 6 in-line tuners
- fretboard: maple with walnut binding (12″ radius)
- inlays: round wooden walnut fret markers
- pickups: SD JB at bridge and Jazz on neck, both coil splittable with push/pull on the tone knob
- knobs: 1 volume, 1 push/pull master tone, 1 three-way switch
- bridge: Tune-o-matic style with tail piece
- electronics cavity cover: walnut
- nut: bone
- finish: Tru-oil finish
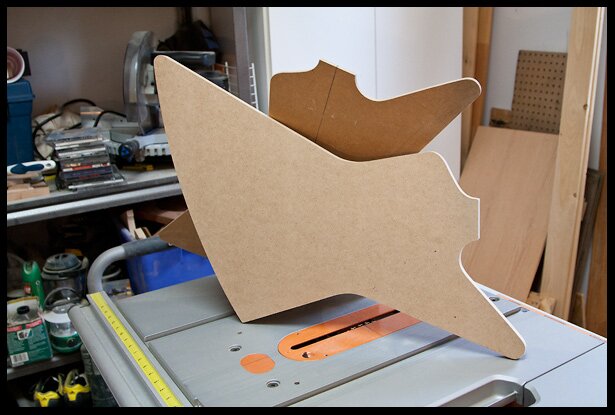
The template is made from 1/2″ MDF
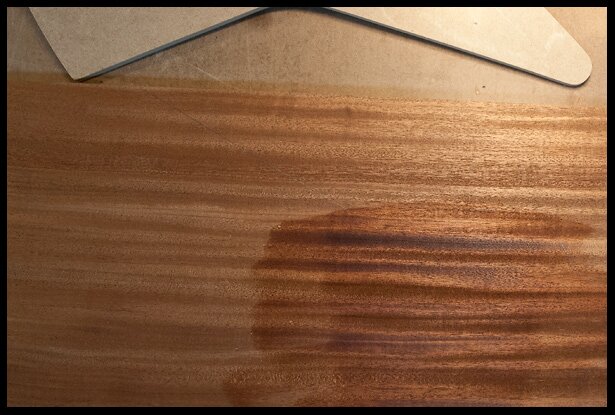
The back is African Mahogany
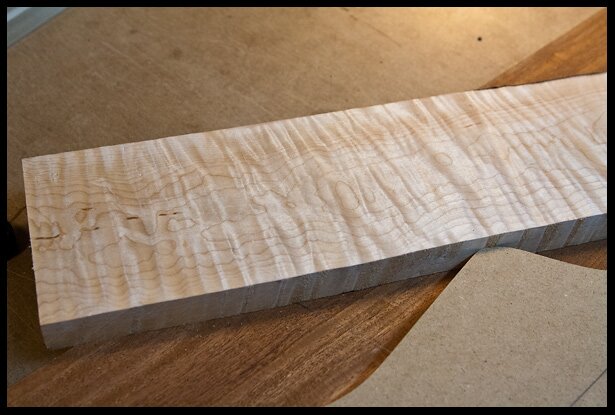
The neck will be flamed maple and the fretboard will be rosewood.
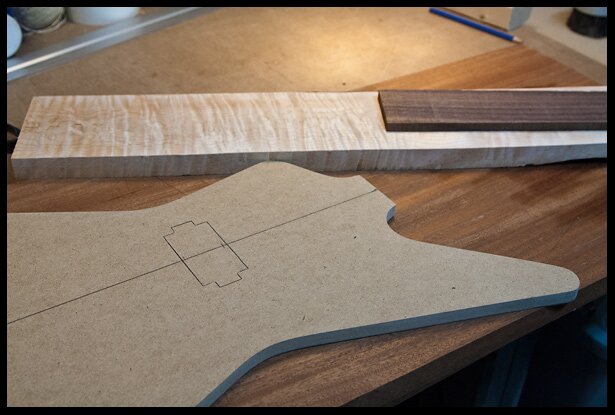
Dec 1, 2015
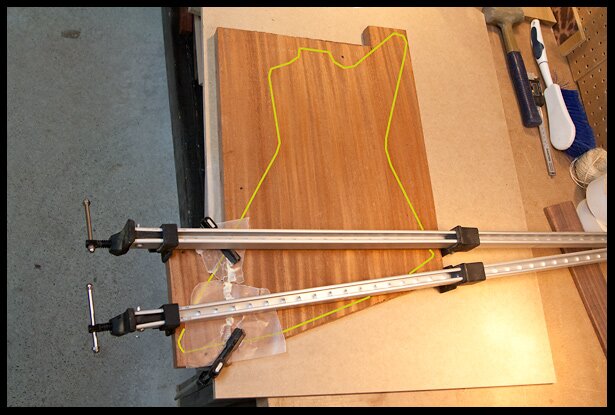
Extending the body by adding a piece of mahogany. I highlighted the body shape in yellow in Photoshop to better show the body perimeter. This body is huge and uses up a lot wood ! 🙁
Dec 2, 2015
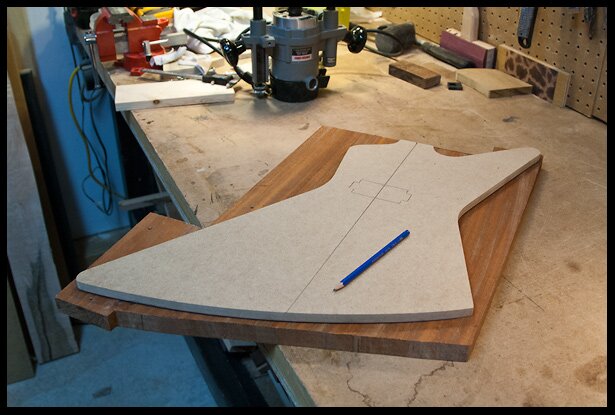
Made some progress on the body today. Traced the outline of the body.
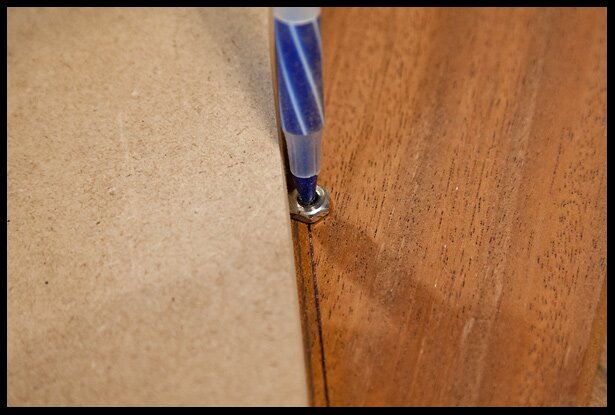
Used a washer to trace a second line 0.1″ away
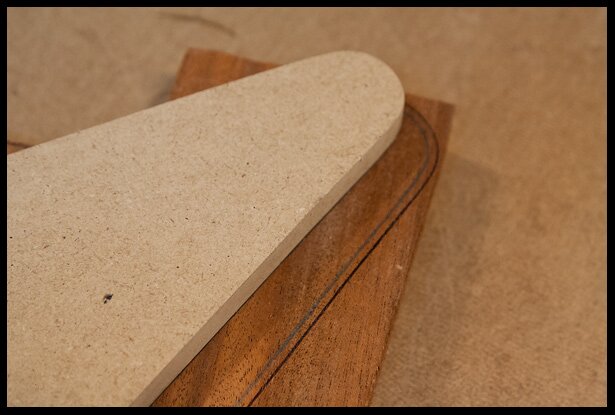
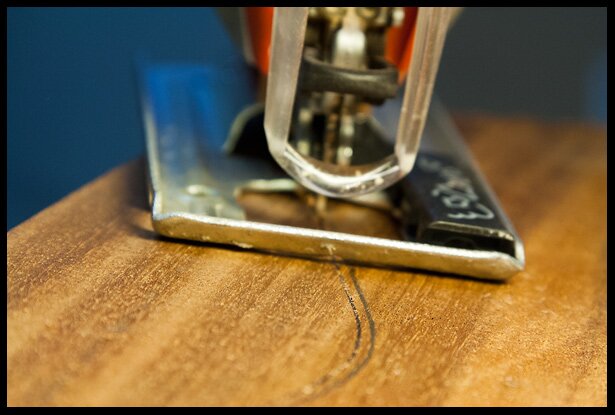
rough-cutting the body shape on the outer line
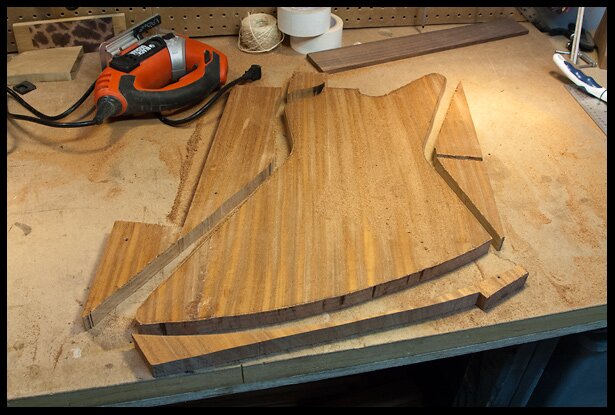
The body is rough-cut
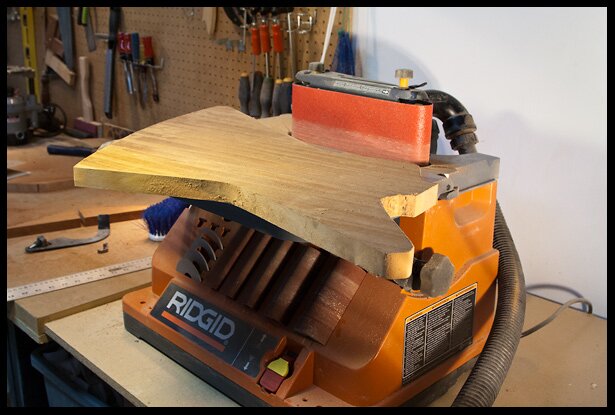
Cleaning the edges on the oscillating sander.
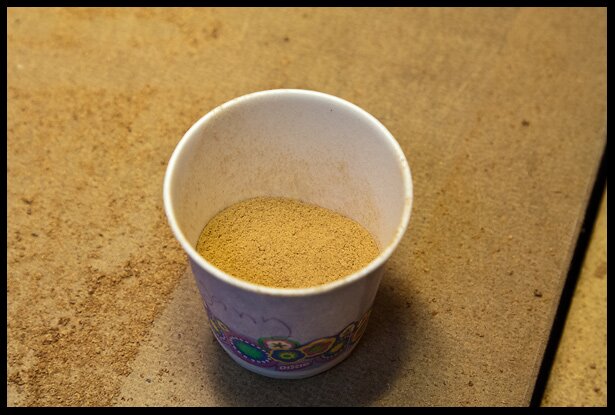
Collecting and saving the mahogany fine-dust, you never know when you will need it.
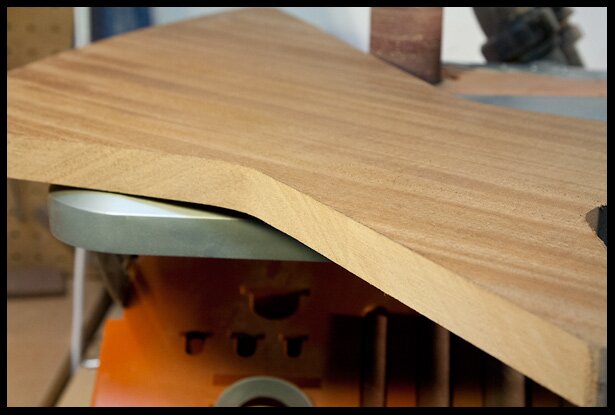
Nice clean edges after sanding…
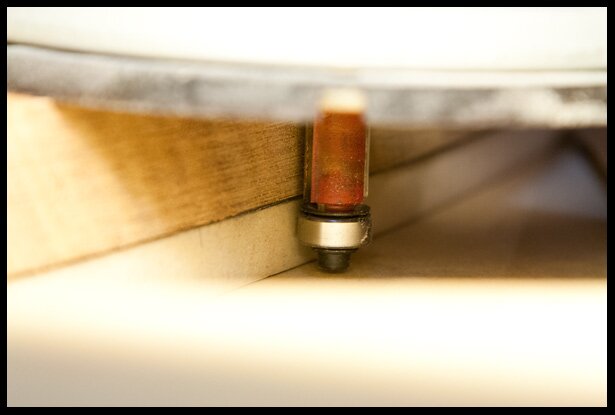
Ball bearing on the router bit will follow the template.
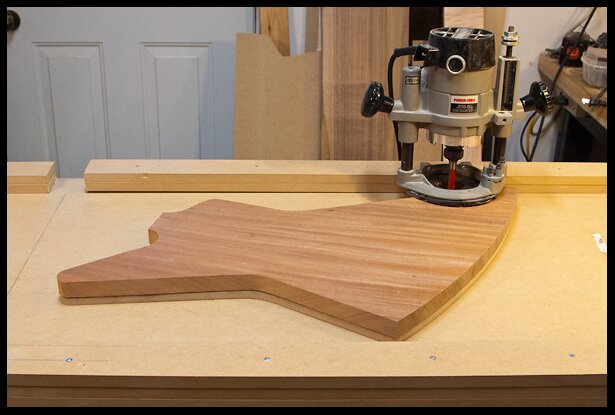
The template is on the bottom and everything in held down with double-stick tape.
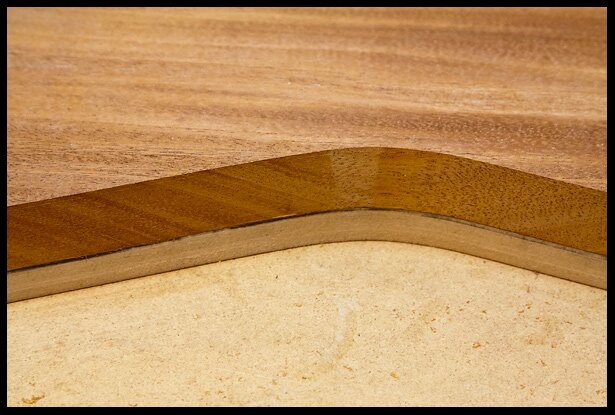
Perfect edges after routing.
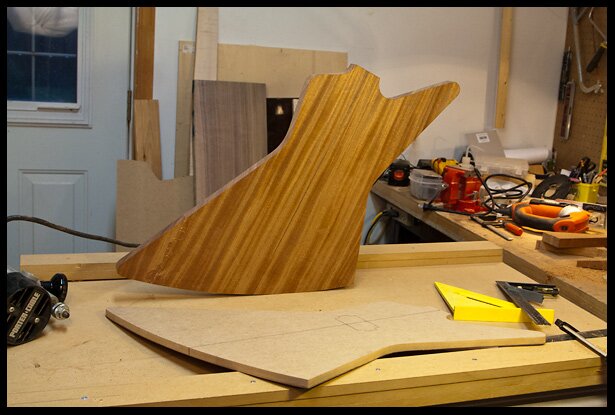
The body weights 5 lbs, that’s too much so I will have to make some relief cavities in the body before the top is glued on in order to reduce the weight.
Dec 3, 2015
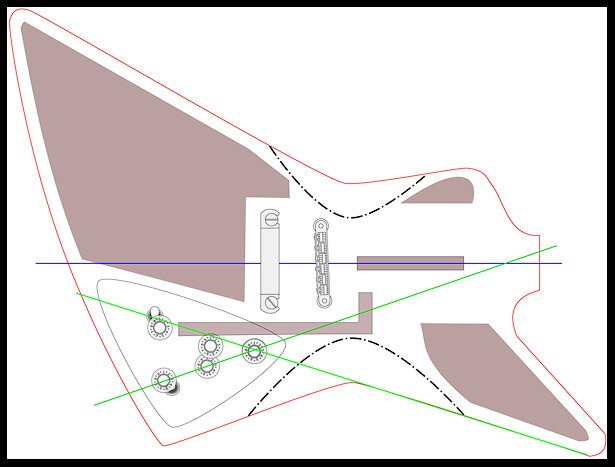
Figuring out the weight relief pattern for the Explorer. All cavities will be 1/2″ from the edges of the body contour. The black dashed lines represent the back body contours, I don’t want the inner cavities to be near them. The drawing was made with Inkscape (will open in new window).
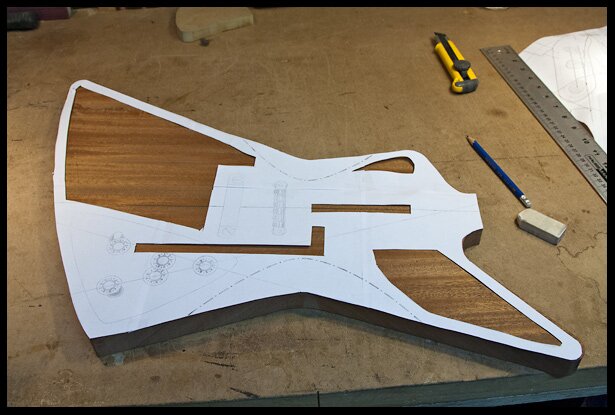
Weight relief pattern printed on multiple sheets of paper.
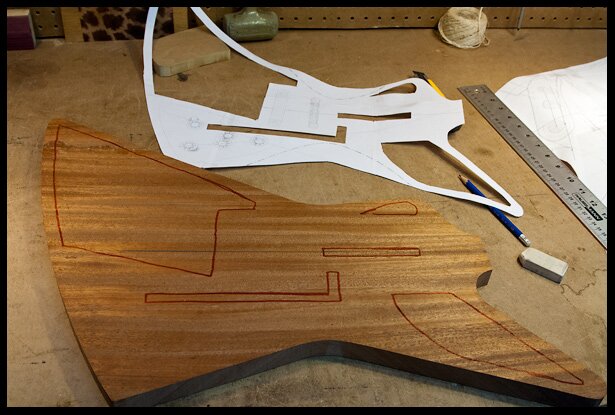
Weight relief pattern transferred onto the mahogany body with red marker.
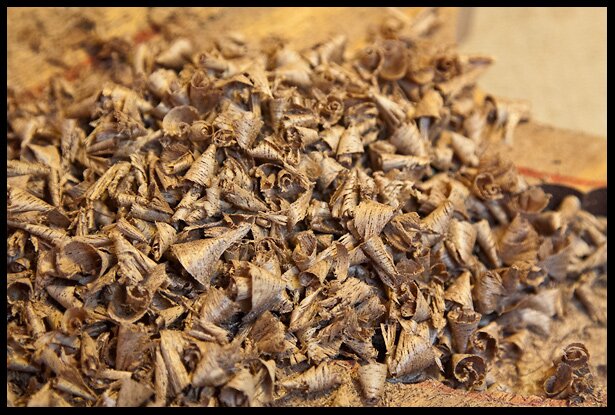
Mahogany shavings
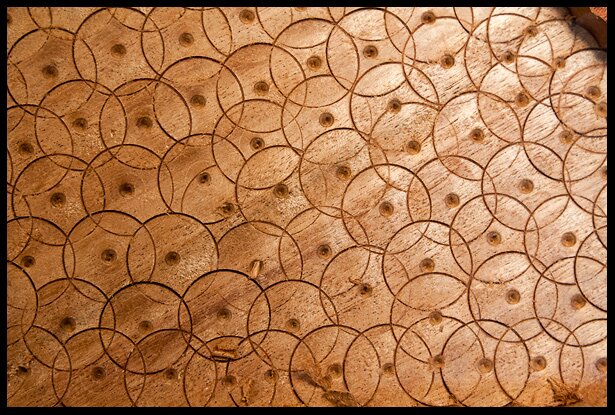
Forstner bit pattern
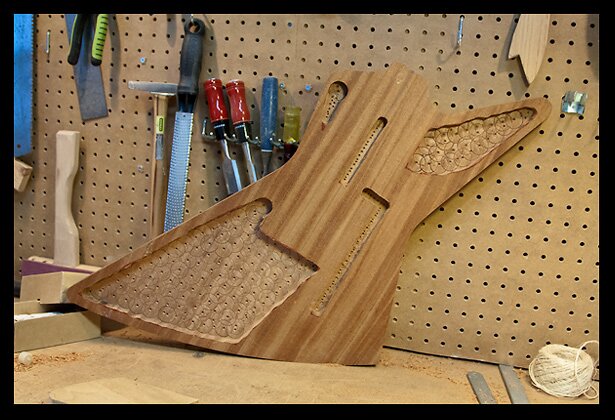
After weight relief… 3.2 lbs (before=5 lbs), a reduction of 1.8 lbs.
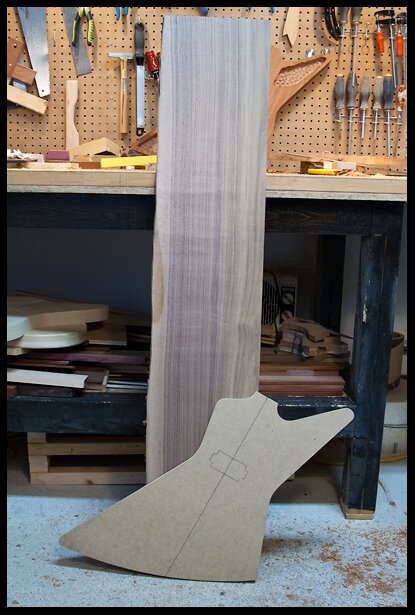
This walnut will become the top of the guitar. It’s the only wood I found that is wide enough, just barely, for this body. It’s simple but beautiful. I think it’s going to look amazing on this body once I finish with it. Can’t wait!
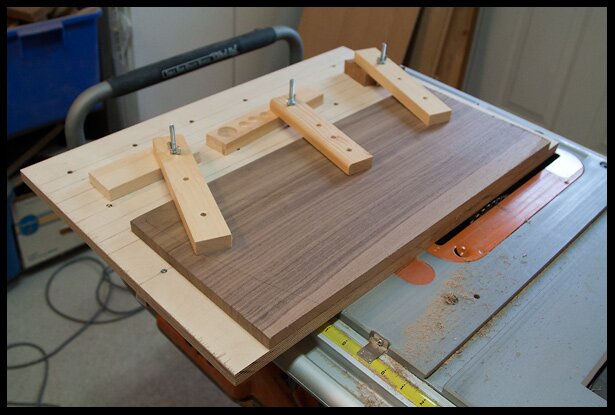
I made this table saw jointing jig to join the two piece of walnut. You can see the building and using of the jig here (will open in new window).
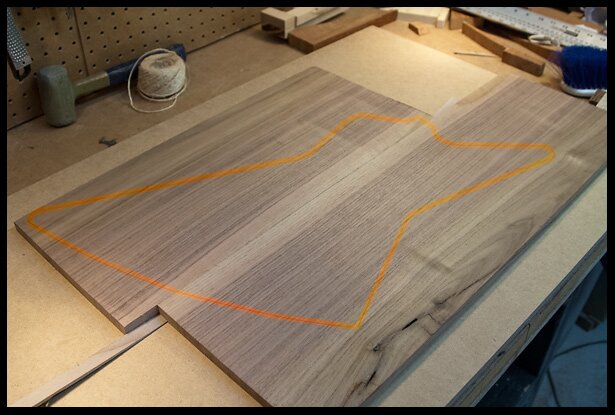
Simulating how the body will fit…
Dec 4, 2015
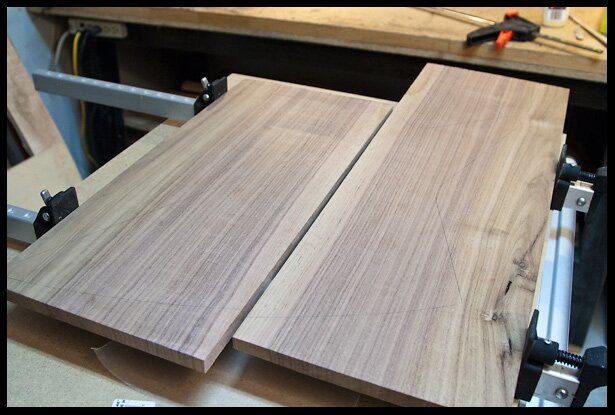
The two piece of walnut ready to be joined
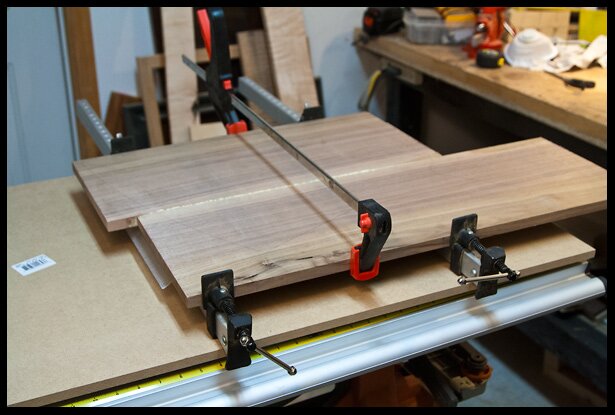
Applying glue and pressure
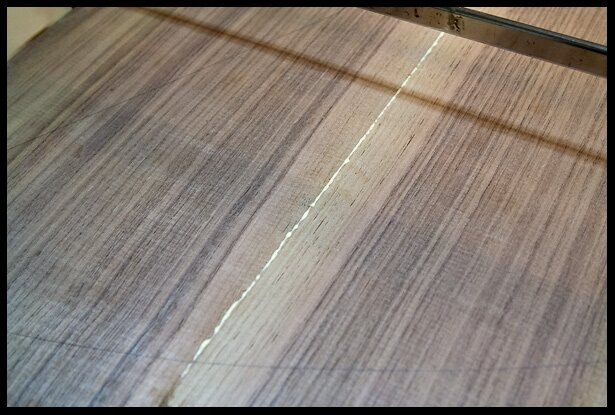
I must say, this is my nicest glue squeeze out ever… textbook glue squeeze out…
Dec 5, 2015
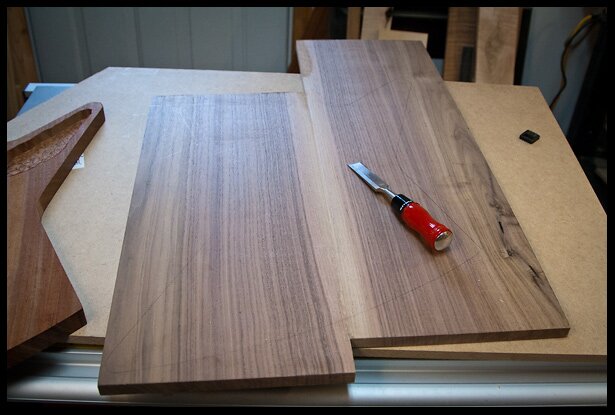
Cleaned the dry glue from the joint with a chisel
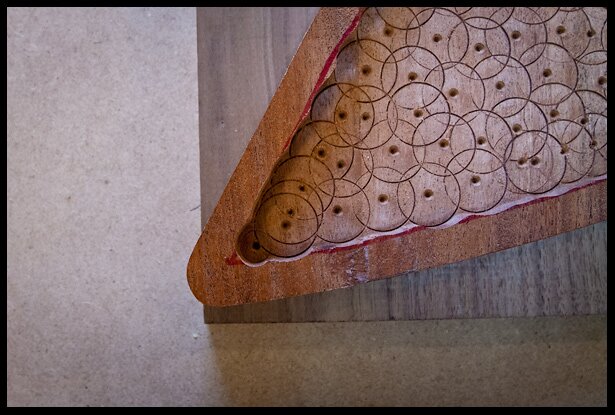
This body is very big and the walnut is not wide enough
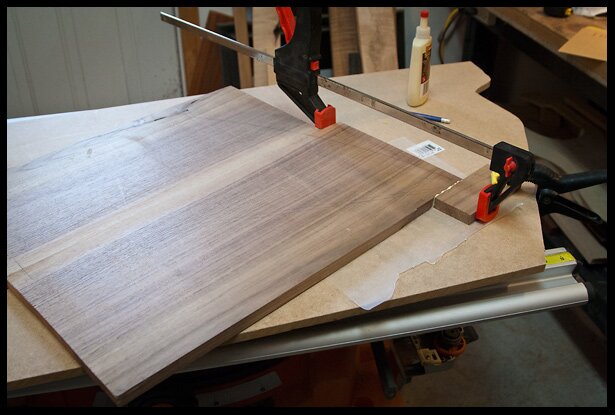
I have to add an small extension to the body
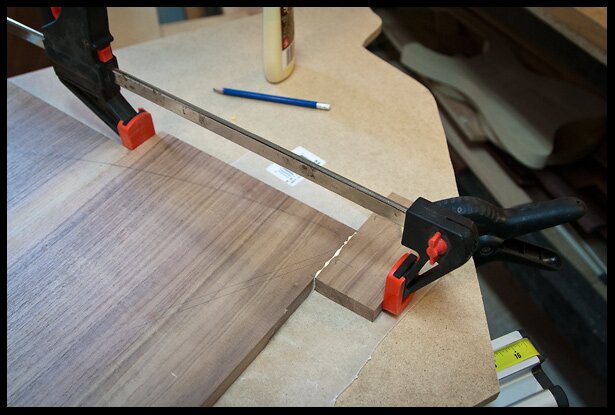
Gluing the extension (used the table saw joining jog to make sure the joint is as good as possible)
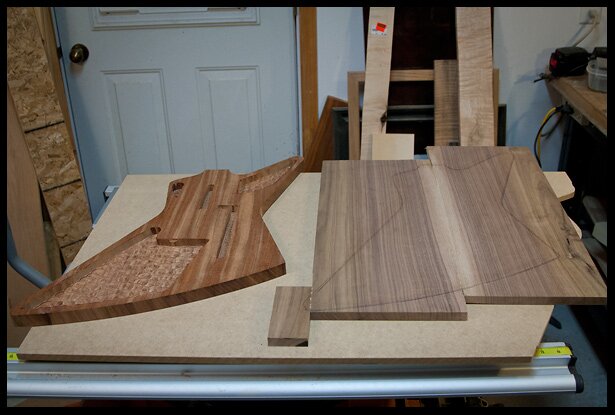
The walnut top is now ready to be rough cut
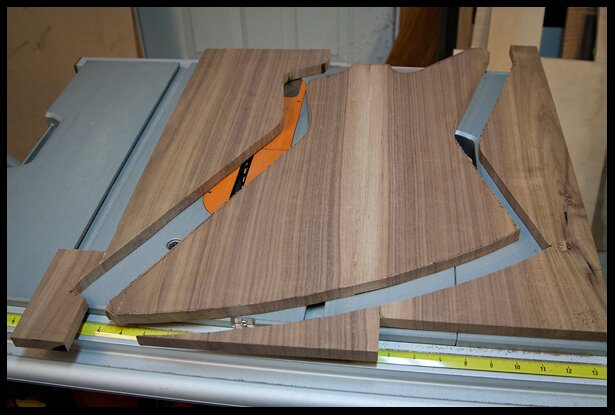
Cough cut of the top. All joint are excellent.
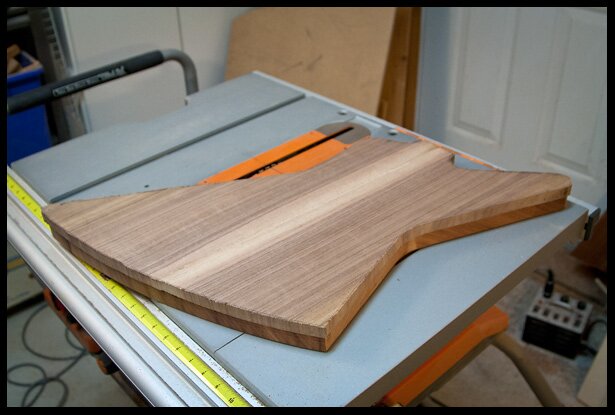
A first look at the top and bottom together
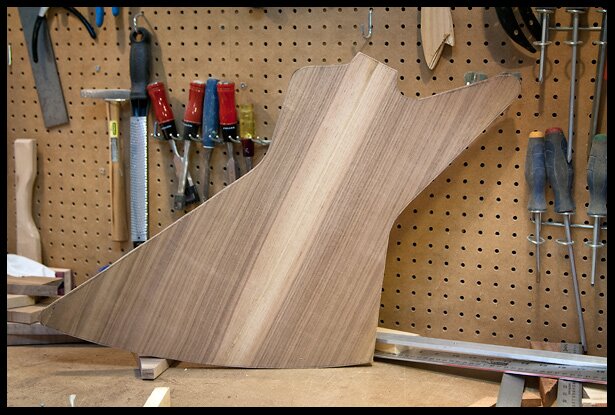
The walnut top, still in rough-cut shape. I think that white strip in the middle looks great
Dec 7, 2015
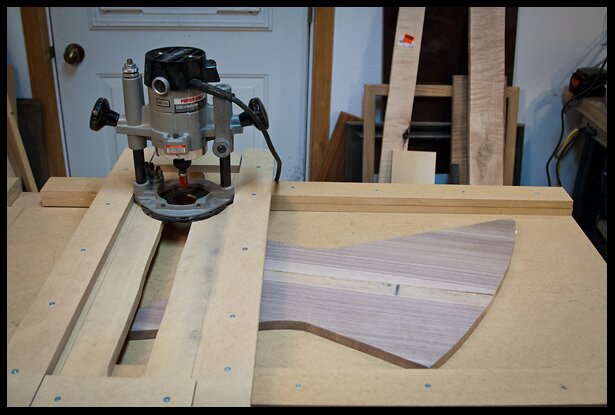
using the router planing jig to thickness plane the walnut body
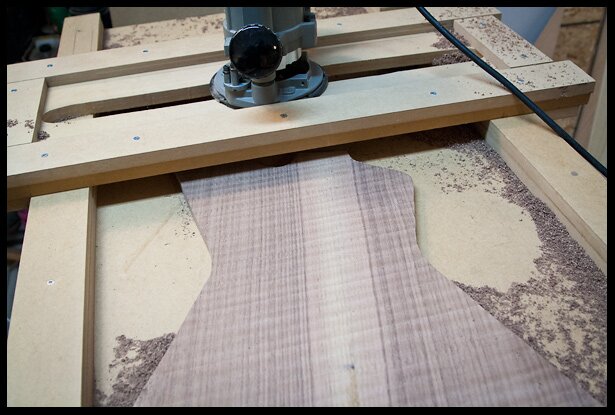
after thickness planing the walnut body
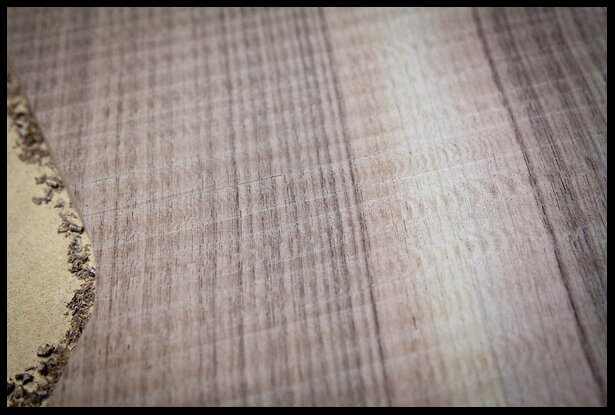
scratches left by the router
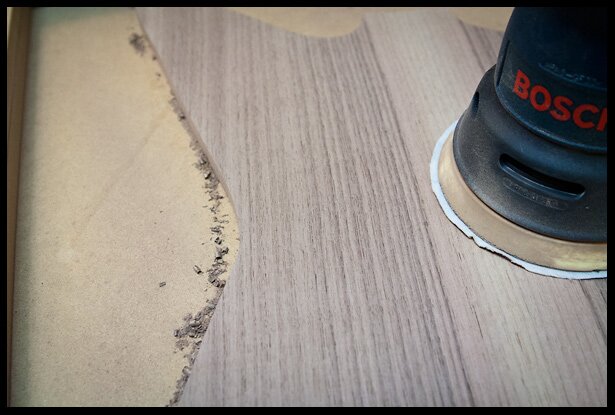
the scratches are easily removed with sanding
Dec. 11, 2015
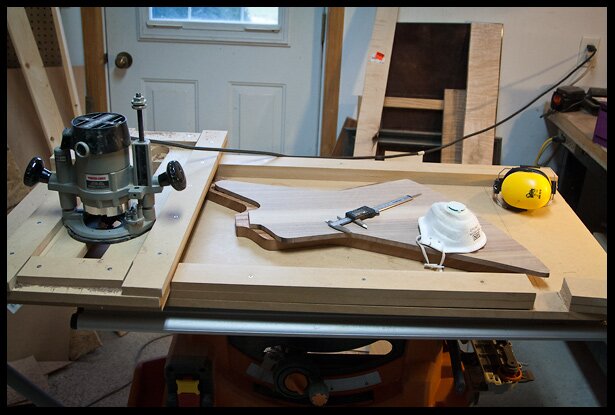
Thickness planing the walnut top.
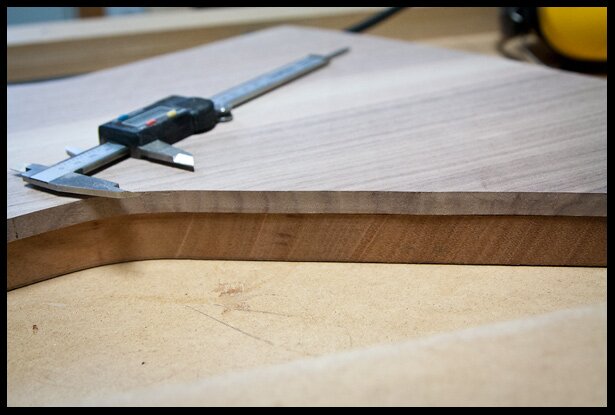
Regularly checking the thickness
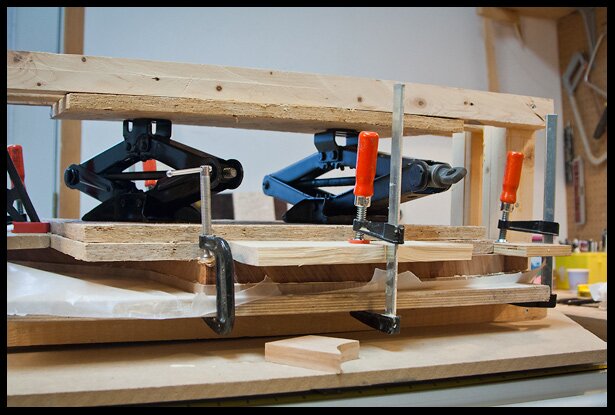
Gluing the top in the press-machine using car jacks for pressure. The guitar body is in there somewhere…
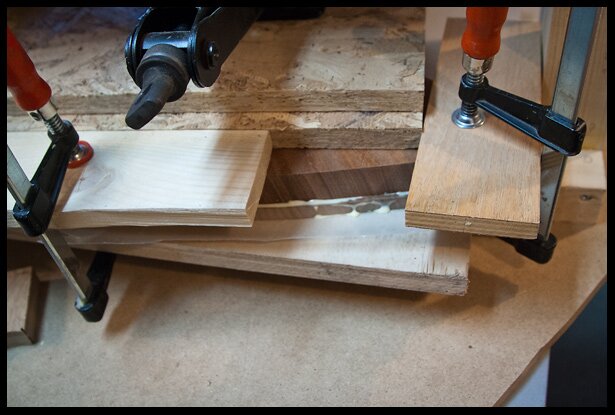
Closeup view of gluing process. The glue was allowed to dry for over 24 hours
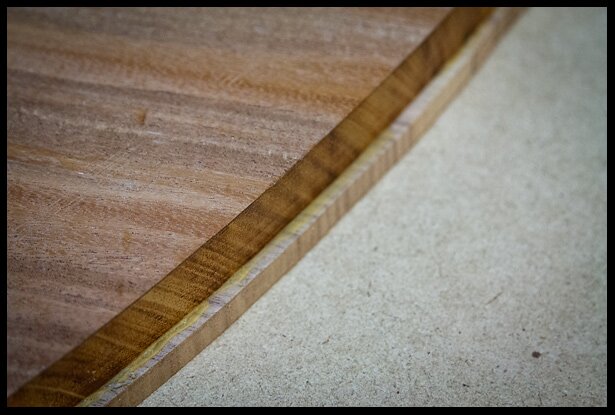
Once the body is out of the press and the glued is dry. The walnut body (the bottom piece) is over-sized at this point.
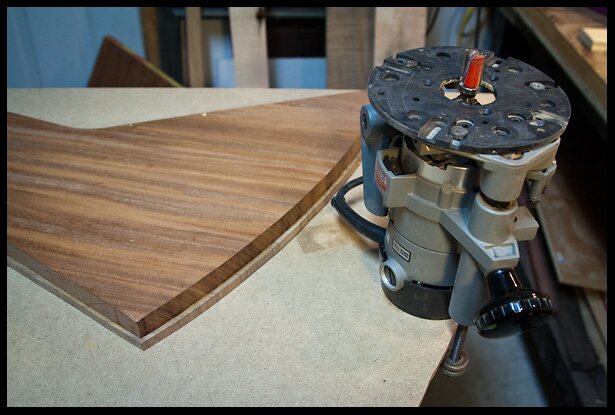
Getting ready to trim the walnut down to the same size as the mahogany
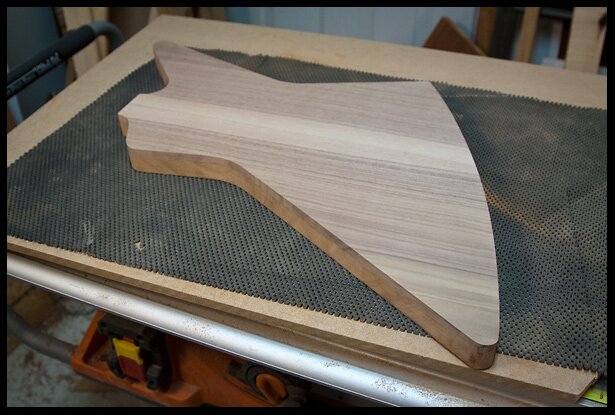
The top and bottom are now flush
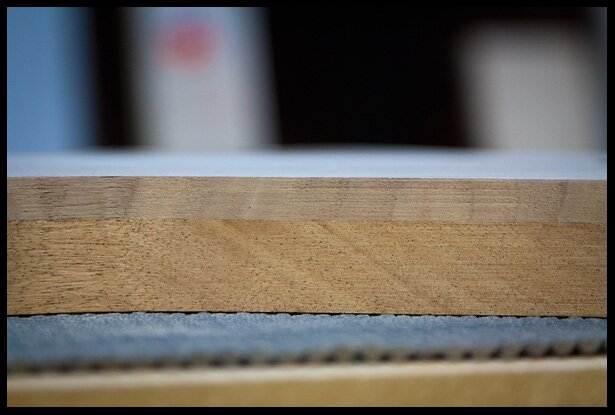
Closeup of the joint between top and bottom
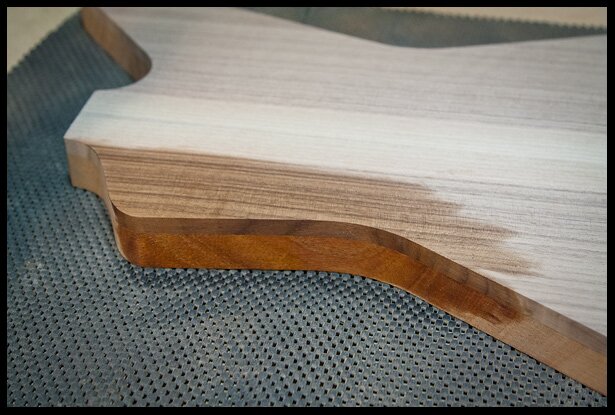
Put on some mineral spirit to see the grain patterns.
Dec. 13, 2015 – Starting To Work On The Neck
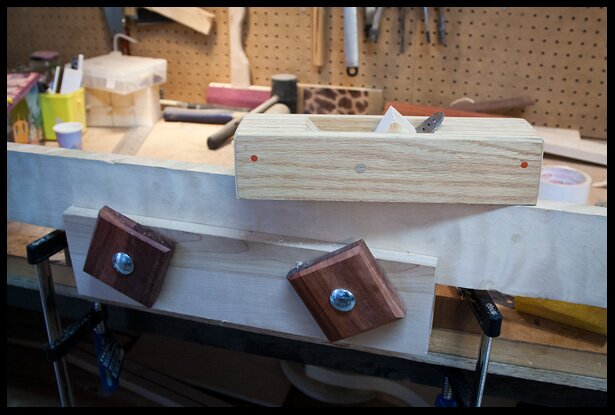
Jointing the edge of the neck blank with my home-made plane, in my home-made vise on my home-made bench 🙂 I guess I like to make things.
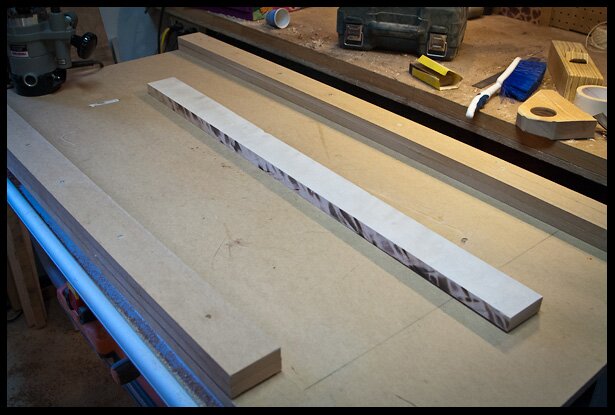
Planing and thickness routing the neck blank
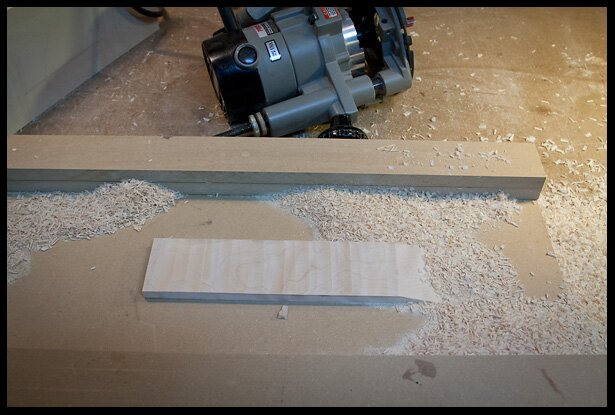
After cutting the scarf joint, I routed the headstock to proper thickness
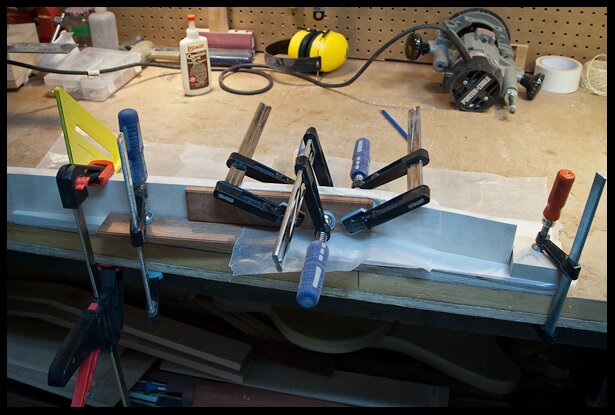
How to glue a scarf joint
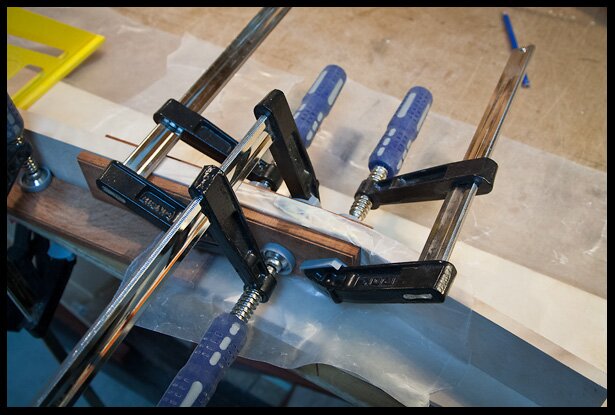
Closeup of scarf joint glue setup
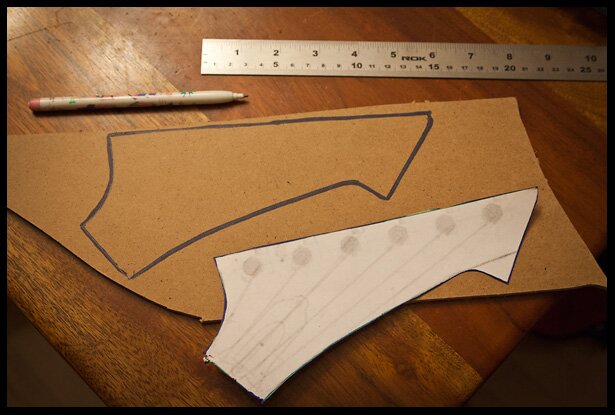
Design and template making of the headstock
Dec. 15, 2015
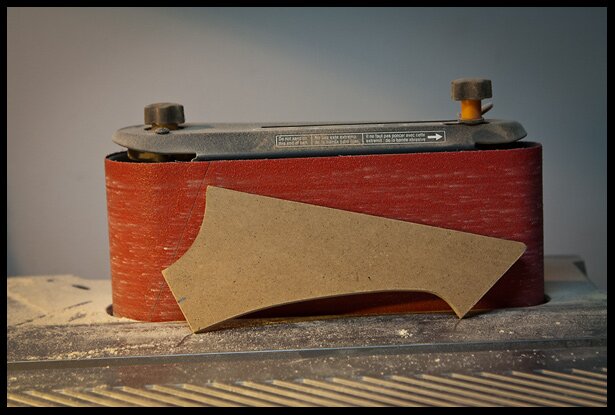
Headstock template shaped with jigsaw and sander
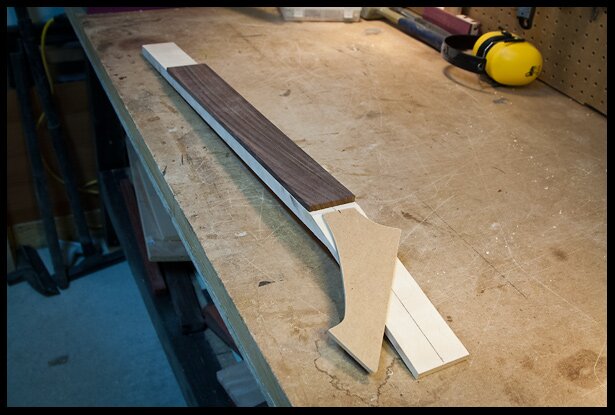
Angled neck, fretboard and headstock mock-up
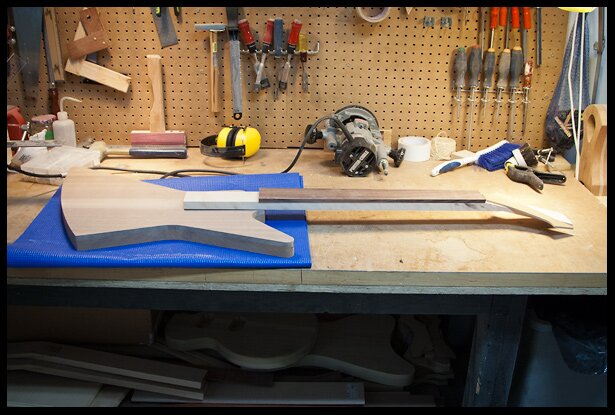
Mock-up of guitar side view
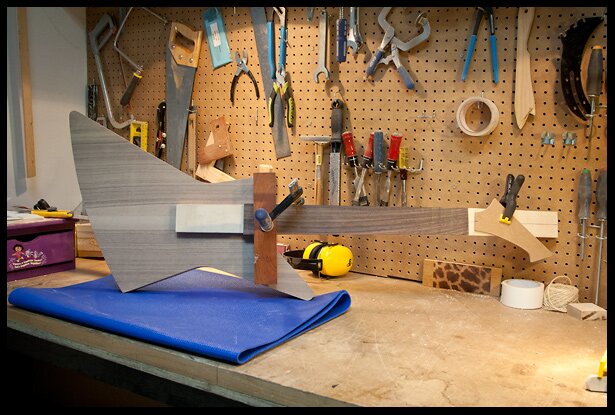
It’s starting to look like a guitar, very “Flintstones”-like at this point.
Dec. 31, 2015
At this point, I abandoned the neck and started to build a new one made from two pieces of walnut. Why? Sometimes you instinctively know what you should do but don’t necessarily want to put in the energy to understand why… it’s like that… 🙂
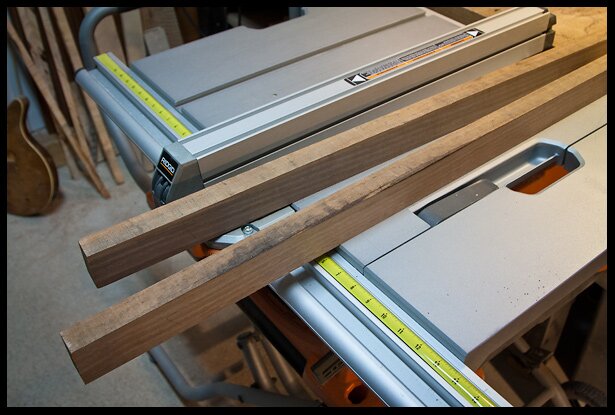
This new neck will be made from two 36″ pieces of walnut
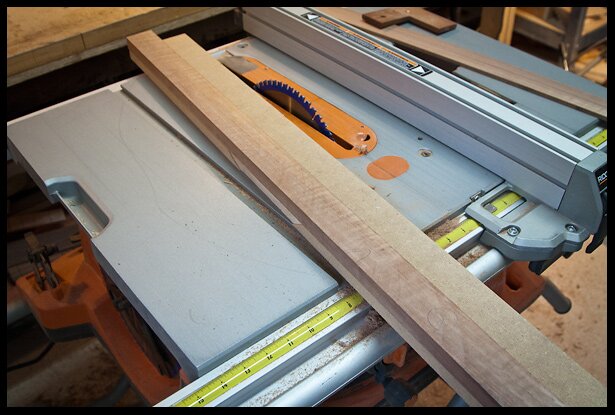
Each board was passed through the table saw in order to prepare the edges for jointing
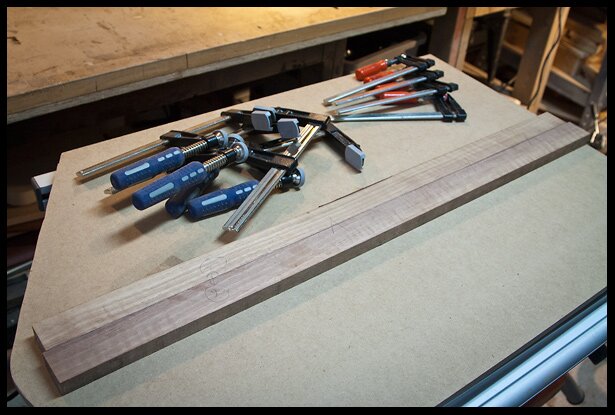
The pieces are jointed and read for gluing
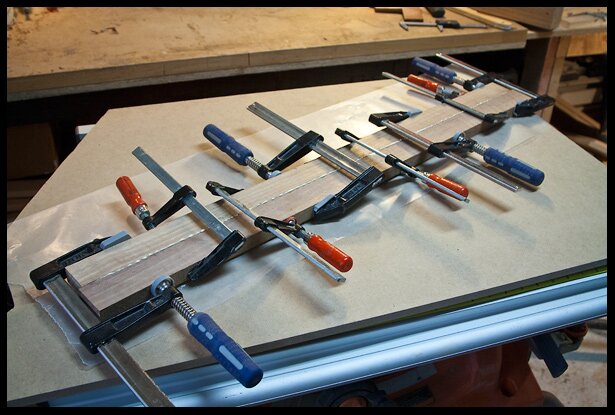
Gluing the two pieces of walnut for the neck
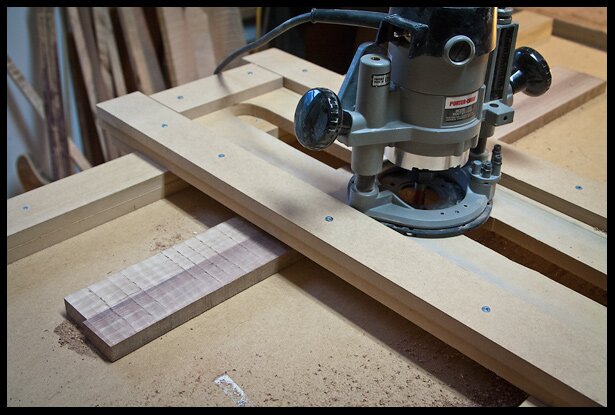
Thickness planing with a router and planing jig
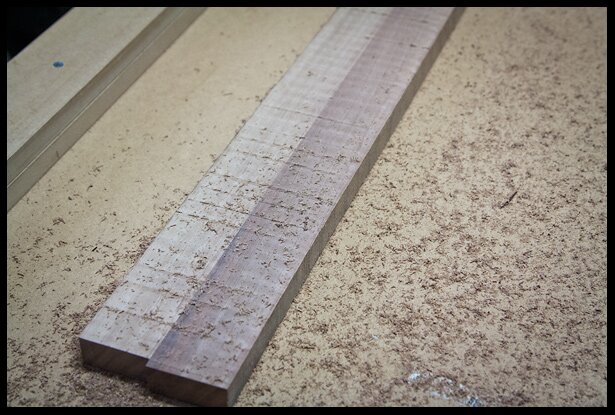
The router scratches left behind
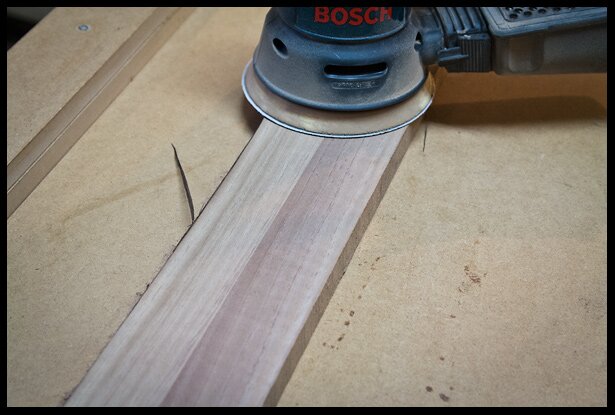
After a light sanding, looks pretty good.
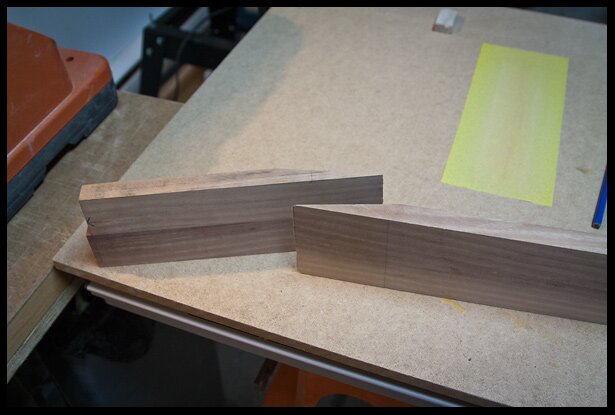
Scarf joint cut made on the table saw
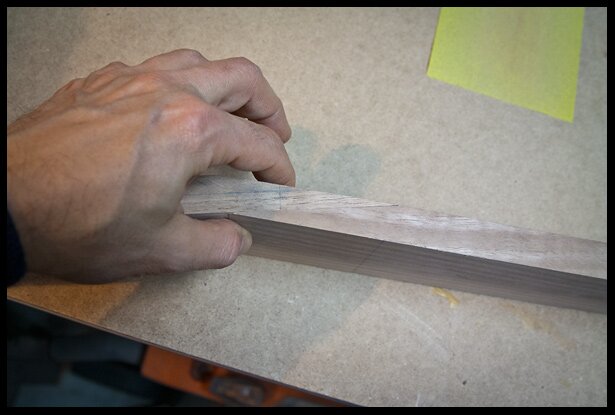
Dry testing the scarf joint
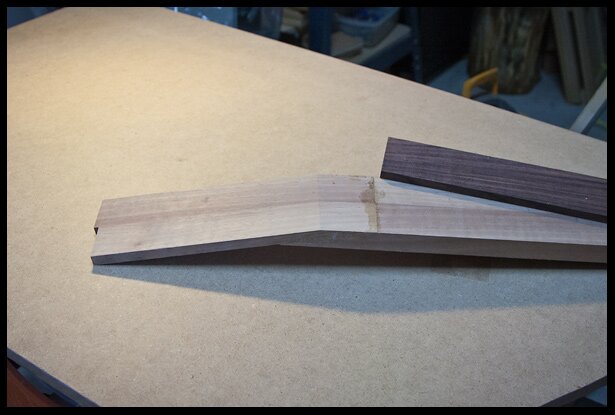
The scarf joint is glued
Jan 9, 2016
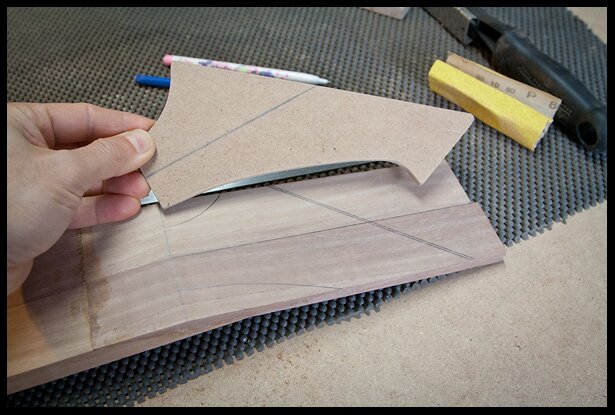
Tracing the headstock shape onto the headstock
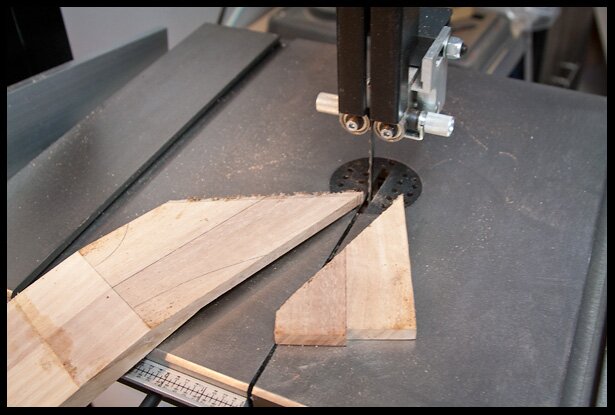
Cutting off extra material. This piece will be glued back on the headstock to extend it.
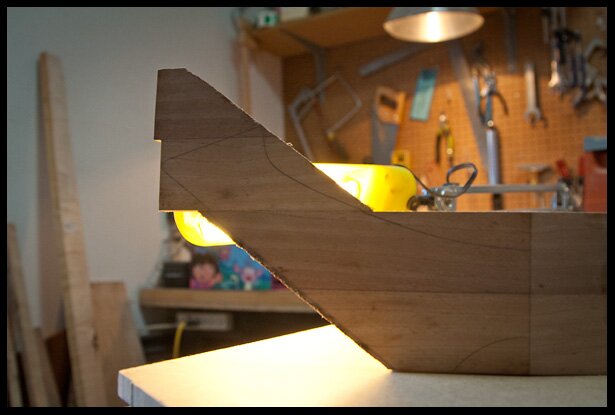
Edge jointing. Checking for light leaks before gluing on the extensions.
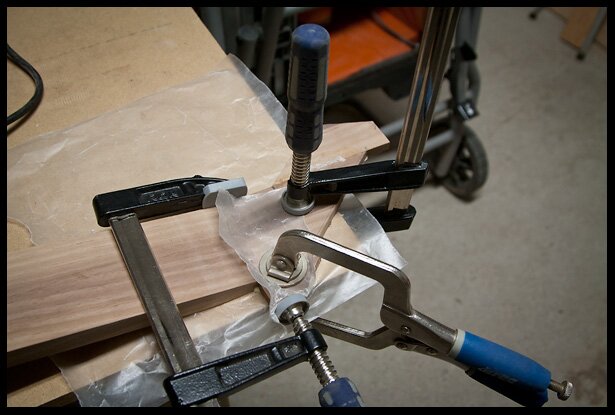
Gluing on the extensions on the headstock.
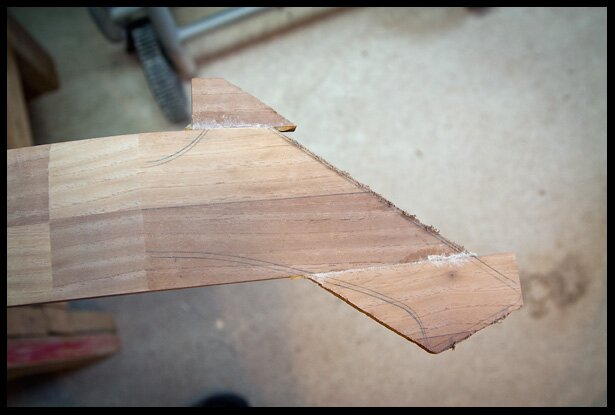
After glue has dried, not very pretty…
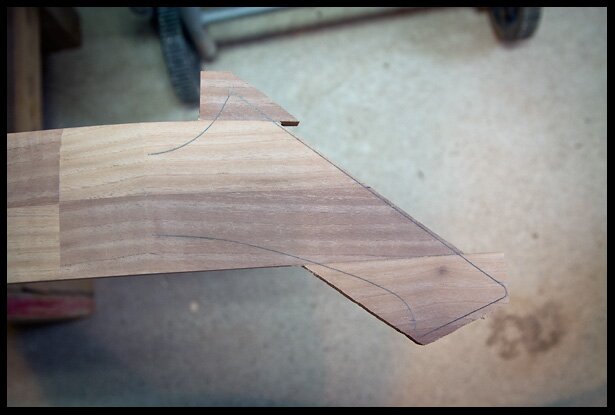
After cleaning up the glue with a random orbit sander, much better… 🙂
Making the headstock veneer
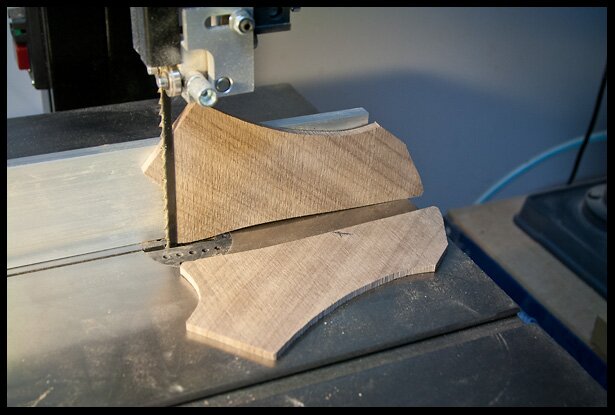
Cutting the headstock veneer on the band saw from the same piece of walnut that was used for the guitar body.
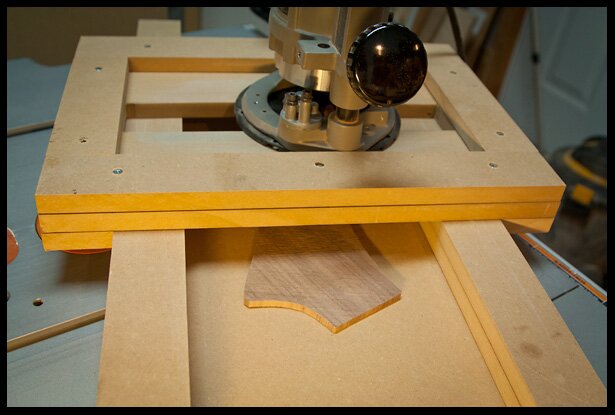
Thickness planing the headstock veneer with a router on the router planing jig.
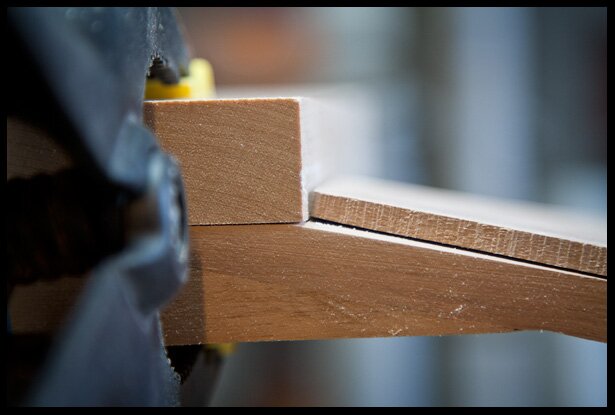
The veneer has a square edge that will not sit properly with the eventual nut.
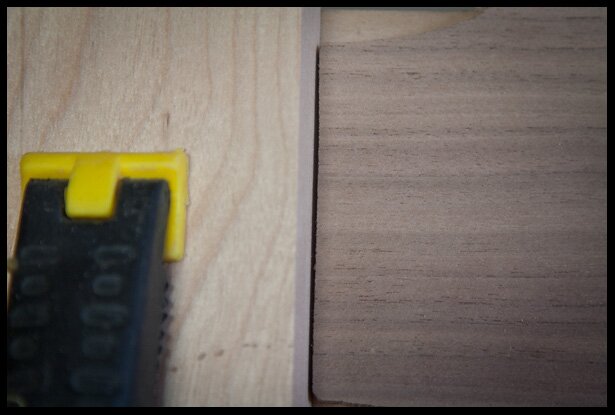
The top of the headstock veneer is not aligned with the eventual nut because the headstock is tilted by 13 degrees with respect to the neck. Therefore a bevel is needed on the veneer.
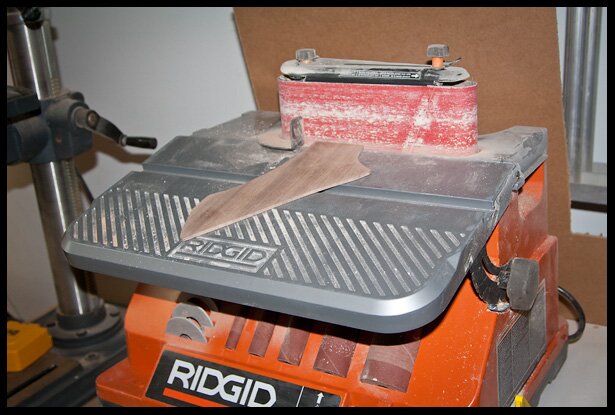
A bevel is made on the oscillating sander.
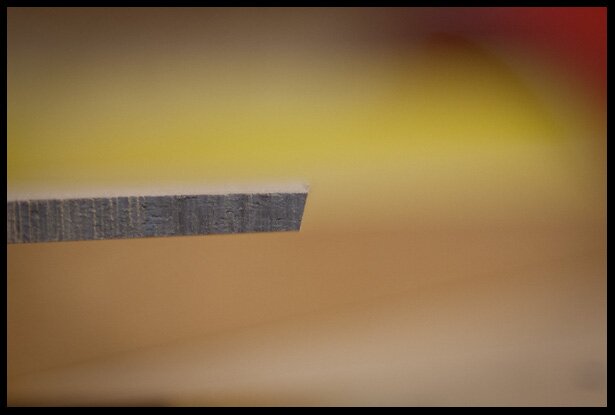
A close up side view of the bevel created on the veneer.
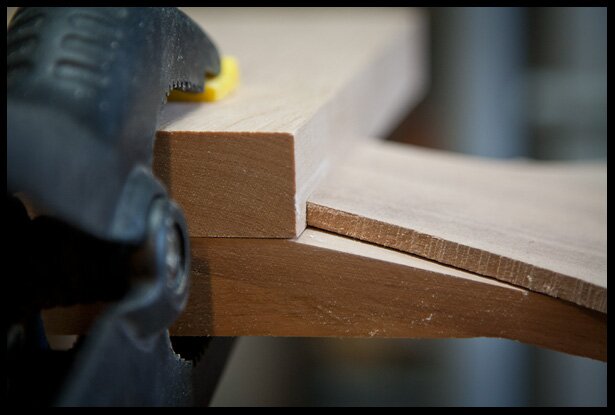
The veneer now sits perfectly flush with the eventual nut (side view).
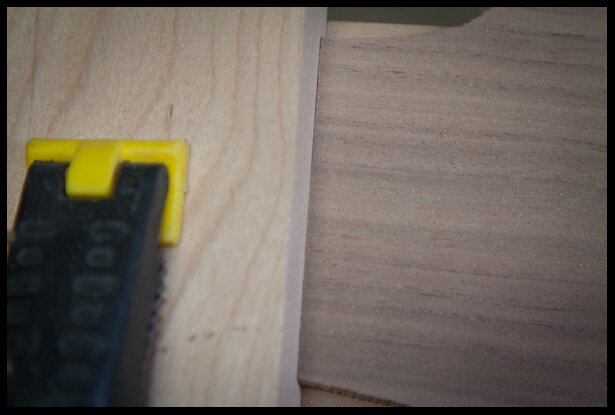
The veneer now sits perfectly flush with the eventual nut (top view).
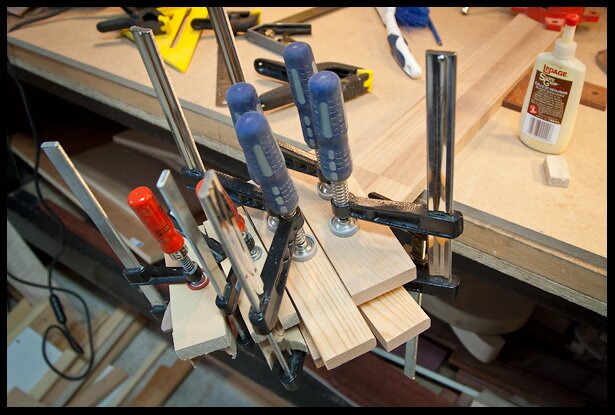
Gluing up the veneer to the headstock.
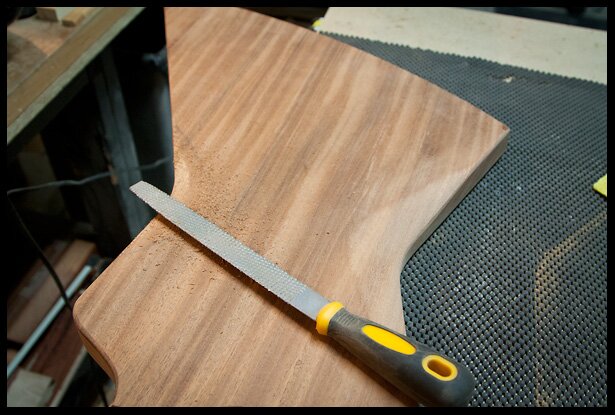
Shaping the back of the guitar with a rasp. Adding two body reliefs.
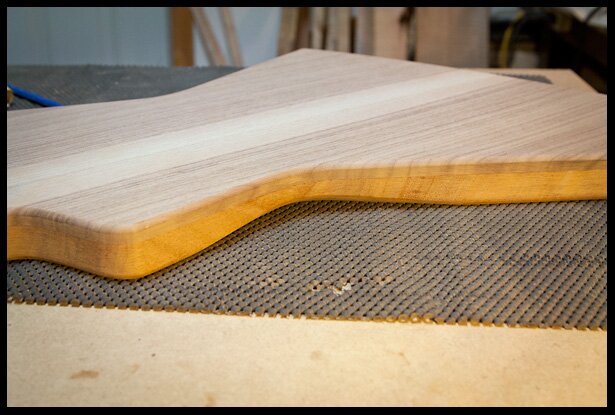
The shaping of the back is nearly completed, just needs some more fine-tuning. The body feels much more comfortable now…
Jan 17, 2016
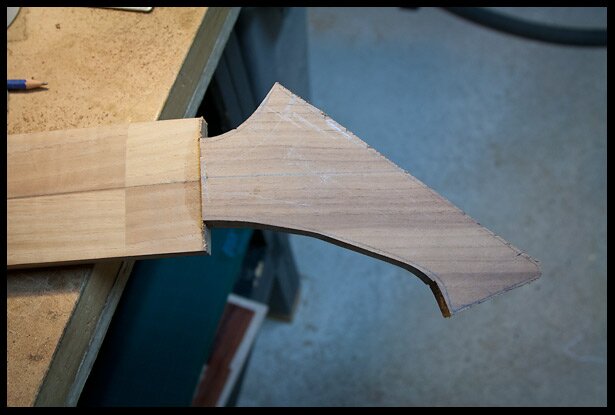
Headstock veneer cut to rough shape.
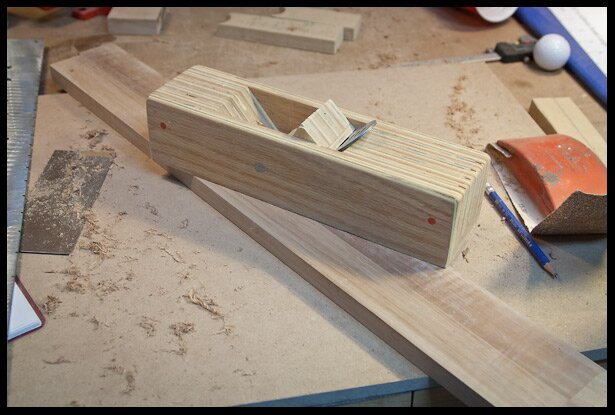
Planing the neck surface flat, this is where the fingerboard will sit.
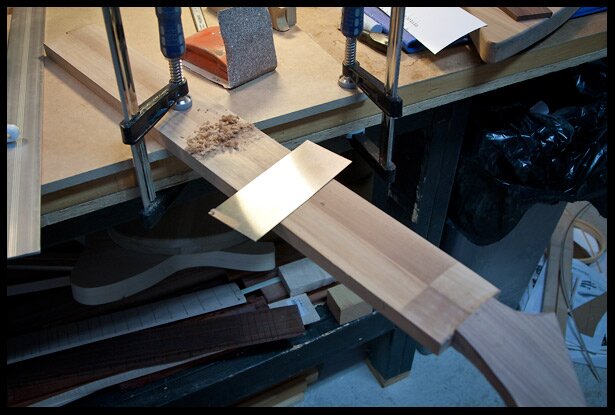
Scraping it clean
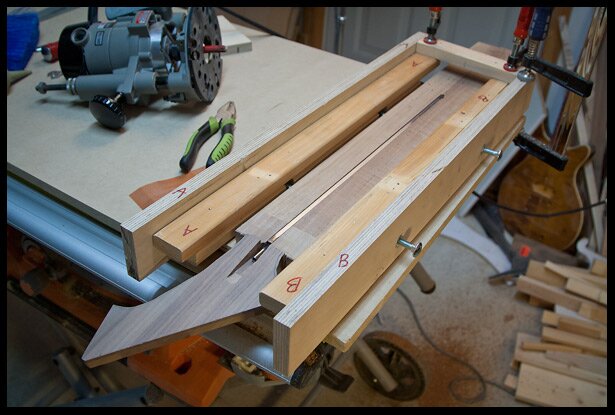
Truss rod channel routed
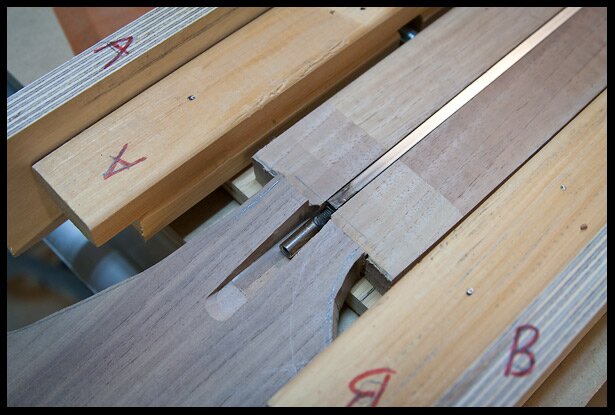
Close up view of truss rod and channel
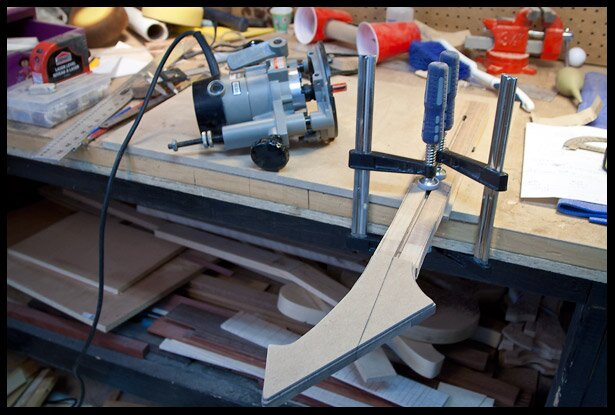
Ready to route the final headstock shape with the headstock template taped on
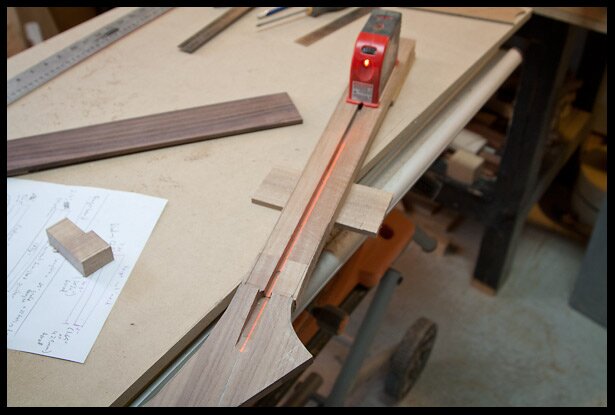
Using a laser to check for accuracy and to find the real centerline on the headstock.
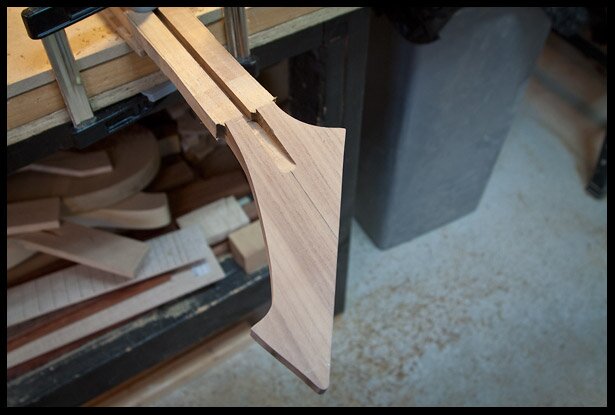
Final headstock shape… me likes 🙂
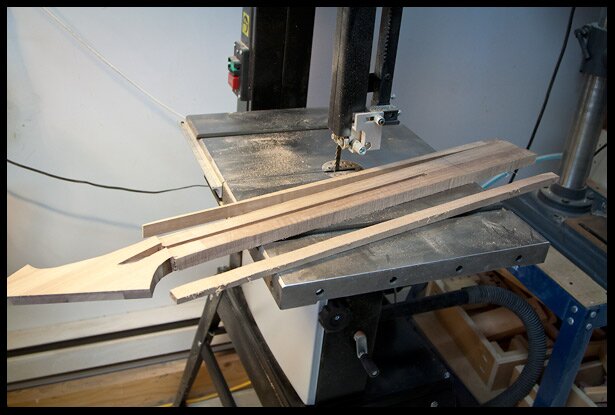
Bringing the neck dimensions closer to final, on the band saw.
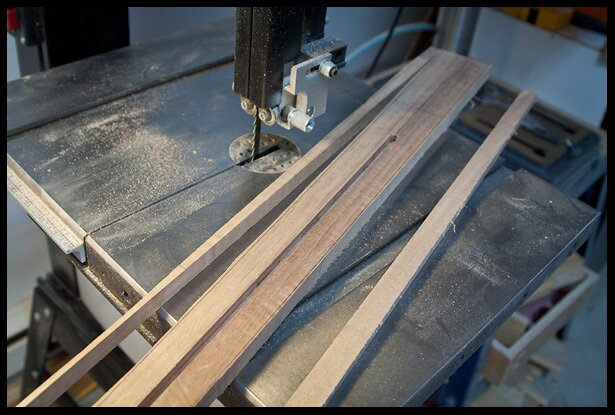
Closer look.
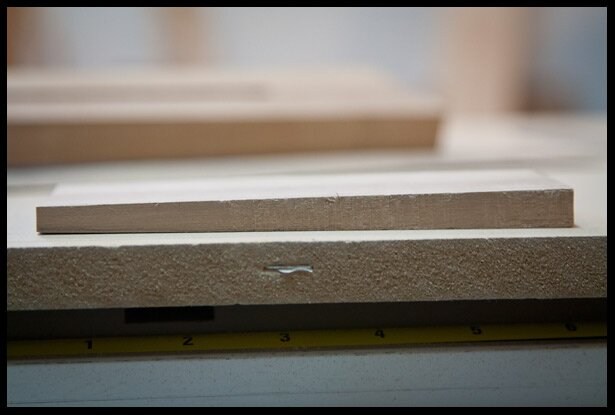
Slopping the heel to give the neck a 2 degree angle.
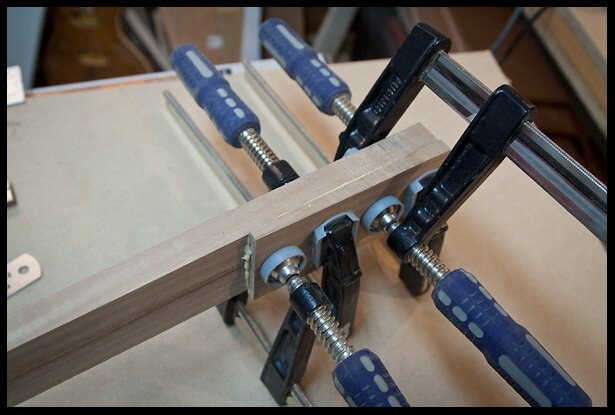
Gluing on the heel.
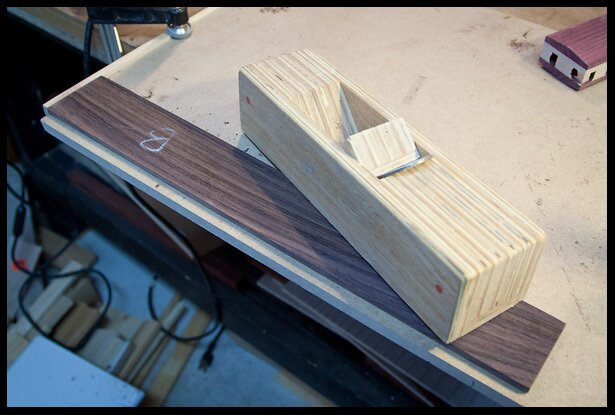
Planing the back of the fretboard.
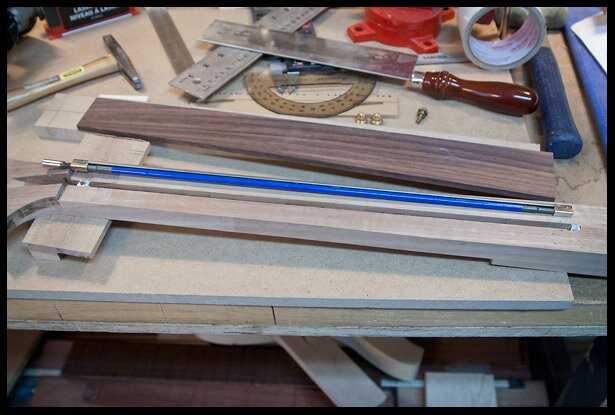
About to insert the truss rod.
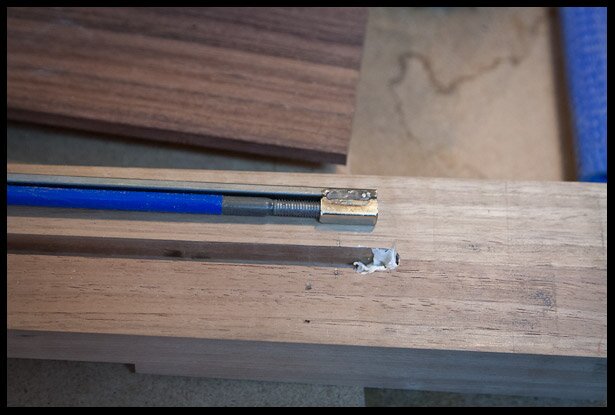
Some silicon caulking at the ends to remove any potential rattling. Notice the small metal pin? That will allow the fretboard to be glued on without moving.
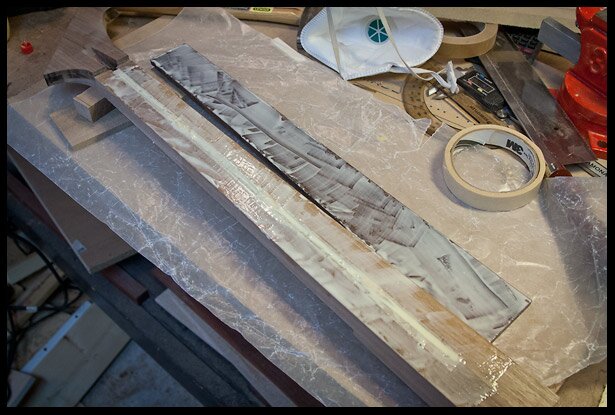
About to glue the fretboard on the neck. It’s the last time the truss rod sees the light of day. There’s a thin masking tape over the truss rod channel to prevent glue from entering it.
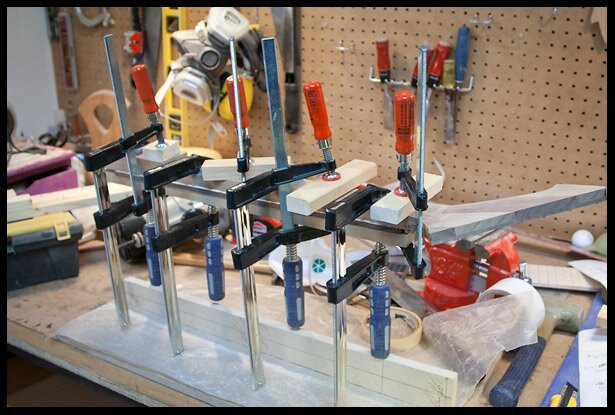
Clamping the fretboard to the neck. Allowing the glue to cure for 24 hours.
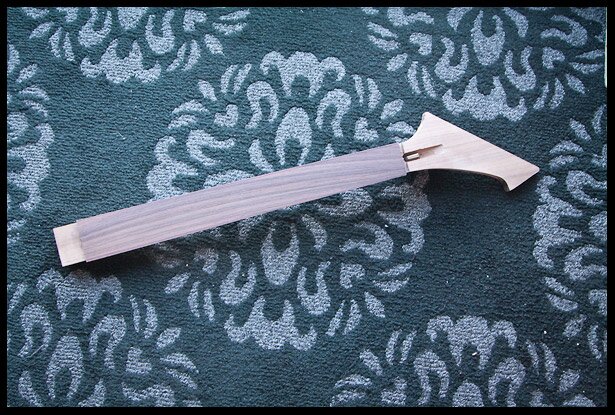
The neck with fretboard, truss rod and heel.
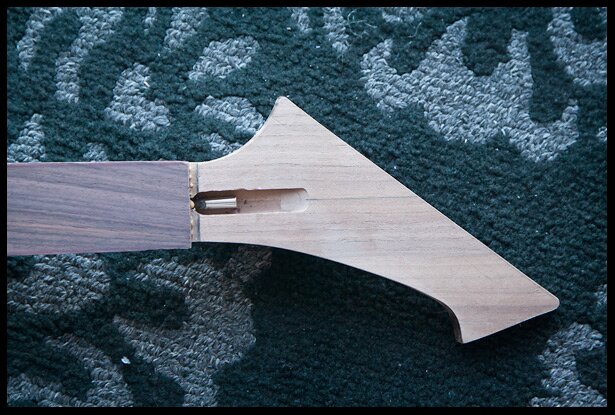
Close up of the neck with fretboard and truss rod.
Feb 1, 2016
Fretboard transplant
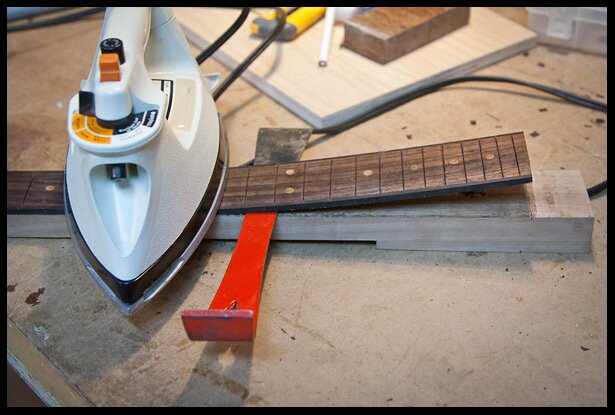
Something went wrong with this fretboard so I decided to remove it and put a new one in 🙁
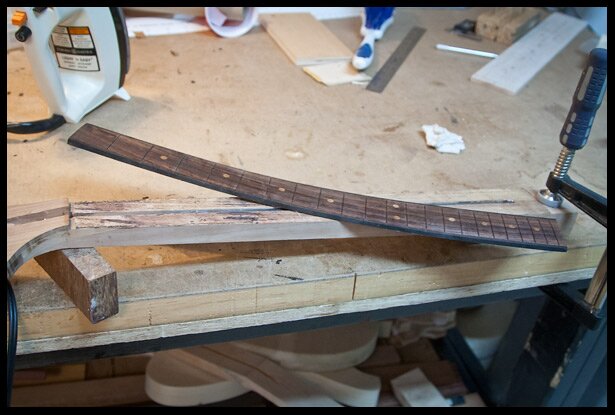
The rosewood fretboard is off. The process was not too painful 🙂
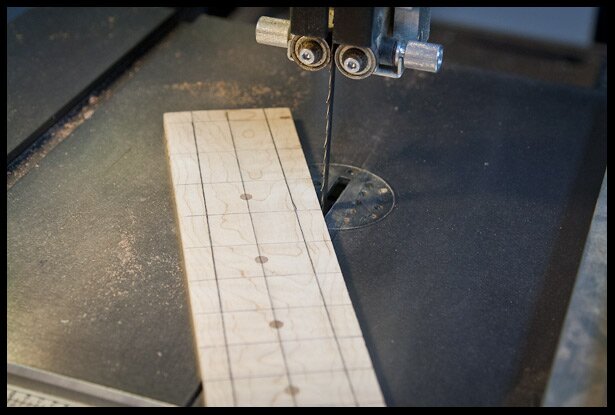
This will be the new fretboard. It’s maple with walnut inlay fret markers (you can see a video of how I made them here)
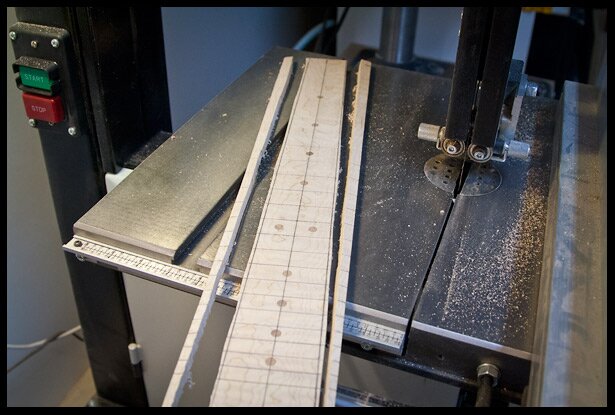
Maple fretboard cut to rough dimensions on the band saw
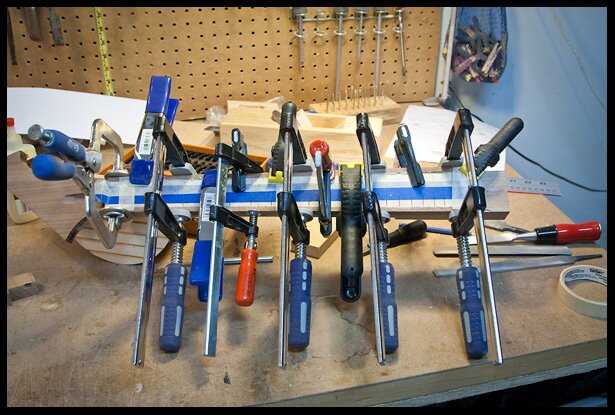
The maple fretboard is installed on the neck and here I’m adding walnut binding.
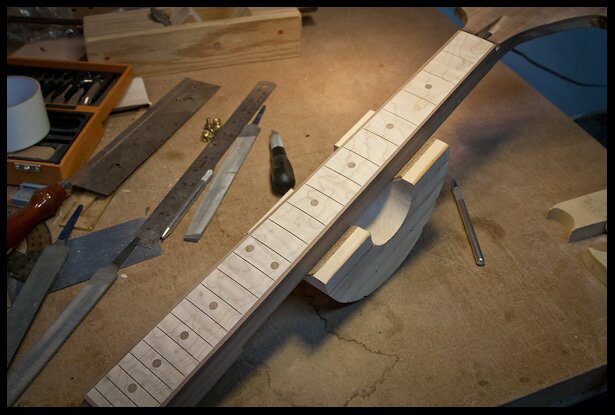
Maple fretboard with walnut fret markers and binding
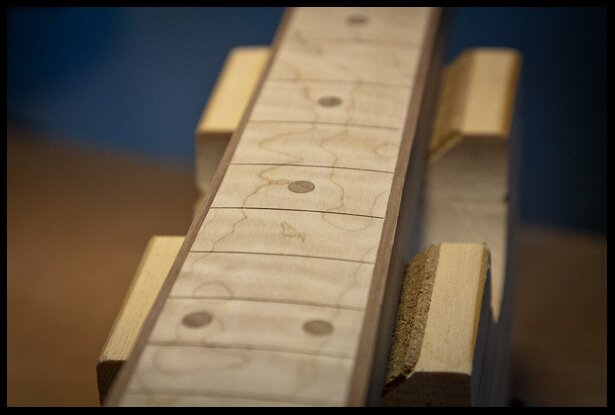
A closer look.
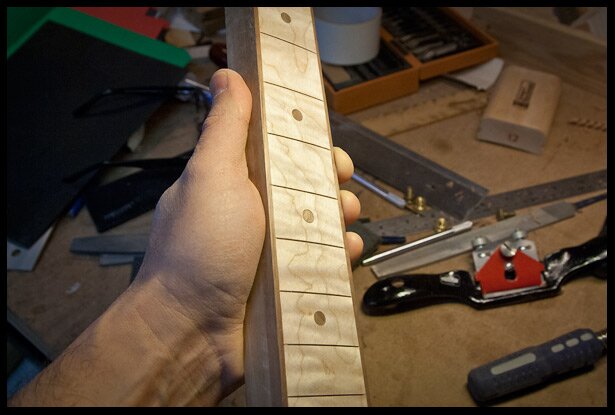
It’s starting to pop, I sanded the fretboard to 320 grit followed by steel wool. No water, mineral spirit or oil applied. I thin it’s going to look awesome with some Tru-oil.
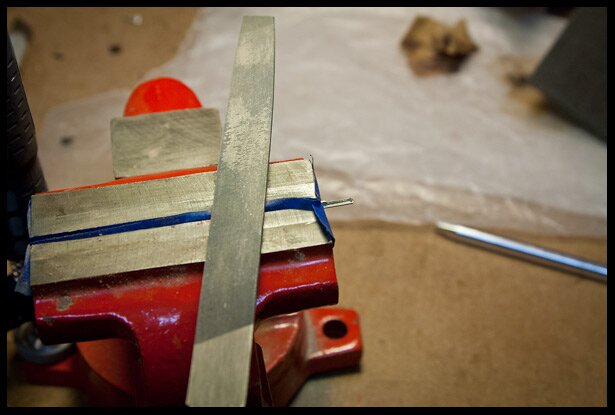
Filing off some of the tang from the edges of the frets.
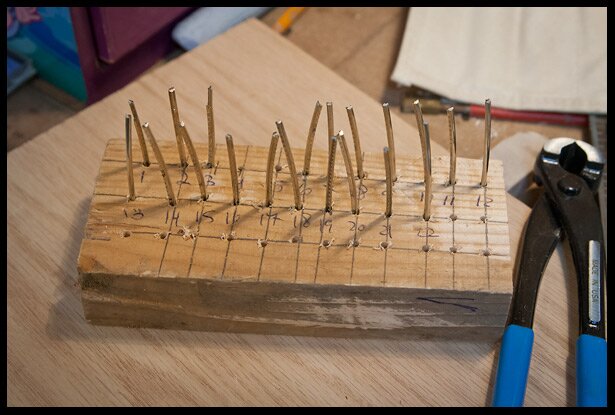
The fret are cut to size, tangs are being nipped.
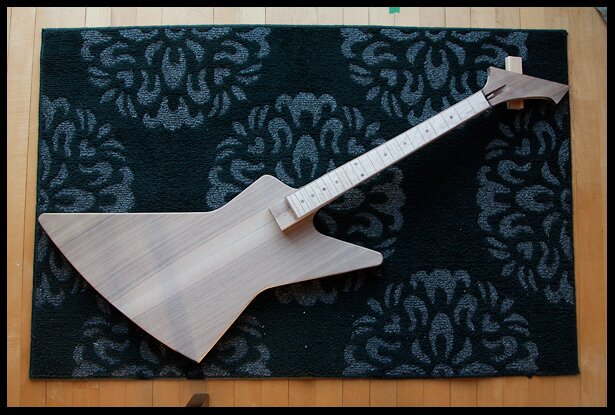
Here’s a first look at what the finished guitar will look like.
Feb. 3, 2016
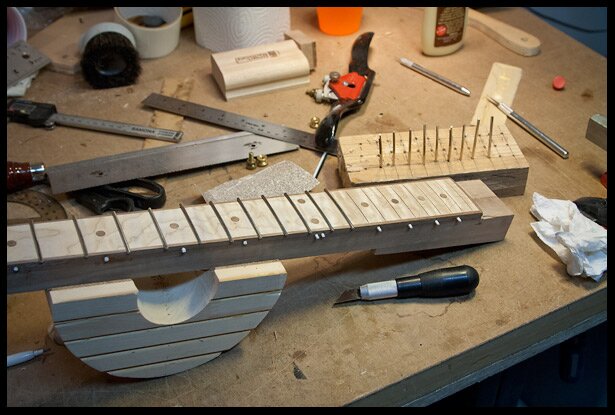
Installing the frets. I use a bit of glue in the slot.
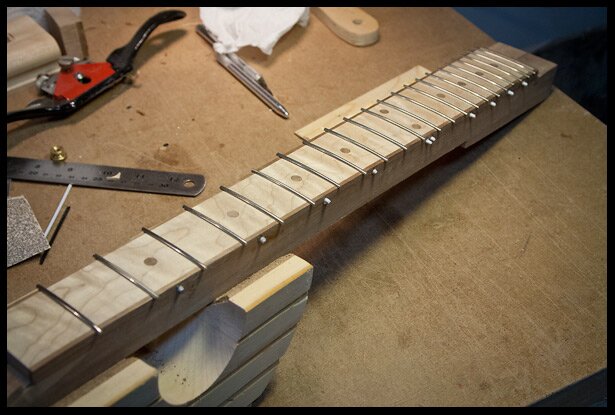
Fret installation completed.
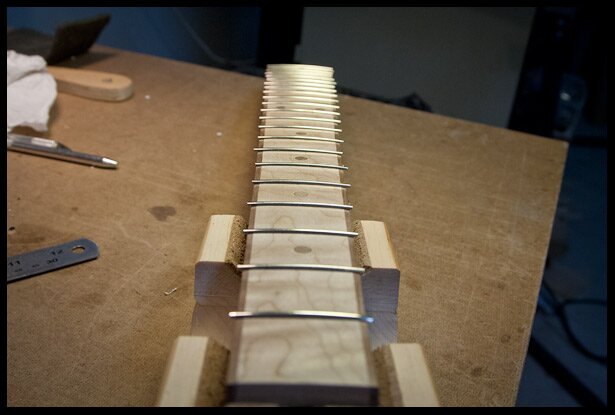
The fretboard with frets installed
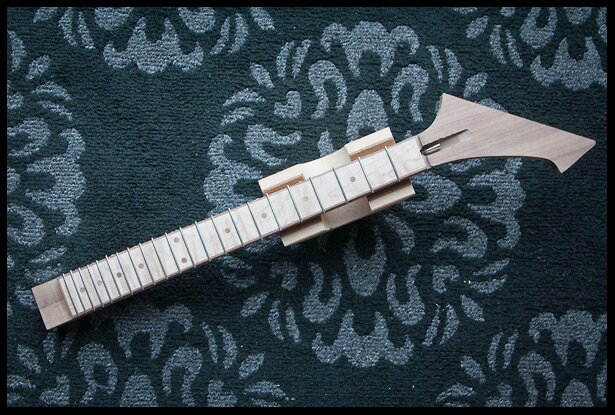
View of the whole neck.
Feb. 12, 2016
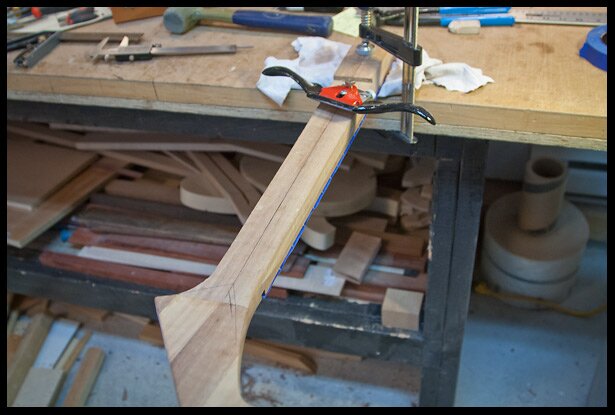
Starting to shape the back of the neck with a spokeshave.
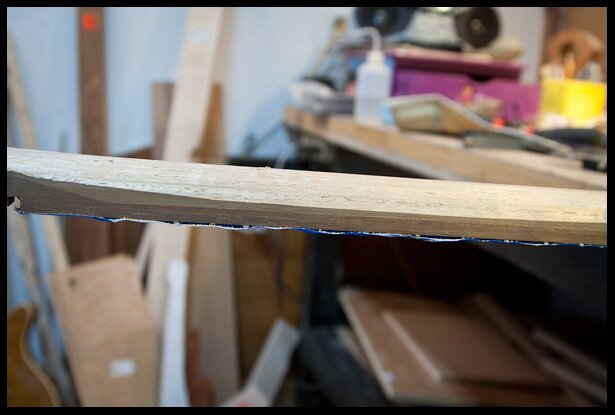
Progress shaping the back of the guitar neck.
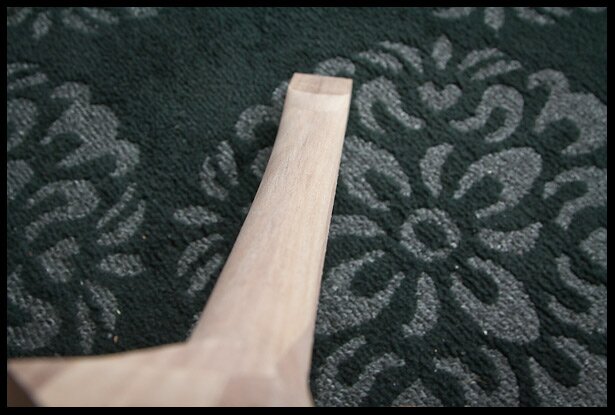
Shaping of the neck about 80% completed.
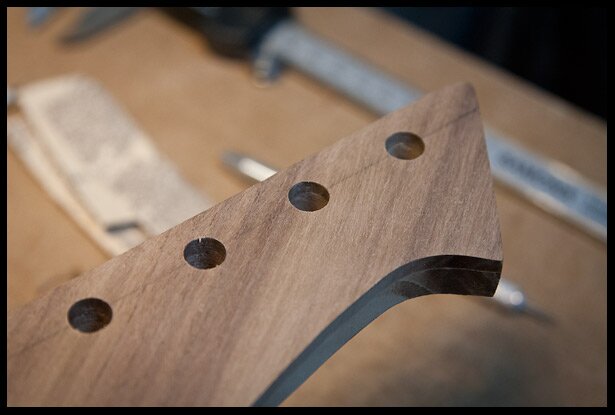
Tuner holes are drilled.
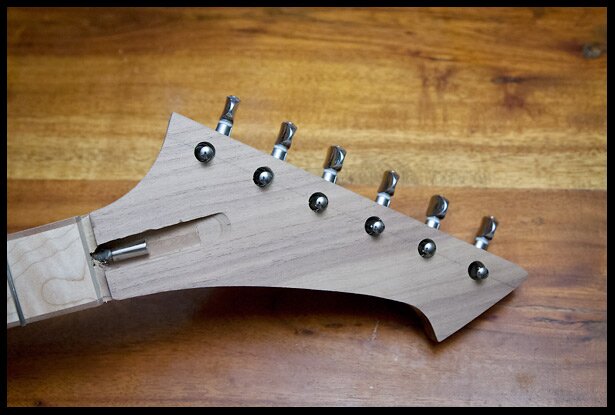
Testing the tuning machines.
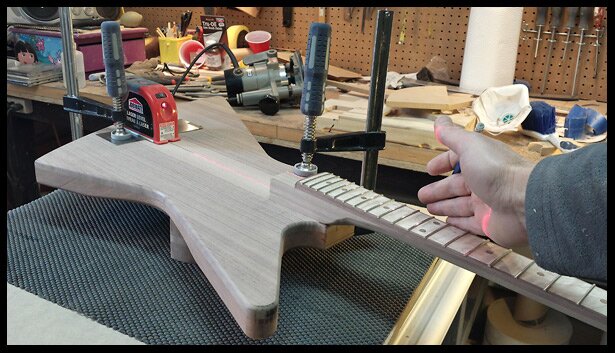
Aligning the neck with the body centerline with a laser.
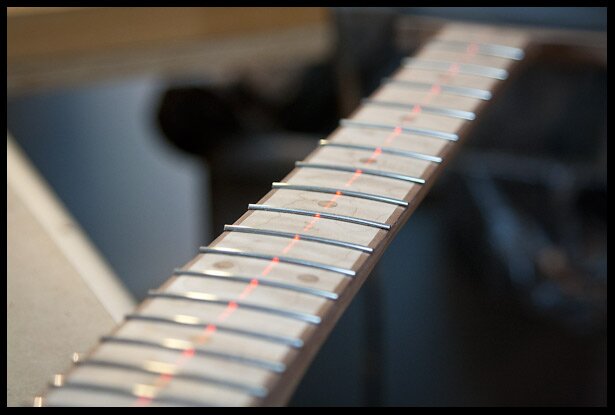
Using a laser to align the neck with the body.
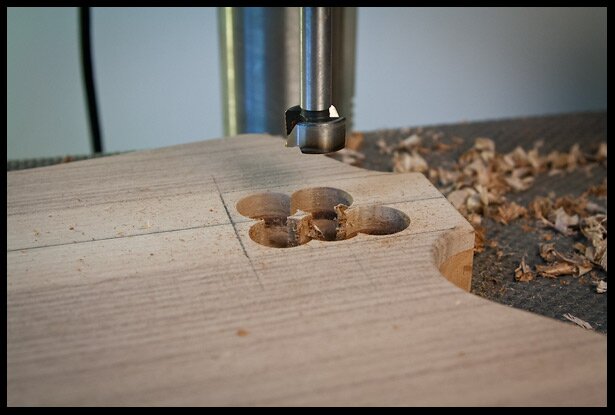
Carving the majority of the neck pocket with a Forstner bit before using a router.
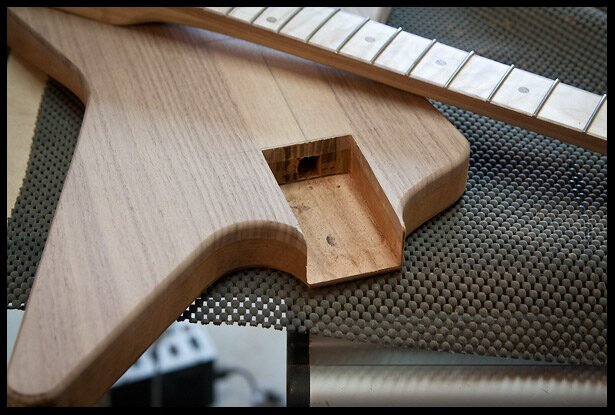
Neck pocket hole carved.
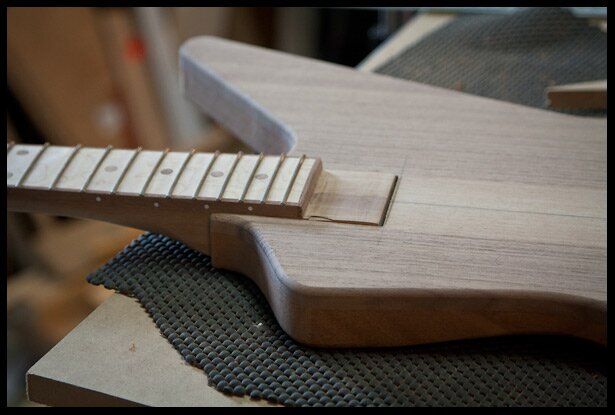
The neck in the neck pocket. A 2 degree tilt in incorporated in the heel of the neck.
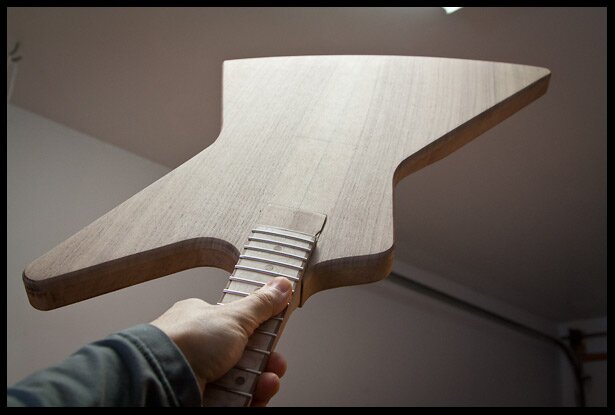
Very tight fit, too tight actually…
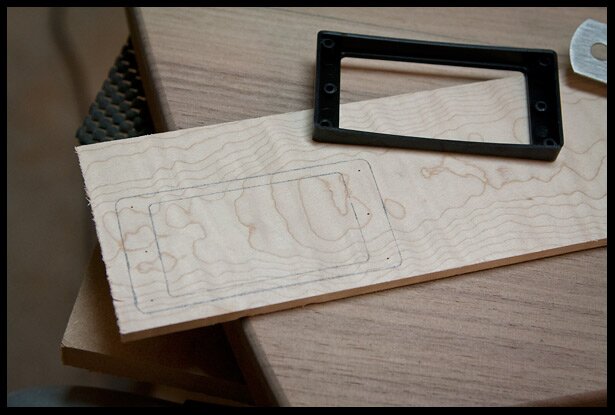
Tracing pickups rings on maple.
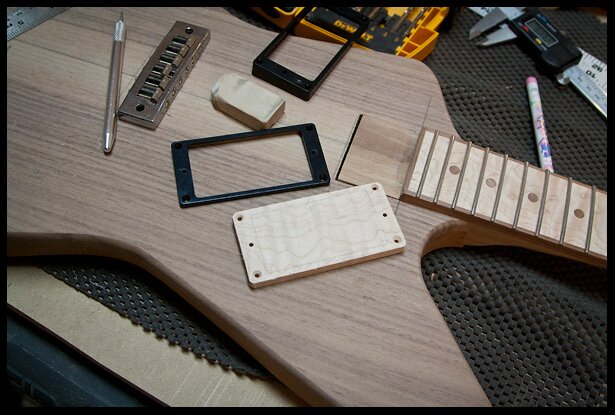
Making wooden humbucker pickups rings .
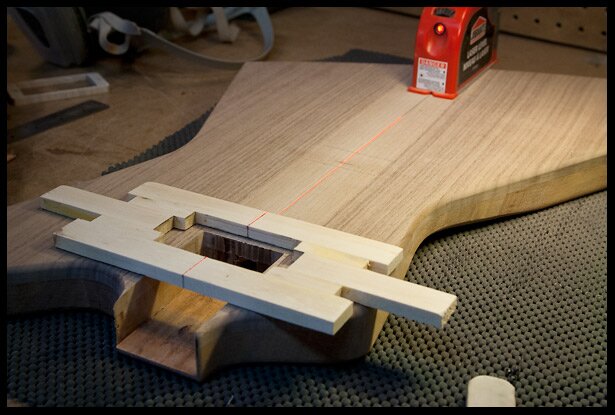
Aligning the pickup router template.
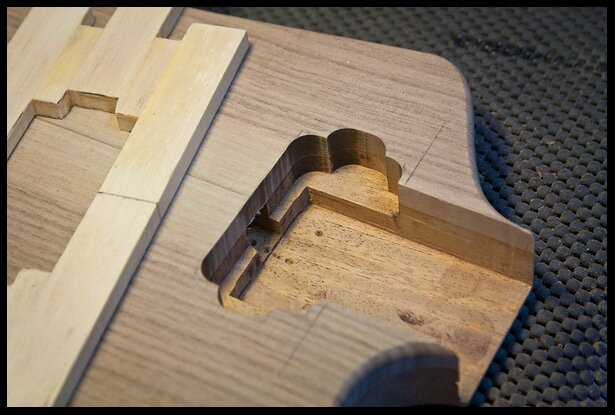
Neck pickup cavity routed.
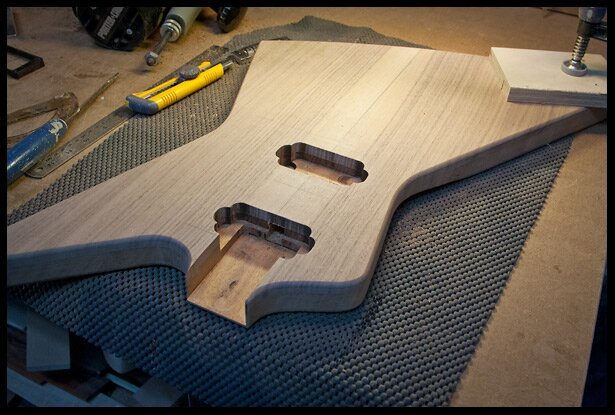
Both pickup cavities routed.
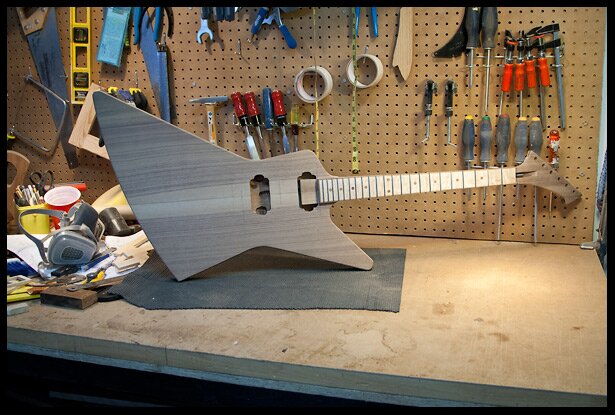
Neck, body and pickup cavities routed.
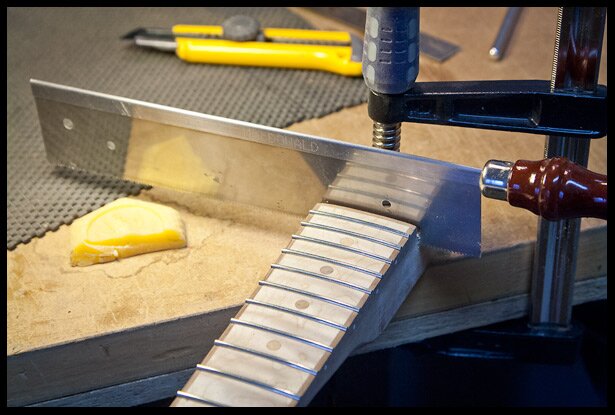
Cutting the upper part of the heel.
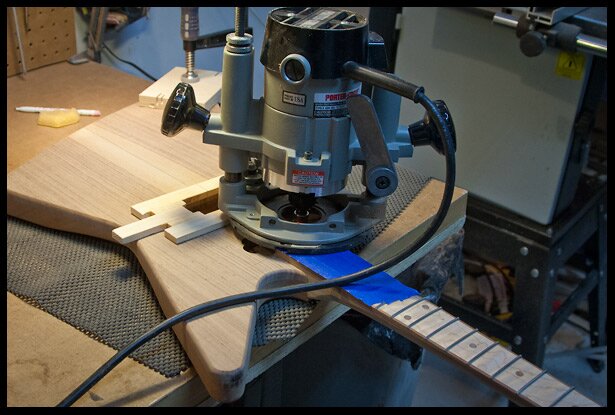
Routing the upper part of the heel.
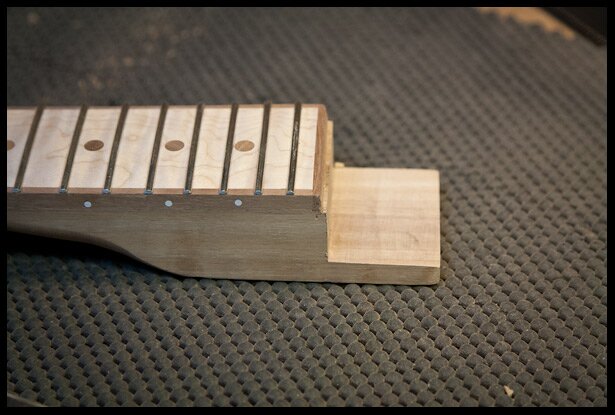
The upper part of the heel in final shape.
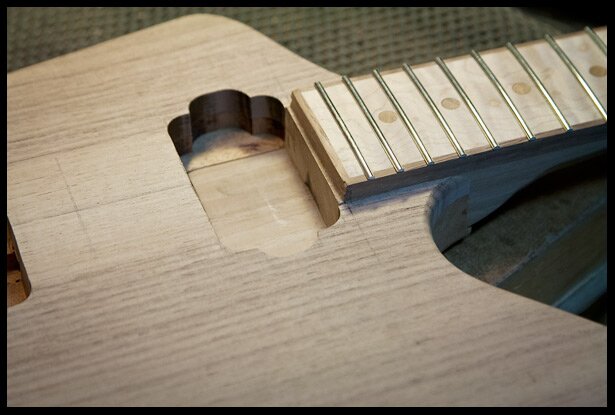
The neck heel in the neck pocket with humbucker cavity.
Feb. 21, 2016
Making the electronics cavity and cover.
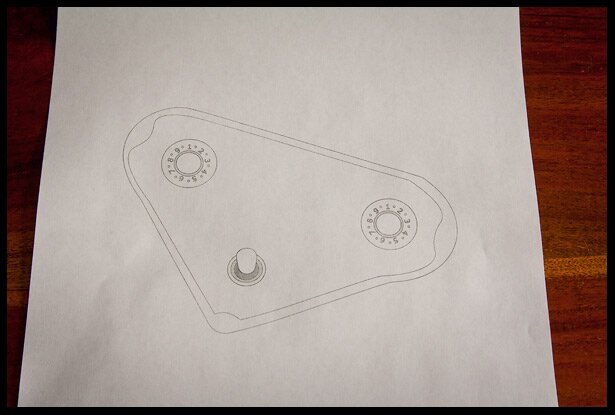
Designed the control knobs, switch and shape of cavity in software and then printed it.
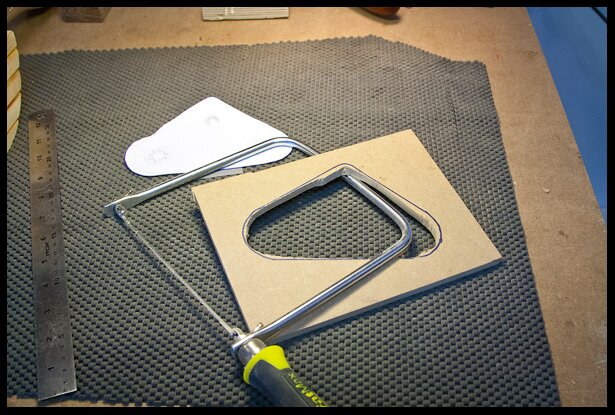
Making the electronics cavity template.
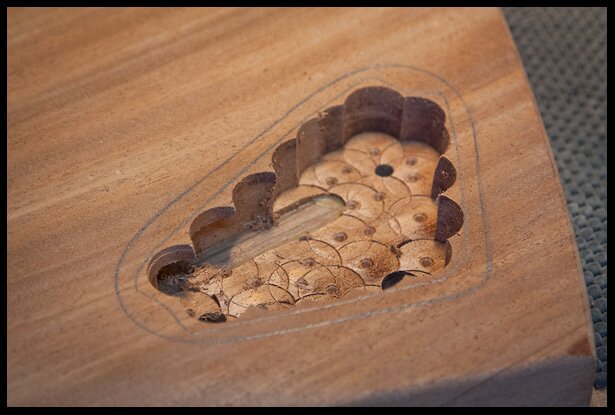
Removing the bulk of the wood with a Forstner bit.
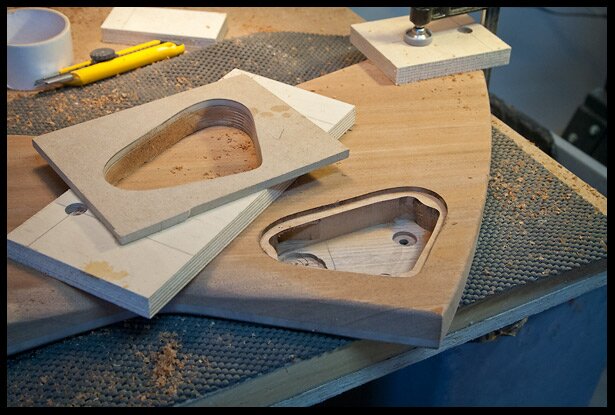
Electronics cavity finished.
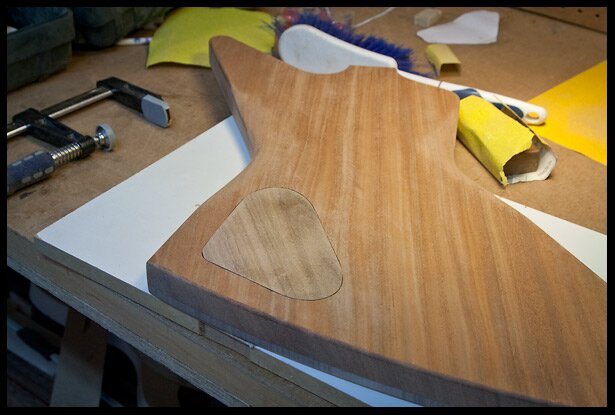
Electronics cavity cover plate.
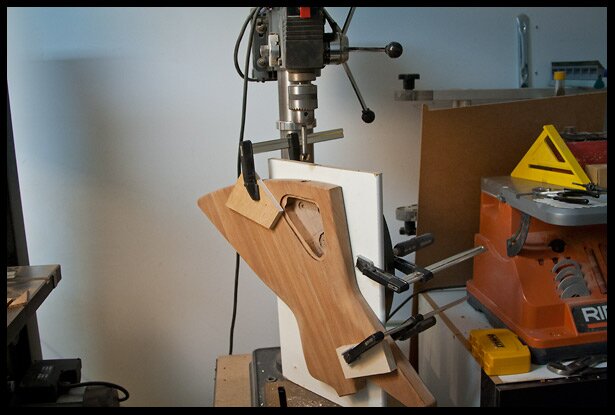
Drilling the jack hole.
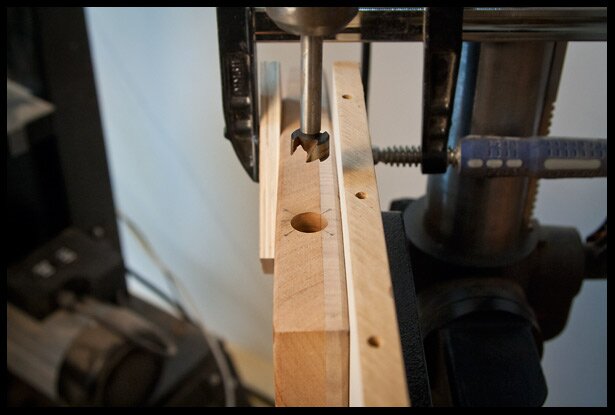
The jack hole.
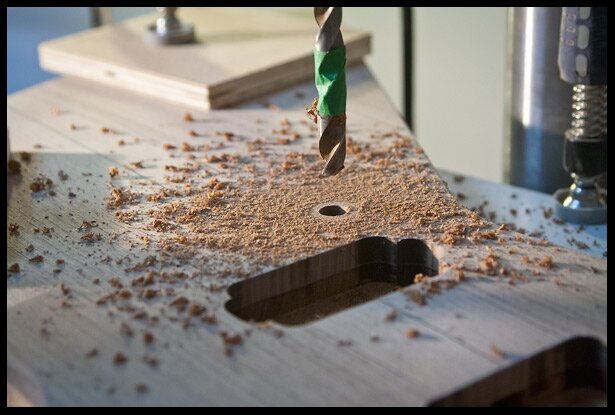
Drilling the Tune-o-matic bridge post holes.
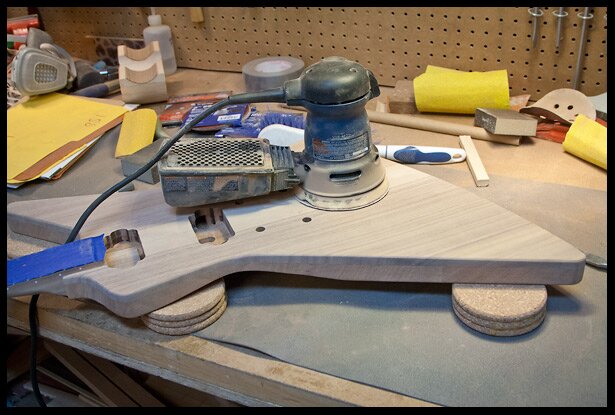
Finish sanding started. Starting with 80 grit and going to 240.
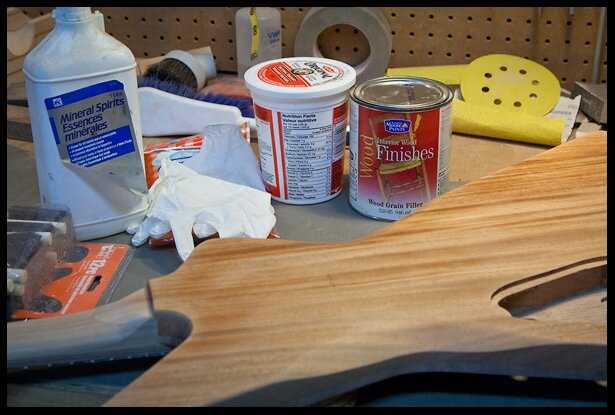
Preparing for grain filling.
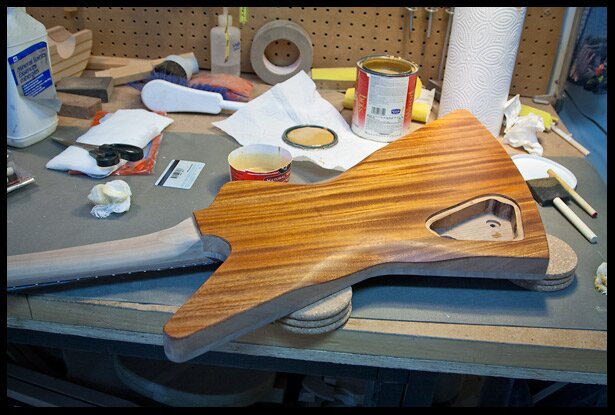
The mahogany back is grain filled.
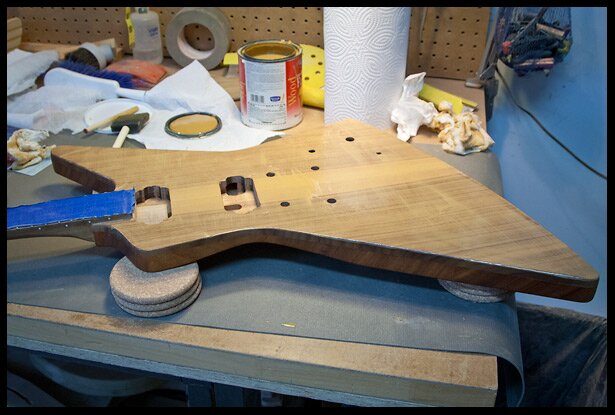
Grain filler applied on walnut top.
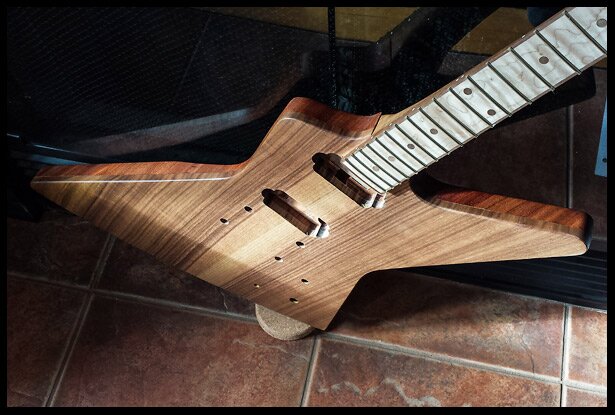
Grain filler is drying.
March 6, 2016
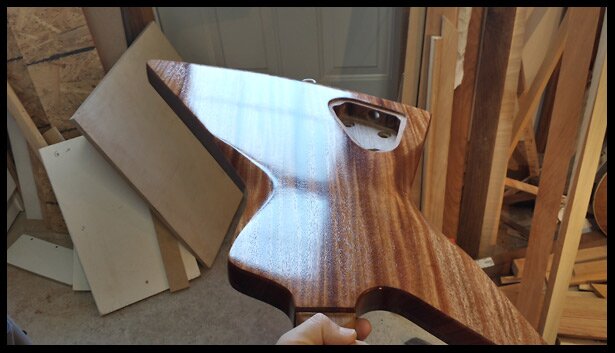
Applied 10 coats of Tru-oil to the mahogany.
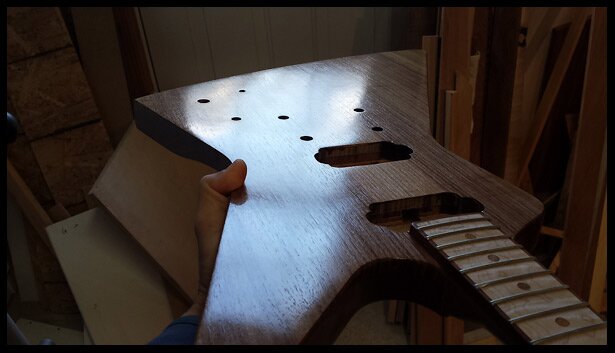
Applied 10 coats of Tru-oil to the walnut top.
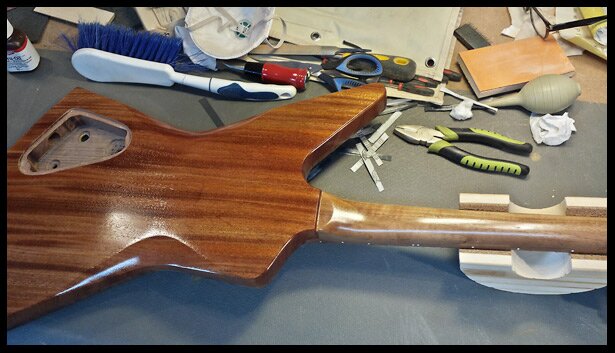
The whole guitar body was coated with Tru-oil.
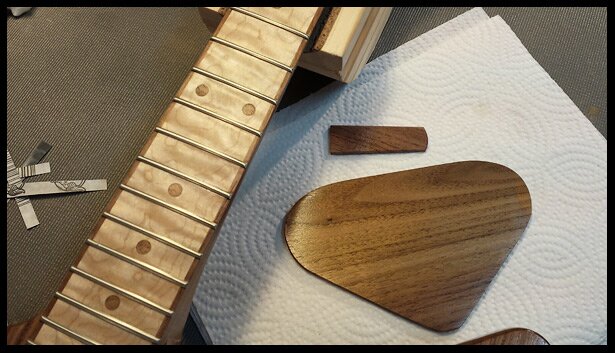
The neck, electronics cavity cover and truss rod cover.
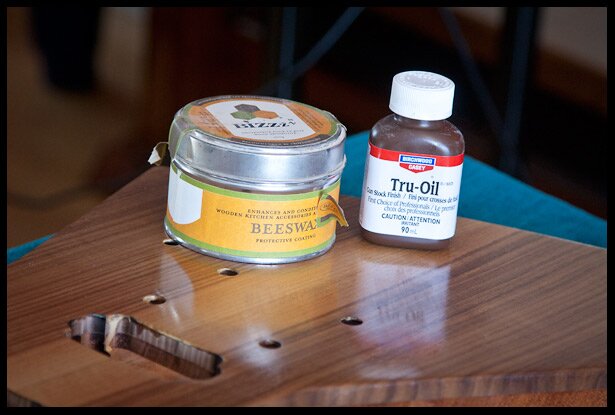
The whole guitar body is finished in Tru-oil and beeswax.
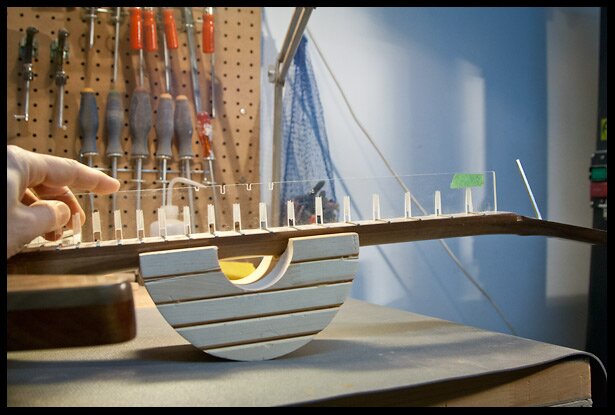
Checking the straightness of the neck with my homemade notched straight edge and adjusting the truss rod.
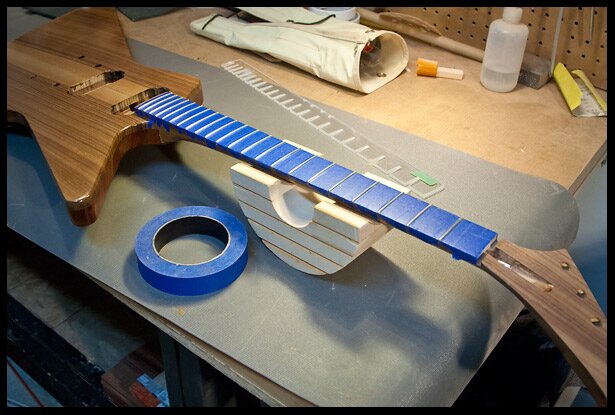
Protecting the fretboard with painter’s tape.
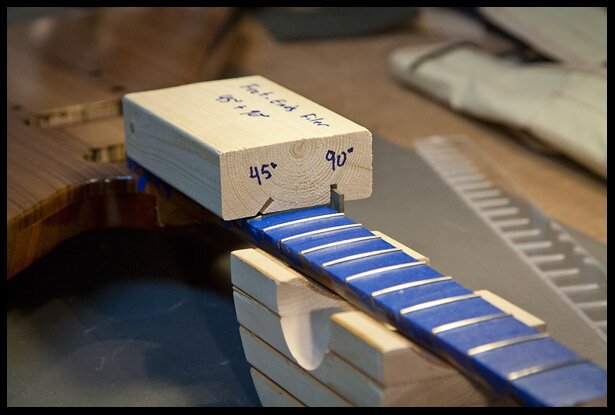
Filing the edges flat and adding a bevel.
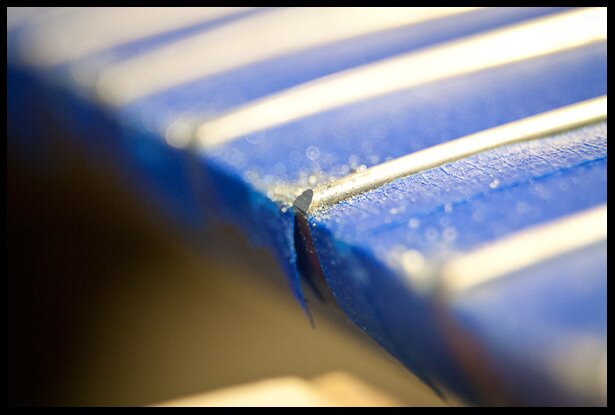
Closeup view of the newly filed 45 degree bevel.
March 10, 2016
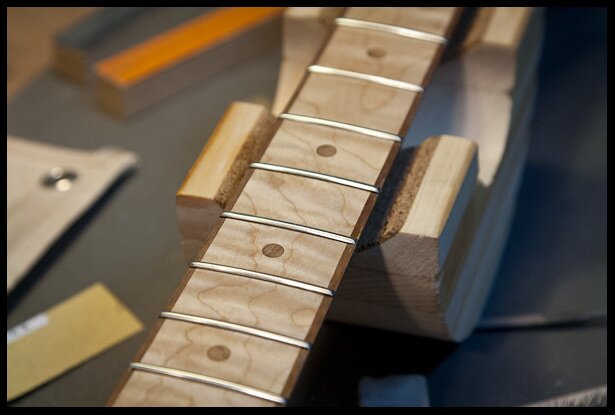
Fret dressing mostly completed
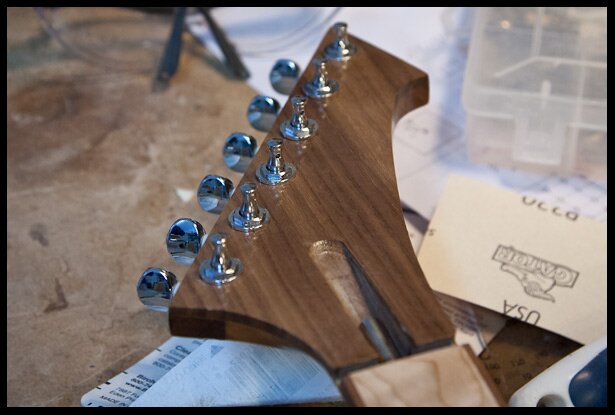
Tuners installed
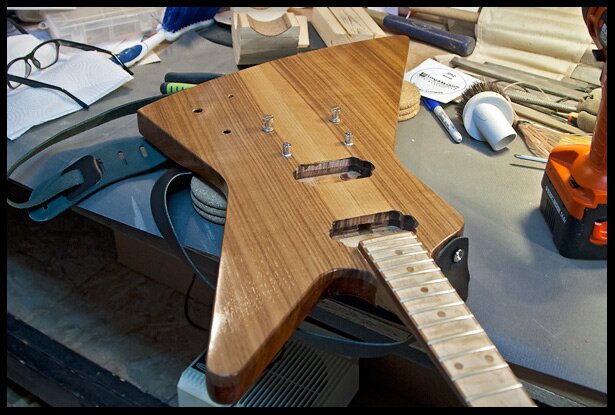
Bridge and tail piece posts installed
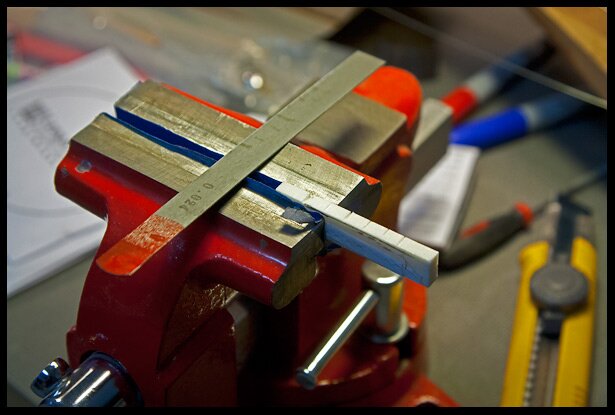
Making the nut
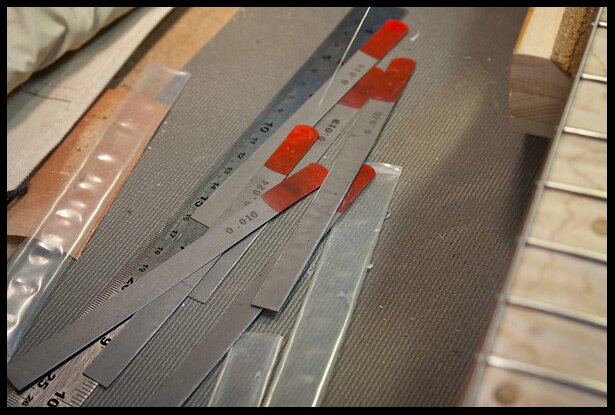
Nut files
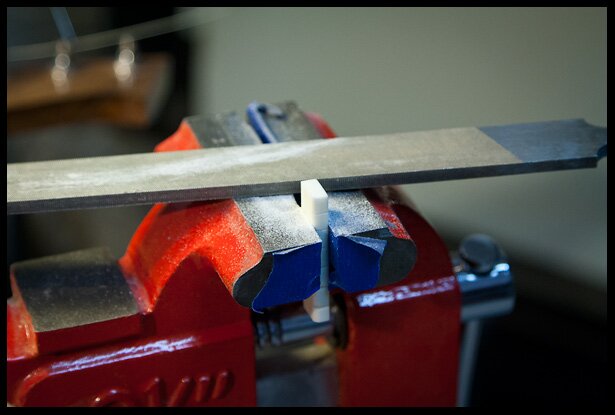
Filing the nut to rough shape
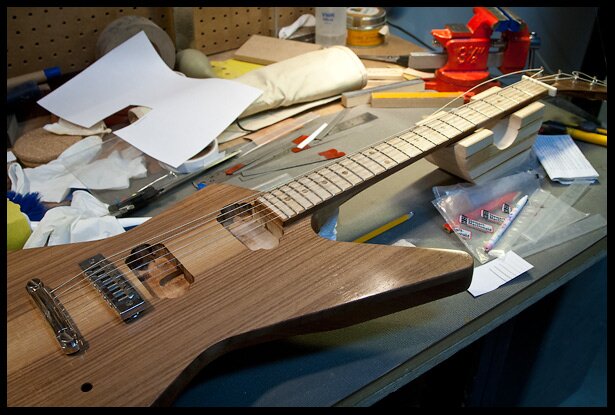
Strings installed to fine tune nut slots
March 18, 2016
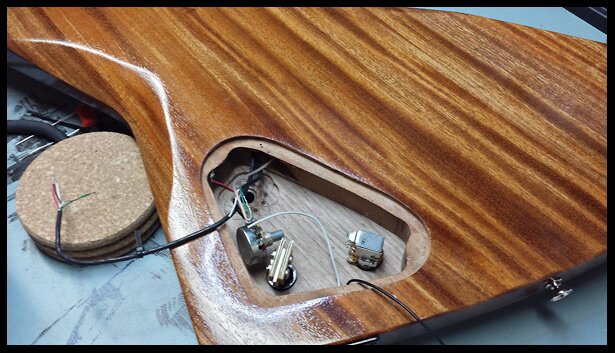
Starting to work on the electronics
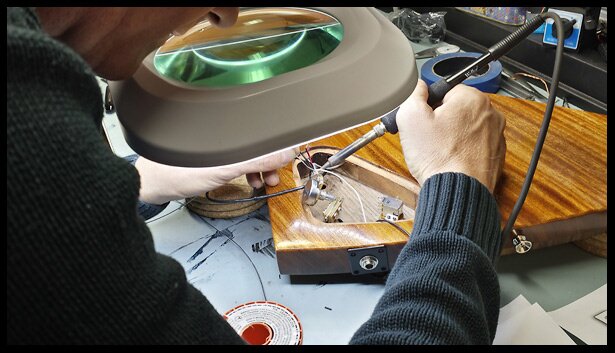
My friend Tom doing the soldering for me
March 22, 2016
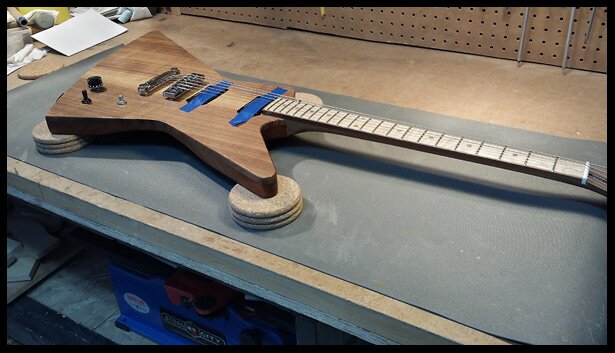
Installing the pickups.
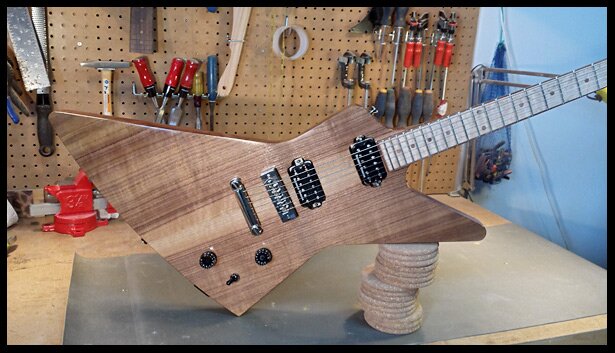
Explorer nearly completed… a few more thing left to do…
April 3, 2016
The construction is finished !
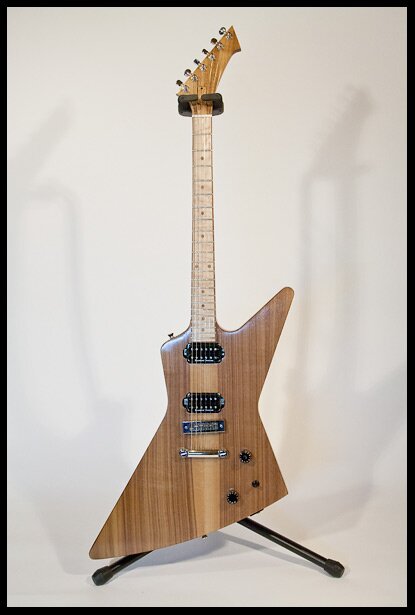
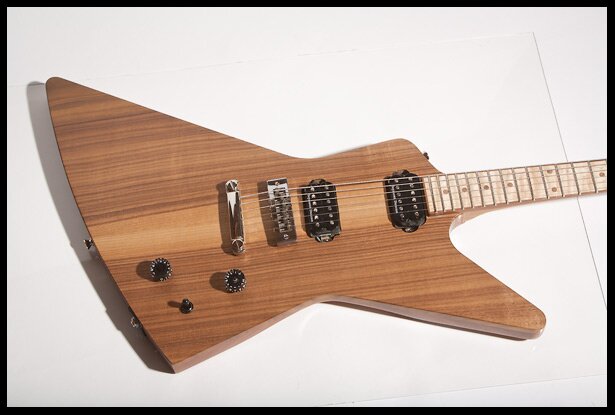
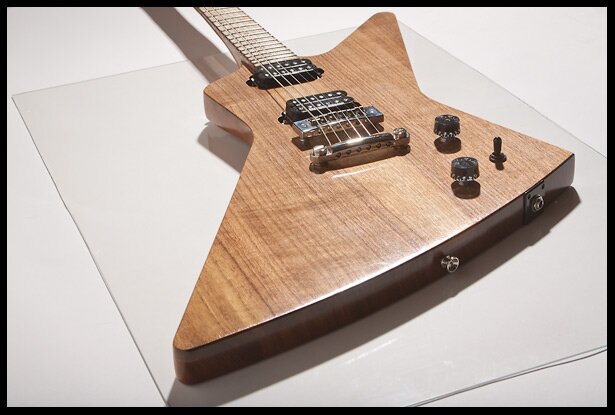
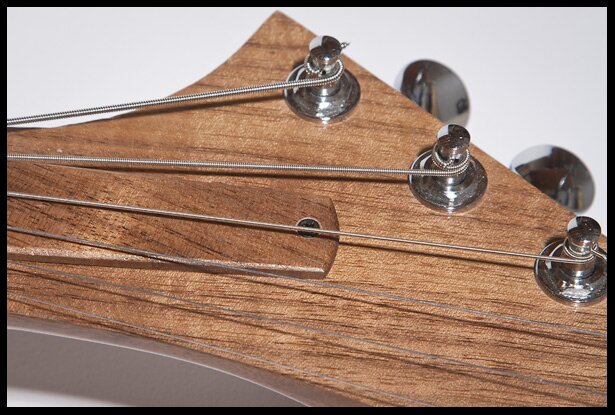
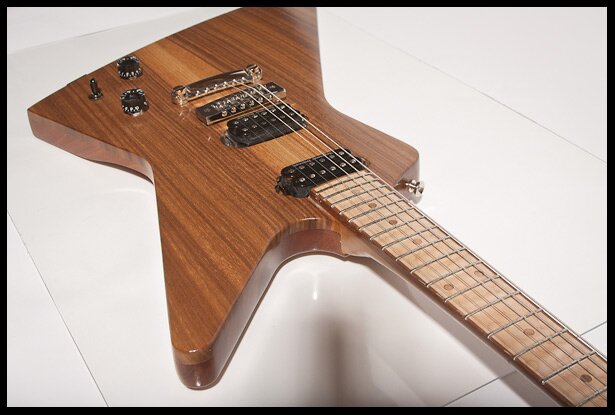
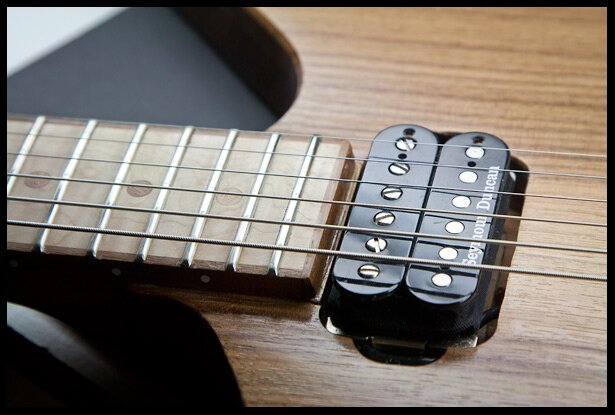
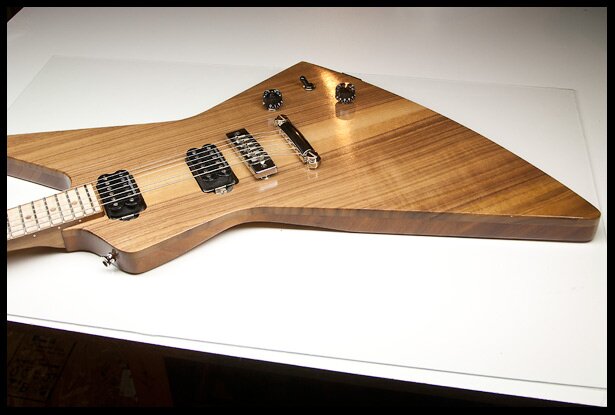
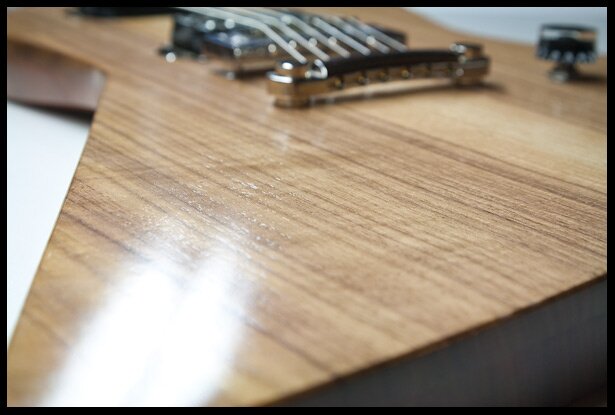
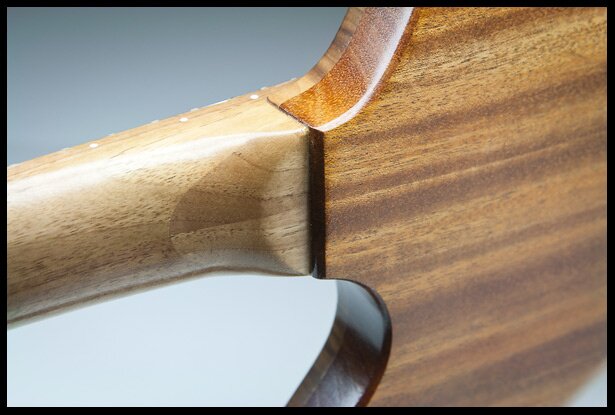
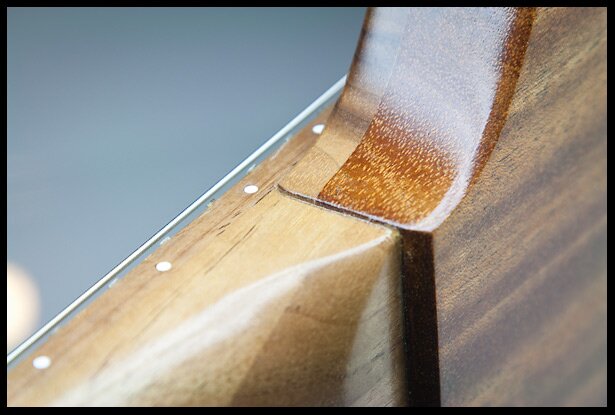
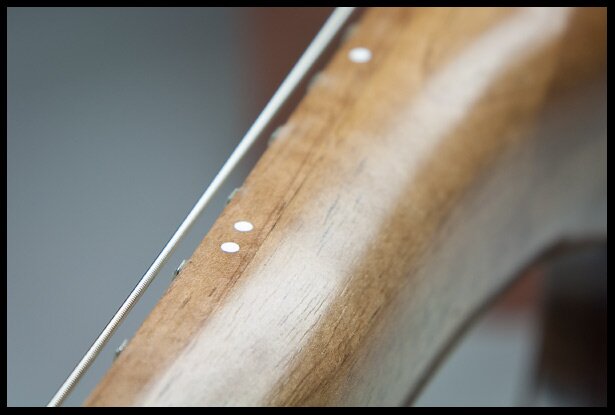
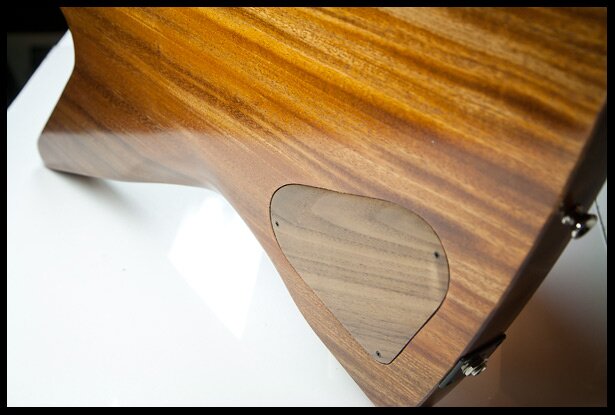
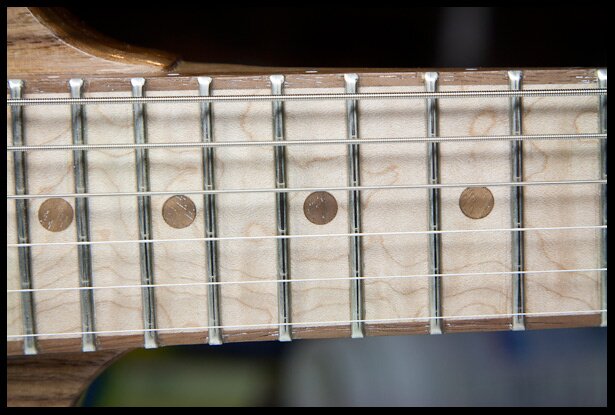
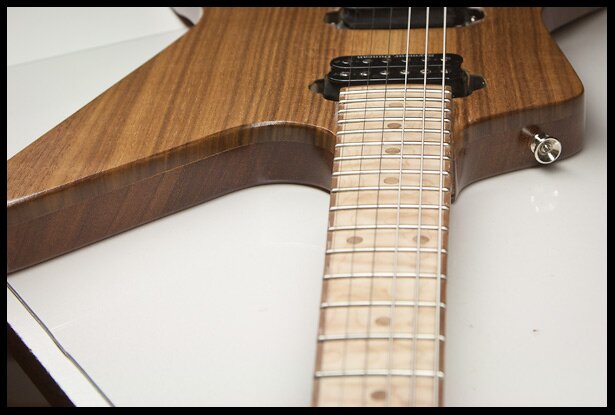
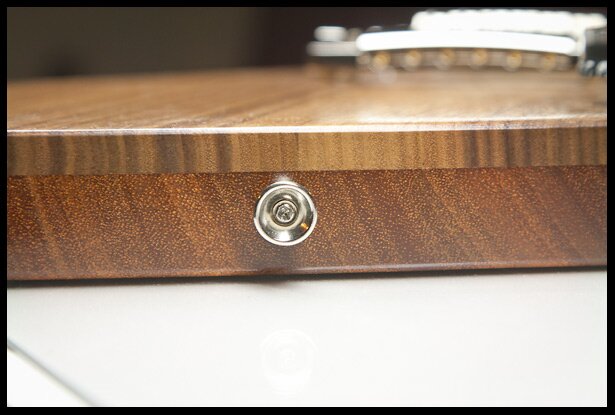
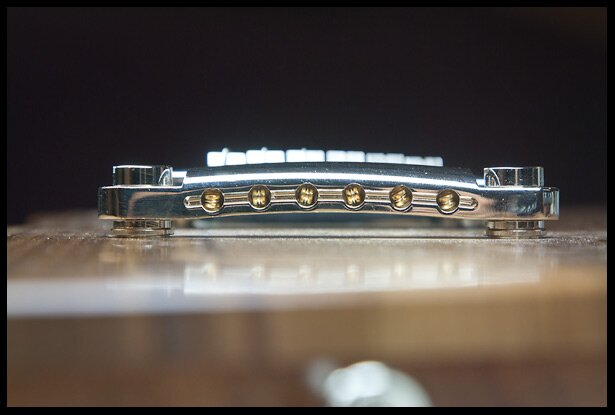
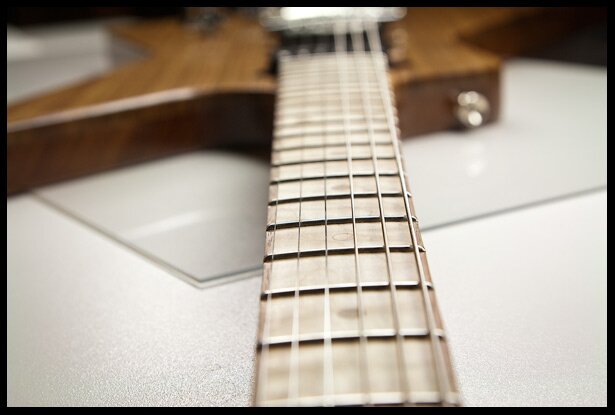
I made a demo video, but please don’t judge the guitar based on the amp (crappy little amp), the audio recording quality (recorded with my smartphone) and especially my playing… I’m not really a guitar player, I’m a builder.

Amazing job and ideas. Cannot wait to see the progress
Thanks Carey.
Hi,
How much would it cost for you to build me a guitar like that? Just curious.
Hi Dan, I sent you an email.
Araz
Also interested in a explorer build! My email is (removed) I just got a 3’x3’ Slab of ash and I thought about building one of these but I’m more the table and shelf builder lol. But I’m a guitar player and I love this build
very good job
but one question, you explain that the neck pocket is flat in your video but with this type of bridge (same as lespaul) you don’t need to shime your pocket ??
Thanks
Thanks Stephane. That video is for another guitar I’m building, not this Explorer.
You are correct, with this type of bridge, the neck needs to be tilted. I have incorporated a 2 degree angle in the heel of the neck (see this photo).
Hope that clears thing up.
Araz
Hey Araz,
Truly an amazing job, bud–really! I stumbled upon this site and your post by accident, while looking for jelly beans…not really, but you know how it goes. One click leads to another. I also completely dig that new neck you built with the maple board and walnut binding. That looks so much better than the original rosewood version. Anyway, I ended up here because I’m getting back into building after a long hiatus (about 7 years), and was looking for some measurements. An image search revealed your Explorer monster and I just HAD to see it. Glad I did.
Cheers,
Rob
Thanks Rob, I appreciate it! Yea, that fretboard is definitely one of the highlights of this guitar.
Welcome back to guitar building… it’s like riding a bicycle… well, not really! 🙂
Make sure to join the Project Electric Guitar Facebook page and show us what you’ll be building next https://www.facebook.com/groups/ProjectElectricGuitar/
Take care, Araz
Hi there! Amazing work! How do i contact you? To build a custom guitar
Thanks! I would be happy to discuss a custom build… You can contact me from my Facebook page (https://www.facebook.com/JakalianGuitars/) or send me a message from the About Me page on this site.
Take care, Araz
Hi Araz, this is great job ! I wanted to know if after sanding the router marks on the body, it will be enough flat for glueing? Thanks.
Thanks! Yes, after sanding the router marks, the wood is flat enough for gluing.
Araz
Nice guitar
Thanks Elias!
Could you send pdf template?
Hello from China! Great job!
Thank you from Canada! 🙂
How deep did you drill for the control cavity? How thick was the remaining wood after you drilled through?
The control cavity needs to be deep enough for the pots to fit properly through the holes but not so thin to compromise the stability of the remaining wood. I like to leave around 1/4 to 3/8″ deep of wood. You can also choose to make the wood thiner only at the location of the pots inside the cavity.
Ok, thanks!
so great
Thanks Miguel
Hi, really nice job ! I just wanted to know, how did you get the template for this guitar ?
Thanks. I made the template from 1/2″ MDF. I found an image of the plans online and then I resized the image based on the scale length to get the full-size drawing then proceeded to make the template.
Araz
Okay. But, where did you found those plans ? I search some, and I found ths one : http://bazarboobi.fr/spip.php?page=article&id_article=379
But this is a gibson explorer, not an esp explorer (the switch for the pickups is not at the same place for example).
Are you looking for the plans of an ESP Snakebyte? I don’t recall ever seeing that on the Internet.
You can always start with a Gibson Explorer plans and modify it to make it into a Snakebyte or find a front facing photo of the Snakebyte and trace it… Use Google Images and Pinterest…
So I guess what I’m saying is, if you can’t find what you’re looking for, then you can always make it yourself.
Okay, well thank you for your advices !
Hey, Great build. I am new to this building, I have a kit for an explorer Left handed, and I’m trying to find a template for the headstock….somethin I could download and trim the blank that I now have. Would you know where I could find one that is the actual size. Nice sounding guitar by the way. I’m planning on using tru oil on mine…mahogany body.
Cheers from Newfoundland Canada!!
Thanks Garry. Explorers are great guitars, one of my all-time favourite shapes.
As for the headstock shape, I’ll send you a template file shortly to your email.
Take care, Araz
Beautiful work !! You are truly an artist. I’ve made several guitars, and I don’t think most people realize the effort and art/magic that goes into making one. I have some korina and a tiger maple top I am thinking should become an explorer now after seeing this.. Thanks for sharing your knowledge..
I am curious.. Why did you abandon that beautiful figured neck?? That looked amazing. I hope you were able to re-use it on something else.
Thank you James! Korina and tiger maple sounds like a great combo.
I don’t remember why I didn’t use that figured neck… it’s been a while since that build… but I did end up using some of that wood as the fretboard.
Take care, Araz
Hey, awesome guitar!
I´m new to building guitars and I want to kick things off with an Explorer..
Any possibility to get these svg files?`
Great work, seriously!
Thank you Nik! There are many plans on the Internet, just type “explorer guitar plans”.
Araz